Choose a small first project
Air-dry clay hardens as moisture leaves it, so you can make a finished object without firing it in a kiln. It works well for decorative pieces such as ornaments, small trays for dry objects and simple sculptures. Brands vary in texture, drying time and recommended finishes, so read the package before you begin. Most air-dry clay is not suitable for food contact or for objects that will regularly hold water.
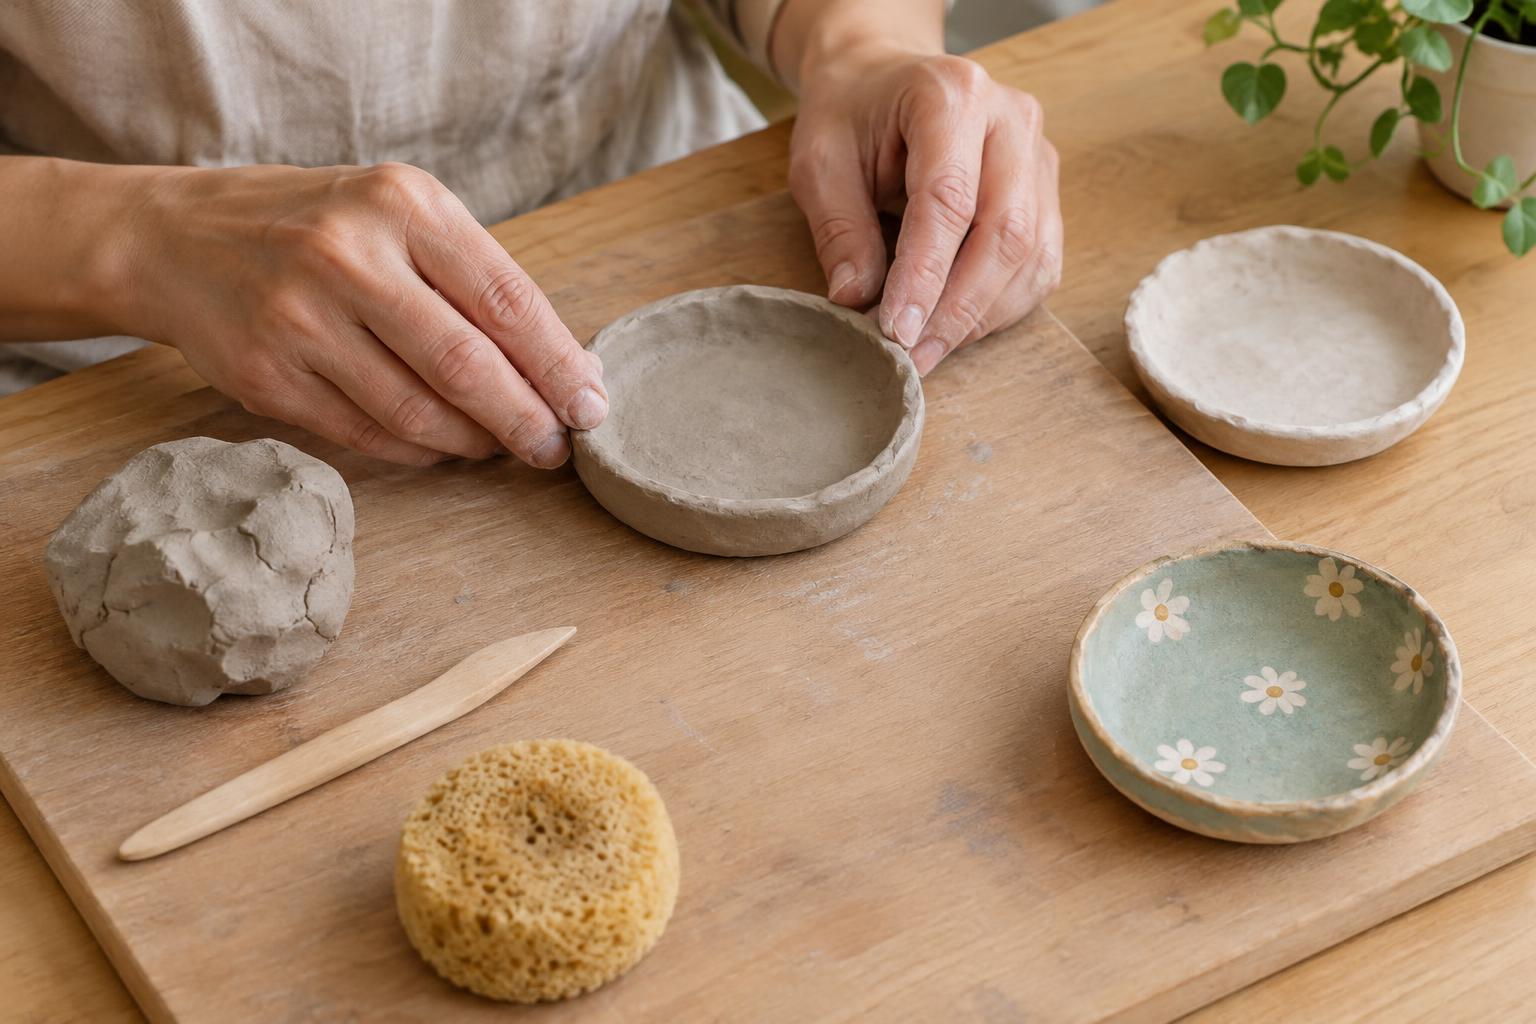
For a first attempt, choose a shape with an even thickness and few delicate projections. A stamped ornament or shallow dish is easier to manage than a tall figure with thin arms. Gather a smooth work surface, a rolling pin or straight-sided bottle, a small bowl of water and simple shaping tools such as a blunt knife and an old brush. Protect the table with a reusable mat or a sheet of smooth plastic.
Shape without overworking the clay
Take out only the clay you need and reseal the rest promptly. Knead your portion briefly until it feels workable, then roll or press it to a fairly consistent thickness. If you are cutting shapes, lift away the surrounding clay rather than pulling hard on the piece you want to keep. Support soft pieces from underneath when moving them; a flat card or thin board can help them hold their shape.
To join two pieces, lightly roughen the contact points, add a little water if the clay’s instructions recommend it, and press them together gently. Smooth the join with a fingertip or tool. Too much water can turn the surface mushy and weaken fine details, so use it sparingly. If a piece begins to feel sticky or distorted, pause instead of repeatedly reshaping it. Small fingerprints and tool marks can often be tidied once the clay has firmed up slightly.
Give the piece room to dry
Set the finished shape on a clean, flat surface where air can circulate and it will not be bumped. Drying time depends on the clay, the thickness of the piece and the room conditions. A dry-looking surface does not always mean the center has hardened. Follow the product’s guidance, and give thicker areas extra time before sanding, painting or sealing.
Uneven drying can contribute to curling or cracks. For flat pieces, try to keep the thickness consistent and avoid placing them beside a heater or in strong direct sun to speed things up. If the piece is sturdy enough to handle, turning it carefully during drying may help expose the underside to air. Let a shallow dish rest in a form that supports its curve, and check that it is not sticking to the surface beneath it.
Smooth and decorate the dry surface
Once the clay is fully dry, you can soften rough edges with fine sandpaper. Work gently: thin rims and raised details can snap under pressure. Sanding creates dust, so work in a ventilated area, avoid breathing the dust and wipe the surface with a damp cloth afterward. For a small imperfection, you may be able to smooth it with a damp finger before the piece has dried completely instead.
Many air-dry clays can be decorated with acrylic paint, but check the product guidance and test your colors on a leftover piece if you can. Begin with a clean, dry surface and apply thin coats, allowing each to dry before adding another. A limited palette or one repeated pattern often makes a simple shape feel intentional. Paint can highlight stamped textures, while leaving some clay unpainted can show off its natural finish.
Finish for the way you will use it
A compatible clear sealer can help protect a painted piece from everyday handling and minor surface marks. Choose a finish recommended for your clay and paint, and follow its application and drying directions. Sealer does not necessarily make air-dry clay waterproof, food-safe or suitable for outdoor use. Treat a finished tray as a place for dry items such as keys, rather than as a dish for snacks or a holder for a wet plant pot.
If a first project cracks or warps, use it as a clue for the next one. Try a smaller form, a more even thickness or a gentler drying spot. Keep a few scraps to test joins, paint and sealer before using them on a piece you care about. Air-dry clay rewards experimentation: a modest project teaches you how your particular clay behaves, and each attempt makes the next shape easier to plan.