Start with what you have
A paper collage is an easy way to try making art without needing to draw. You build an image or pattern by arranging pieces of paper and attaching them to a surface. Old envelopes, packaging, magazine pages, gift wrap, maps and leftover craft paper can all become useful material. A scrap that looks unremarkable on its own may be just the color or texture your collage needs.
Gather a sturdy base, such as cardstock, a cereal-box panel or a page from a sketchbook. You will also need scissors, a glue stick or a small amount of liquid craft glue, and a flat surface to work on. If your paper is thin, a glue stick may help you avoid wrinkles. Set aside scraps with interesting colors, printed words or patterns, but do not worry about collecting a perfect selection before you begin.
Choose a small idea
A simple starting point keeps the project manageable. You might make a landscape from bands of color, a bowl of fruit from rounded shapes, or an abstract arrangement inspired by a favorite color. For a first collage, try a base no larger than a notebook page. A smaller area takes fewer pieces to fill and makes it easier to see how the parts work together.
Sort your scraps into a few loose groups before cutting anything. Grouping by color, texture or type of print helps you notice useful combinations. Pick two or three colors to lead the piece, then let other scraps play supporting roles. You do not need a detailed plan: a rough idea gives you direction while leaving room for a surprising shape or pattern.
Build the composition before gluing
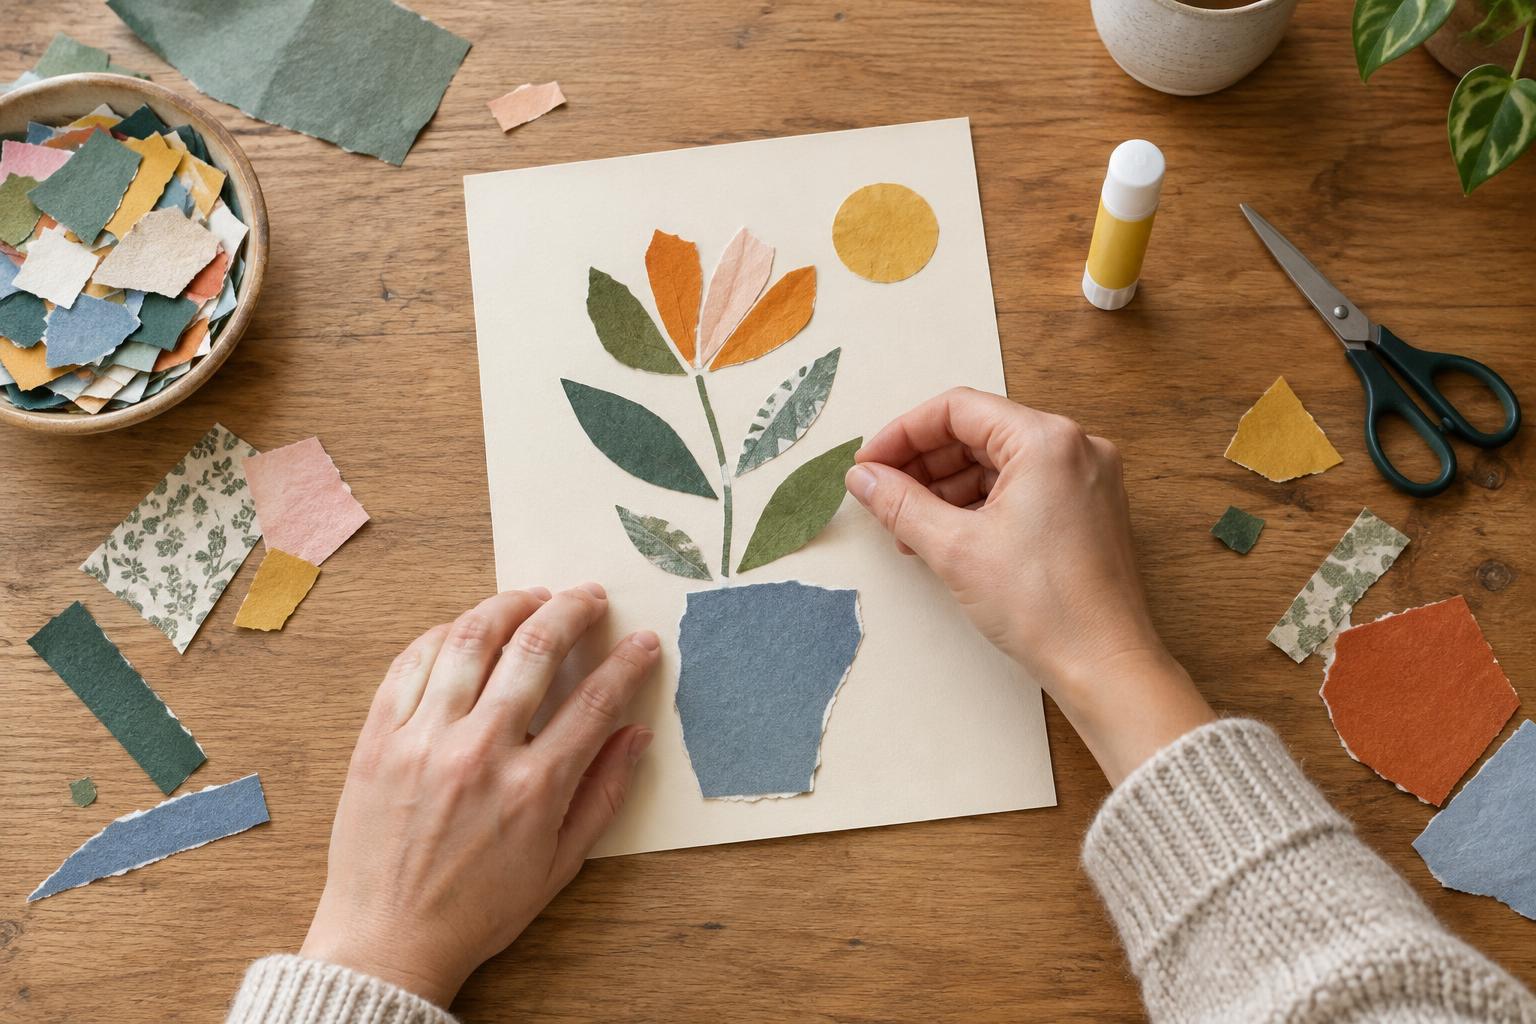
Cut or tear several pieces and place them on your base without glue. Scissors give you clean edges; tearing creates softer, irregular ones. Try both if you like. Larger pieces can establish a background or main shape, while smaller pieces add detail. If you are making a scene, begin with broad areas such as sky, ground or a tabletop rather than tiny objects.
Move the pieces around and look at the collage from a short distance. Is there one area that catches your eye? Are the shapes spread out, or has everything gathered in one corner? You can overlap pieces to create depth, leave some of the base visible for breathing room, or repeat one color in different parts of the design to connect them. There is no single correct arrangement. Stop adjusting when the layout feels clear enough to hold together, even if it is not perfectly balanced.
Glue in layers
Once you like the arrangement, take a quick photo if you want a reminder of where the pieces go. Lift off the top pieces and glue the background shapes first. Apply glue close to each edge, then press the paper down gently from the center outward. Work in small stages, adding overlapping pieces in the same order you arranged them.
Use only enough glue to make each piece stick. Too much liquid glue can dampen thin paper and cause it to buckle. If an edge lifts, add a little glue beneath it rather than coating the whole surface again. You can protect your work area with a spare sheet of paper and use another clean sheet to press pieces down without getting glue on your fingers.
Add details and let it settle
When the main pieces are attached, look for places where one small addition would help. A strip of text might suggest a label, a tiny circle could become a sun, or a contrasting shape might give an abstract collage a focal point. Resist the urge to fill every gap. Open space can make your chosen scraps stand out.
Let the collage dry flat. If the base curls slightly, place it beneath a clean sheet of paper and a light, flat book after the glue is dry to the touch. You can display the finished piece on a shelf, put it in a frame, or use it as the front of a handmade card. Keep a few unused scraps for the next project; part of the pleasure of collage is discovering a new purpose for something you nearly threw away.