Start with a small, simple setup
Foam sheet printmaking is an approachable way to explore relief printing without carving tools. You press lines into a soft surface, roll or dab ink across the raised areas, then transfer the design to paper. The grooves usually stay lighter because less ink reaches them. Each print may vary a little, which is part of the appeal.
Choose a smooth printing foam sheet or a clean, flat piece cut from a foam food tray. You will also need plain paper, a blunt pencil or ballpoint pen, washable water-based block-printing ink, and a brayer (a small ink roller). A smooth plastic lid or plate can serve as an inking surface. Keep scrap paper, a damp cloth and a dry cloth nearby. Cover your work area and check the ink label for surface and cleanup guidance. Even washable ink can stain some fabrics or porous tables.
Plan a design that will print clearly
For a first print, try a leaf, a cup, a simple landscape or a pattern of repeated shapes. A design roughly the size of a postcard is easy to handle. Leave generous space between thin lines: lines pressed too close together can blend when ink is applied. Avoid tiny details until you have seen how your foam and ink behave.
Sketch lightly on paper first, then place the sketch over the foam and trace it firmly with a blunt pencil. You can also draw directly into the foam. The goal is a visible dent, not a puncture. Press a little deeper where you want a pale line, and use broad shapes rather than relying on delicate shading. If your design includes letters or numbers, draw them backward on the foam so they read correctly in the print. For a first attempt, it is simpler to leave text out.
Ink the foam and pull a test print
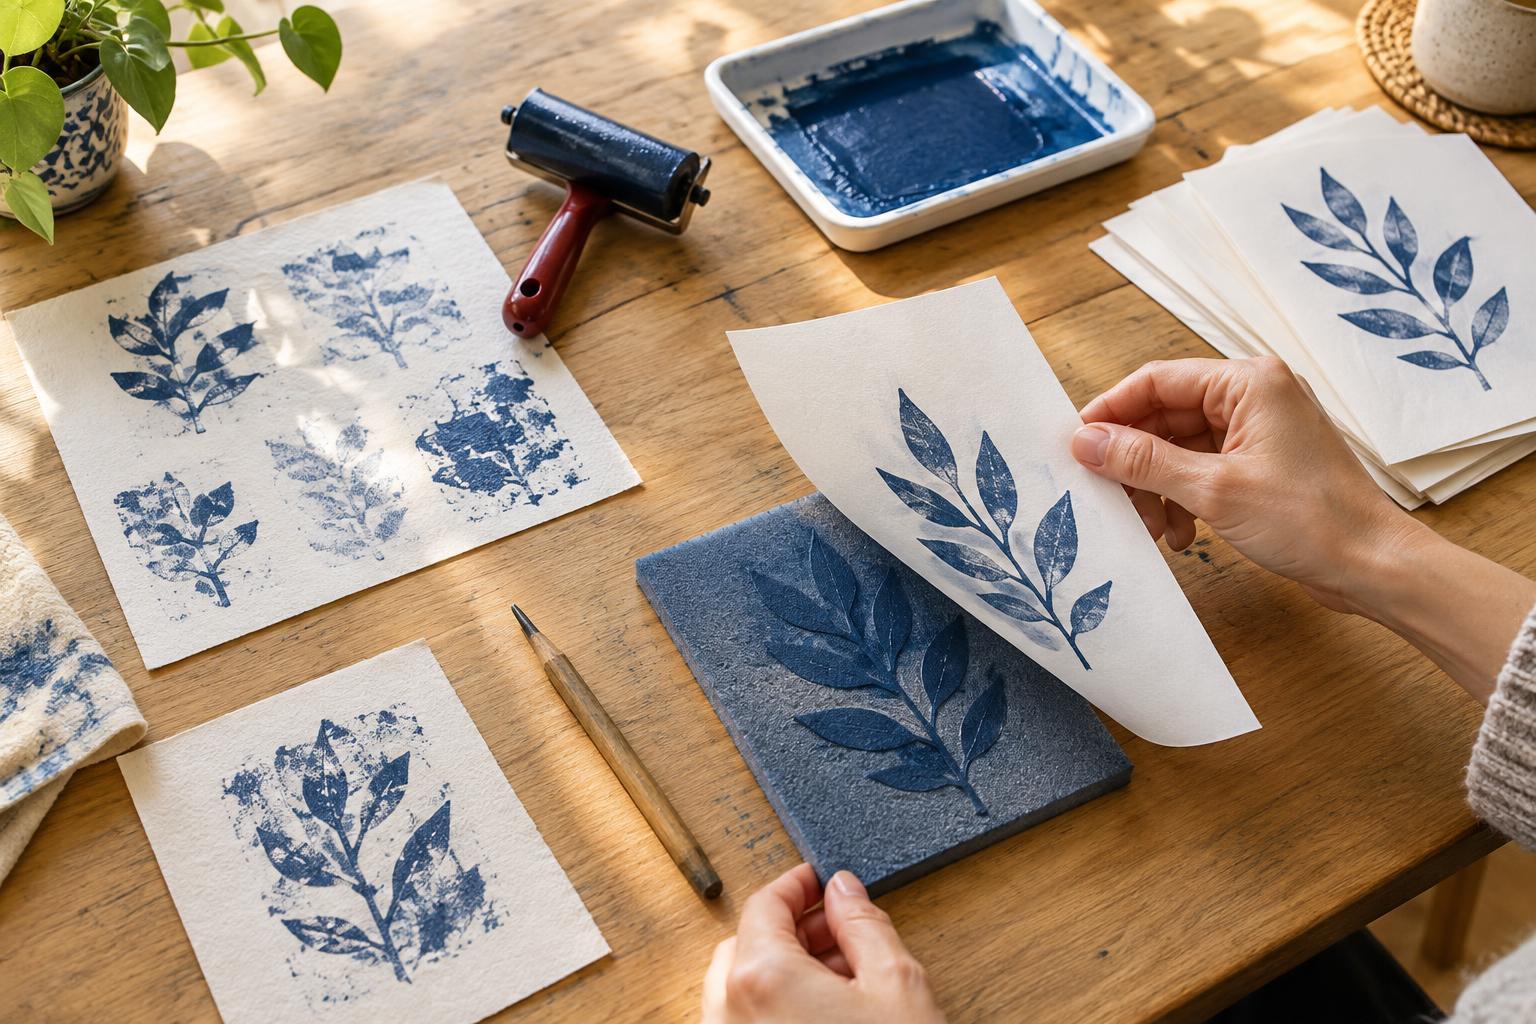
Put a small amount of ink on your inking surface and roll it out into a thin, even layer. Roll the brayer across the foam with light pressure. You want to coat the raised surface without pushing ink down into every groove. If you do not have a brayer, a small piece of sponge can work, though it may leave a more textured result. Start with less ink than you think you need; you can add another light coat.
Set the inked foam face down on a sheet of paper. Hold it steady and rub the back gently with your palm or a clean spoon, working across the whole design. Lift one edge carefully to reveal the print. For a simple single-color design, you can also leave the foam face up and place the paper on top, then rub the back of the paper. Whichever approach you use, avoid sliding the surfaces against each other.
Treat this first impression as information rather than a finished piece. If the image is faint, try a little more ink or more even rubbing. If the grooves fill in, use less ink and lighter rolling pressure. If one side is missing, check whether the paper received even contact. Make one adjustment at a time so you can tell what helped.
Make a small edition and try variations
Once you like the test print, re-ink the foam and make several impressions. Lay each sheet somewhere clean and flat to dry, following the ink’s directions. Prints from the same foam design form a small edition, but they do not need to look identical. Slight changes in ink coverage or pressure can give each one a different character.
Experiment with paper before redesigning the foam. Smooth paper tends to show fine lines more clearly, while textured paper can create a broken, grainy effect. You might print the same motif on folded cards, or rotate a simple shape to build a repeating pattern on a larger sheet. To use a second color, let the first layer dry and position the foam carefully for the next impression. Registration can be tricky, so an intentionally loose overlap is often easier than aiming for a perfect match.
Clean up and keep learning
Wipe excess ink from the brayer and inking surface before washing them as directed on the ink label. Gently clean the foam without scrubbing away its pressed lines, then let everything dry before storing it. Keep inky tools separate from items used for food.
Save your test prints alongside the successful ones. A faint line may suggest a bolder design next time; an interesting patch of texture may become something you choose deliberately. Foam sheets can wear down after repeated printing, but their low-pressure technique makes it easy to start again with a fresh design. One small image, printed a few different ways, is enough for a satisfying first session.