Gather your supplies and choose a practice fabric
A straight seam joins two pieces of fabric along a line set in from their edges. To practice, cut two small rectangles of woven cotton, such as fabric from an old pillowcase. A fabric that holds its shape is easier to handle than something stretchy or slippery. You will also need a hand-sewing needle, all-purpose thread, scissors, pins or sewing clips, and a ruler. A washable fabric marker or tailor’s chalk is useful for drawing a guide.
Choose a needle that passes through your fabric without needing much force. Cut a length of thread about as long as your forearm: a very long thread can tangle as you pull it through. Thread the needle and bring the ends together if you want to sew with a doubled thread. Tie a small knot in the ends. A single strand also works for practice, provided you knot one end.
Mark the seam before you stitch
Place the two fabric pieces together with the sides you want visible in the finished project facing each other. Align the edges, then pin or clip the layers so they cannot shift independently. The distance between the fabric edge and your stitching line is the seam allowance. For this exercise, measure a consistent allowance of about 1.5 cm (5/8 inch) and draw a line parallel to the edge on the upper layer.
Check that both layers lie flat, especially near the pins. If the fabric bunches, smooth it out and reposition the pins before sewing. A marked line is helpful even if you eventually hope to sew without one: it gives your eye a clear target and lets you concentrate on the motion of the needle. Sew on a scrap first if you are unsure whether your marking tool will wash out.
Make a steady line of stitches
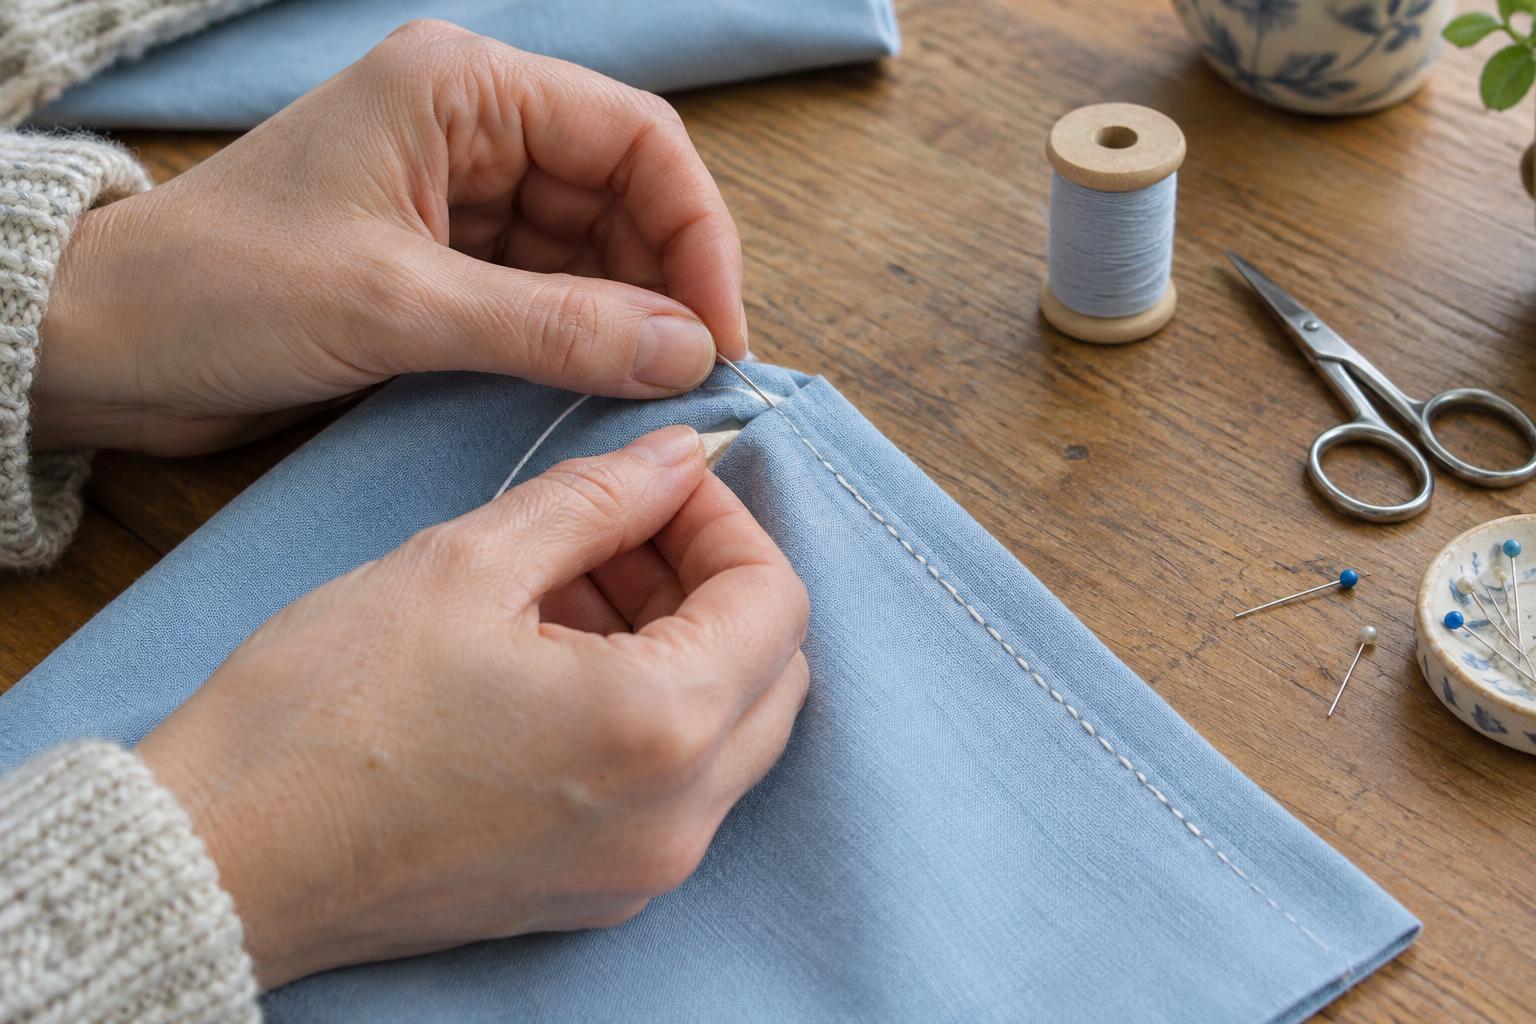
Start at one end of the marked line. Bring the needle up from the underside, close to the start, and pull until the knot rests against the fabric. For a simple running stitch, push the needle down a short distance ahead on the line, then bring it back up roughly the same distance farther along. Repeat, passing through both layers each time. Aim for similar stitch lengths on the top and underside rather than trying to make each one tiny.
Let the needle follow the marked line and move the fabric with your free hand as you work. Pull the thread through until it lies flat, but do not tug hard enough to wrinkle the fabric. If you see puckers, ease the thread back slightly before continuing. Running stitch is quick and useful for learning control, though its gaps make it less secure when a seam will be pulled or washed often.
For a stronger seam, use backstitch instead. After bringing the needle up, insert it back into the end of the previous stitch. Bring it up again a stitch length ahead of your last exit point, then repeat. On the visible side, the stitches meet rather than leaving gaps. It takes longer than running stitch, but is a useful choice for a small repair or a seam that needs to hold firmly.
Finish the thread and inspect your work
When you reach the end of the line, take one small stitch in place. On the underside, slide the needle under a nearby stitch to make a loop, pass the needle through the loop, and pull it snug. Repeat once, then trim the thread, leaving a short tail. If you run out of thread before reaching the end, secure it the same way and begin a new length with a knot near where you stopped.
Remove the pins and open the joined fabric to inspect the seam. If a section has missed the lower layer, resew that section rather than relying on the surrounding stitches. Gently press the seam flat with an iron set appropriately for your fabric, if you have one. Pressing does not fix uneven stitches, but it helps the fabric settle and makes the result easier to judge.
Practice for a straighter result
If your seam wanders, slow down and focus on where the needle enters the fabric, not on the thread trailing behind it. Try making several short practice seams along drawn lines. Keeping the fabric supported on a table can help prevent its weight from pulling your hands off course.
A tidy hand-sewn seam comes from consistent preparation as much as careful stitching. Align the layers, mark a clear path, take manageable stitches, and check both sides as you go. Once those steps feel familiar, you can try the same technique on a simple project such as a fabric pouch or a small household repair.