Mistake 1: Painting before the surface is ready
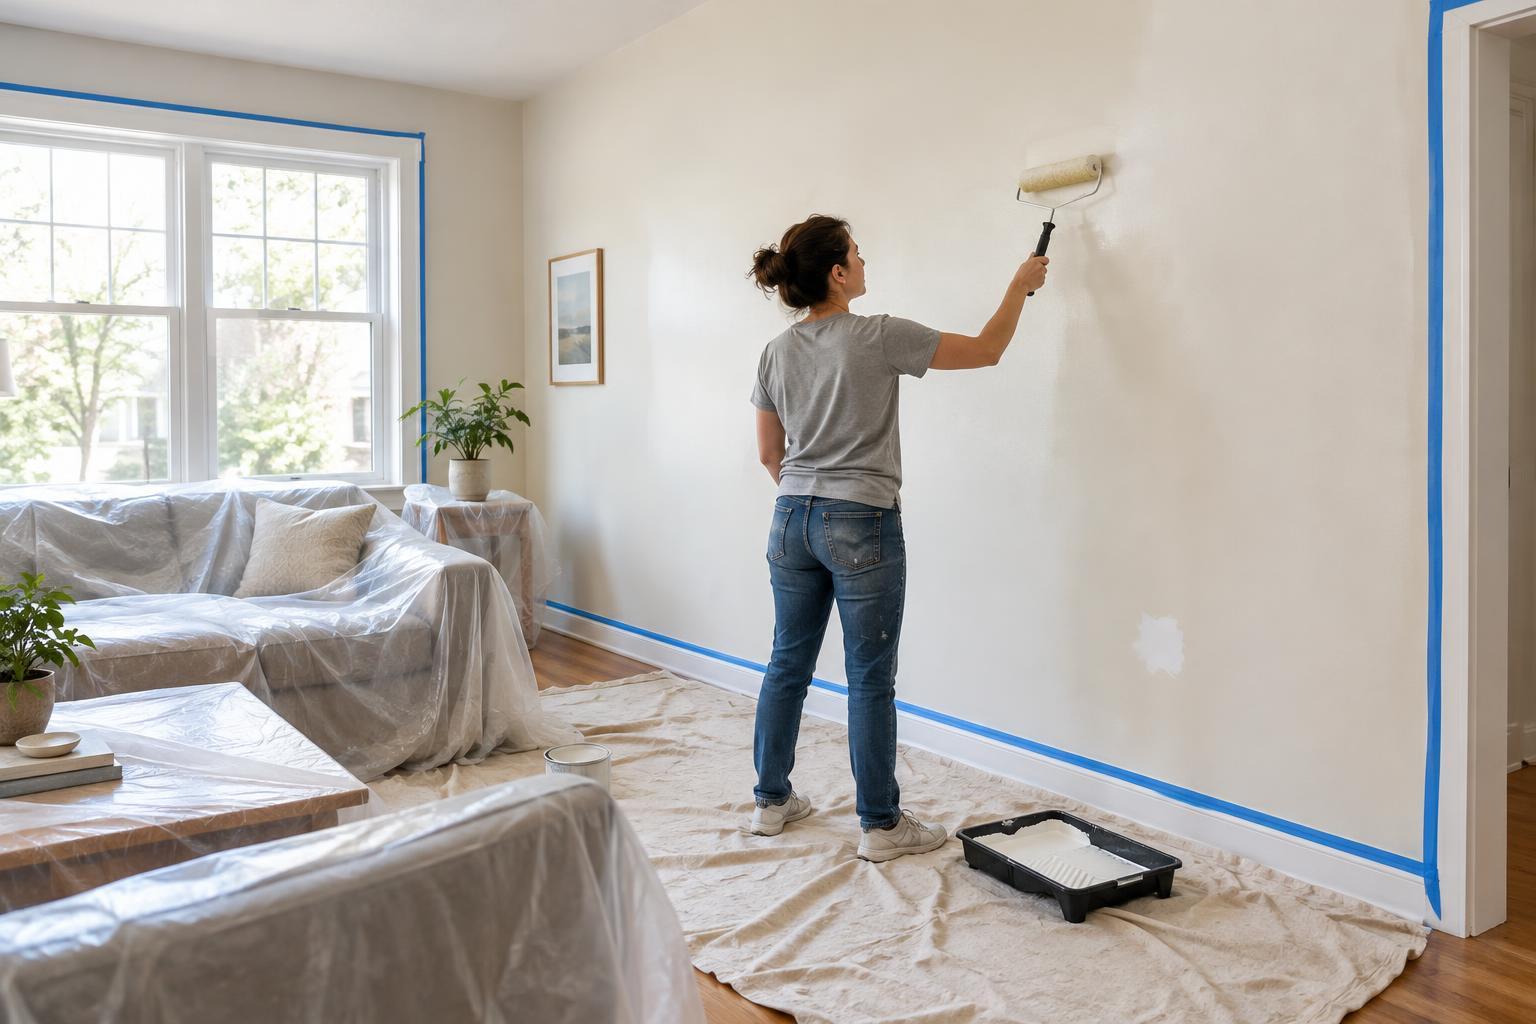
Fresh paint draws attention to the wall beneath it. Dust, grease, loose paint and small dents can leave a finished room looking patchy even when the color is beautiful. Before opening a can, move furniture away from the walls, protect the floor and remove switch plates where practical. Clean the surfaces, paying particular attention to areas near doors, cooking spaces and frequently touched corners. Let the walls dry before doing anything else.
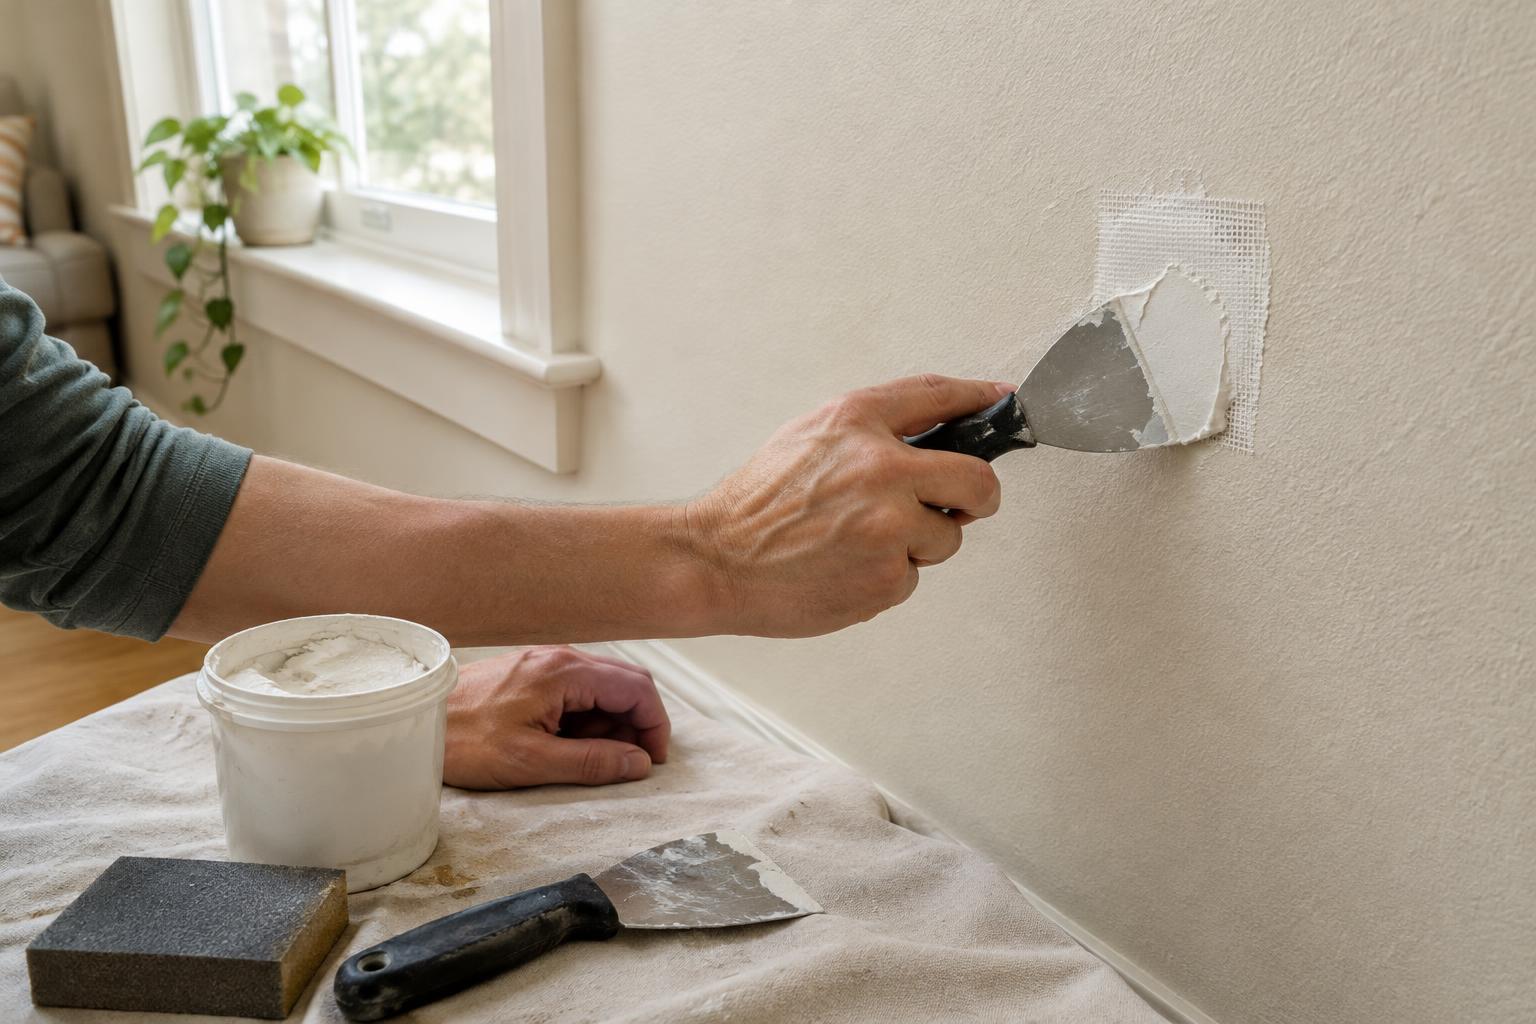
Fill small holes with a suitable patching compound and allow it to dry as directed. Sand repairs until they feel level with the surrounding wall, then remove the sanding dust. Scrape away any loose or peeling paint rather than painting over it. If you encounter extensive peeling, persistent dampness or an unfamiliar old coating, pause to identify the cause before proceeding. Older homes may have paint that requires special handling; avoid sanding or disturbing a suspect coating until you know how to work with it safely.
Mistake 2: Choosing a color or finish from a tiny sample
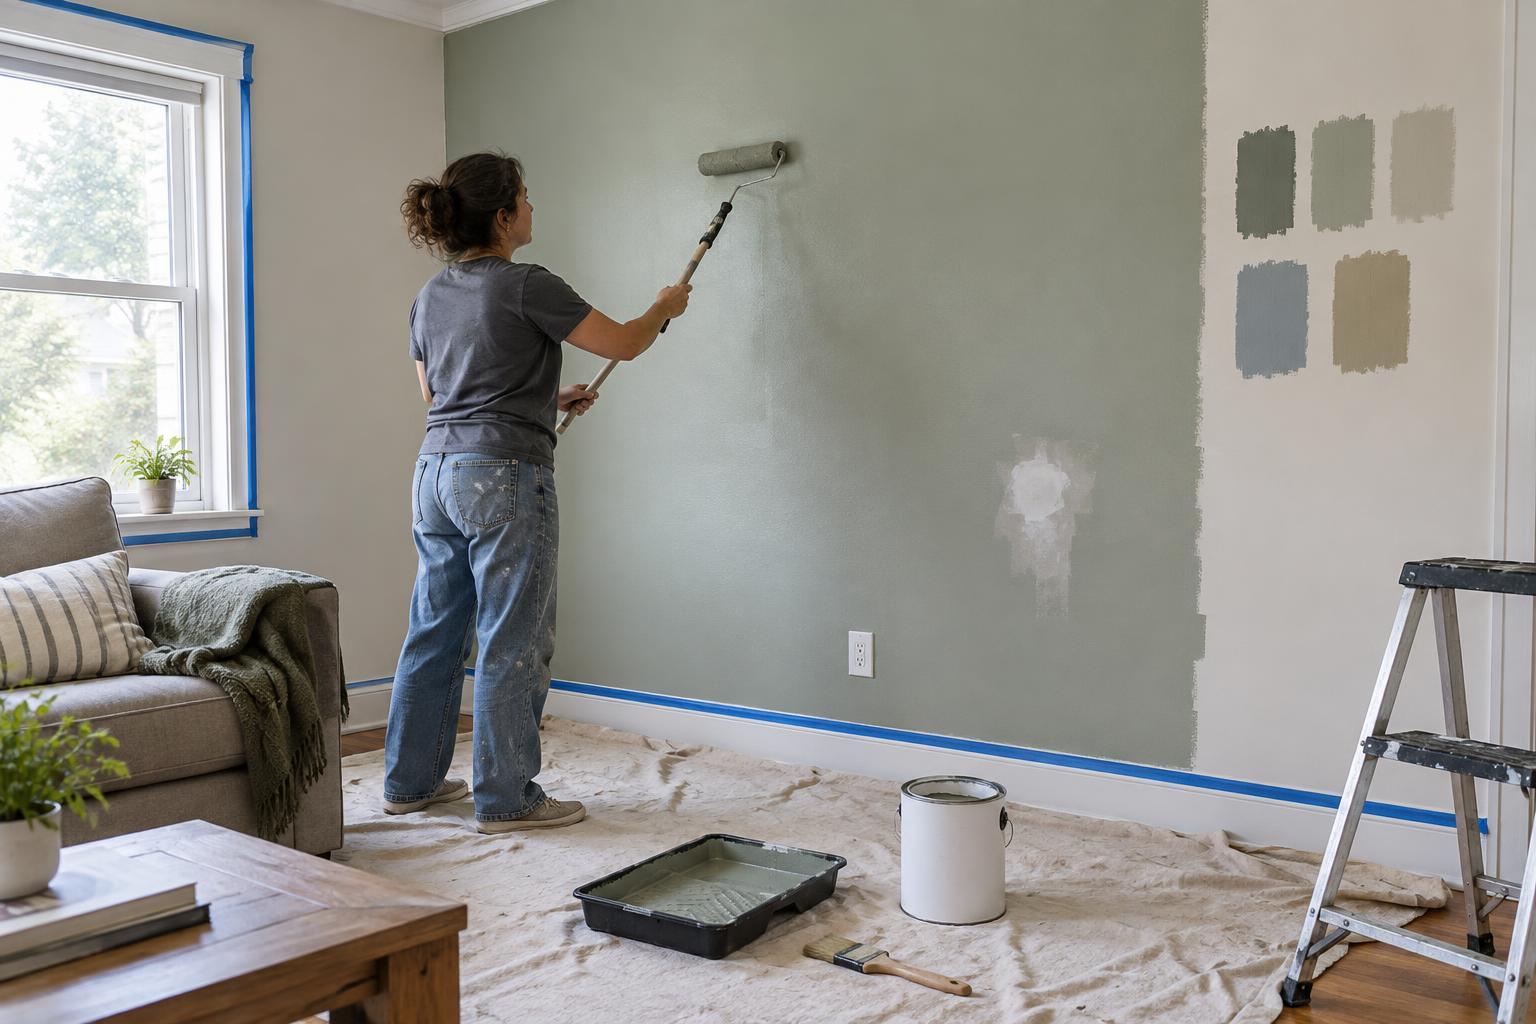
A color that looks perfect on a card can feel different across an entire room. Nearby flooring, furniture and daylight all affect how you perceive it. Test a few candidates on the wall or on movable sample boards. Look at them in several parts of the room and under the lighting you normally use. This is especially helpful when deciding between similar whites or muted colors, whose undertones can be easier to notice at home.
Finish matters as much as color. Flatter finishes tend to disguise minor surface imperfections but may be harder to clean; glossier finishes are often easier to wipe down but can emphasize uneven walls. Think about how the room is used and check the paint label for its recommended applications. If you need several cans of the same color, make sure their labels and finish match. Mixing the contents together in a larger container, when practical, can help keep the color consistent across a wall.
Mistake 3: Skipping primer or using the wrong supplies
Primer is not necessary for every repaint, but skipping it in the wrong place can lead to uneven color or poor coverage. Consider a suitable primer over bare patches, new drywall, repaired areas, stains or a strong existing color. Different surfaces and stains call for different products, so read the labels and follow the preparation and drying directions. If you are unsure whether a product suits the surface, test it in an inconspicuous spot.
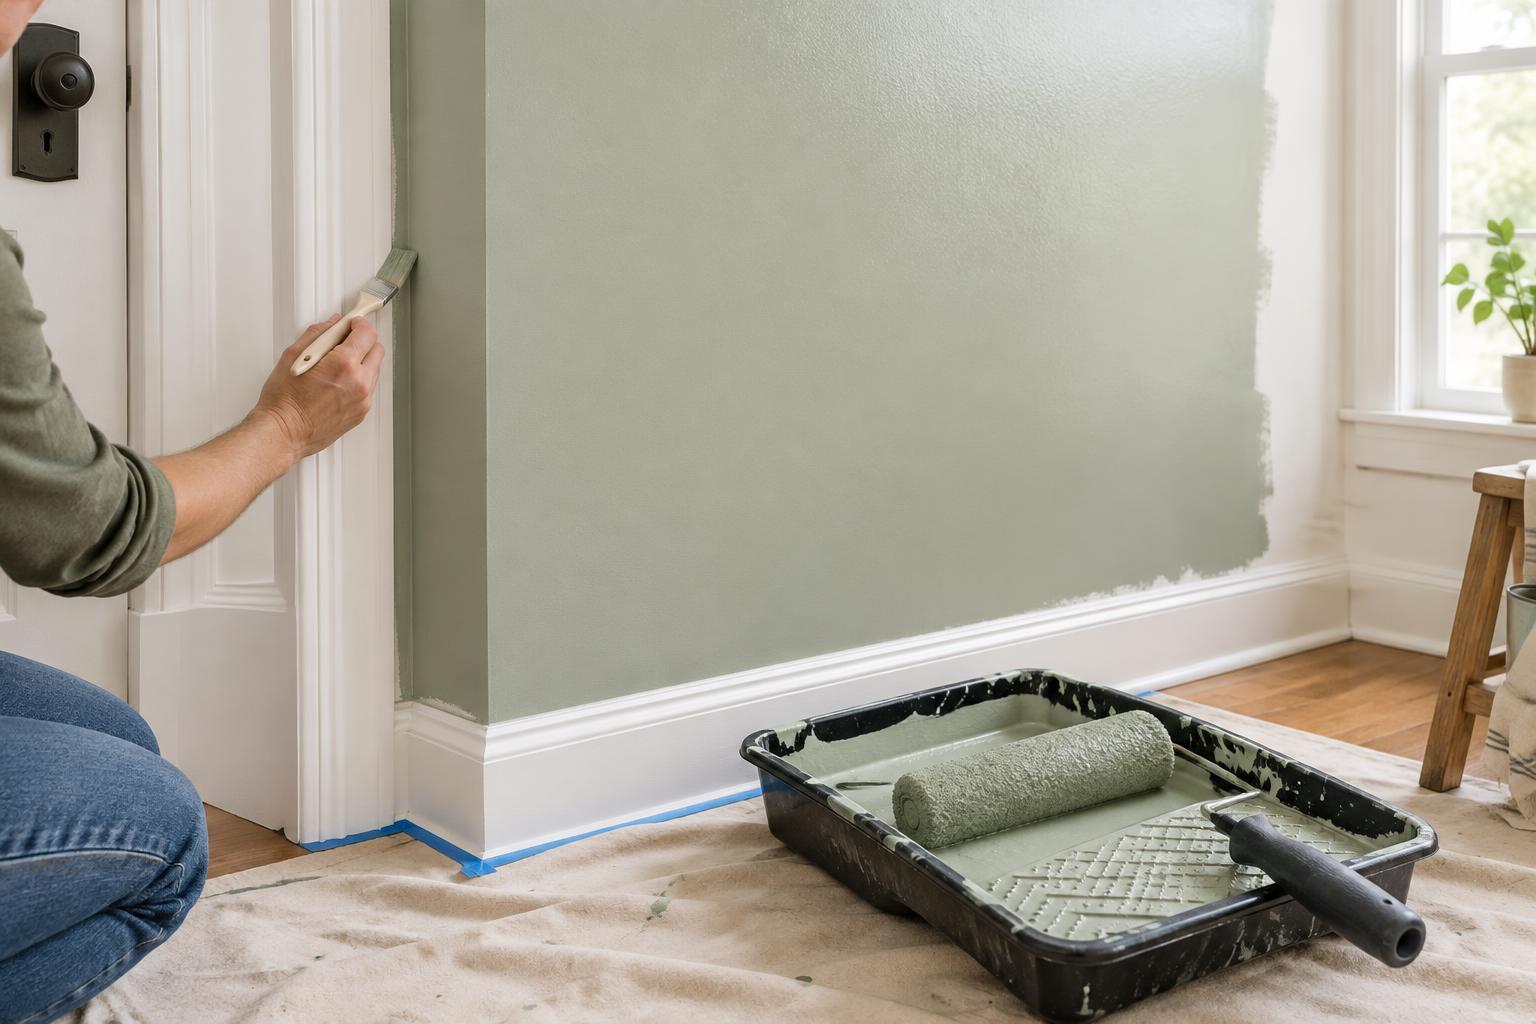
Tools affect the finish, too. Choose a roller cover suited to the wall texture and the paint, and use a brush that works with the product you bought. A very thick roller cover on a smooth wall can leave more texture than expected; a cover that is too thin may struggle on a rough surface. Keep a clean damp cloth nearby for prompt cleanup, and use painter’s tape where it will genuinely help protect trim or create a crisp boundary. Press its edge down firmly rather than assuming the tape alone will prevent seepage.
Mistake 4: Rushing the application
Heavy coats are tempting when you want to finish quickly, but they are more likely to drip, show roller marks or dry unevenly. Stir the paint thoroughly, load the roller without soaking it, and work in manageable sections. After brushing around trim and corners, roll the adjacent area while that brushed paint is still wet where possible. This helps soften the visible boundary between brush and roller work.
Maintain a wet edge as you move across a wall, rather than painting scattered spots and joining them later. Use steady, overlapping passes and avoid repeatedly rolling over paint that has begun to set. If the first coat looks imperfect, resist the urge to keep touching it up while it dries. Let it dry for the time stated on the can, then assess whether it needs another coat. Good lighting will help you spot missed areas without overworking them.
Mistake 5: Treating “dry to the touch” as finished
Paint can feel dry before it is ready for another coat, tape removal, furniture or cleaning. Follow the product’s guidance for recoating and allow extra patience when conditions are cool or humid. Remove tape according to its instructions; waiting too long can make removal difficult, while pulling it carelessly can damage a fresh edge. If an edge seems stuck, lightly score along it with a sharp blade, taking care not to cut the wall.
Ventilate the room as the product directions recommend, keep children and pets away from wet paint, and store leftover paint with the lid sealed and the color noted. Wait before washing newly painted walls, following the label’s curing guidance. Taking these final steps is less exciting than choosing a color, but it helps the work you have done hold up to everyday use.