Start with the surface, not a favorite tool
Most room-painting jobs call for both a paintbrush and a roller. A roller covers broad areas efficiently and helps produce a consistent finish across a wall. A brush puts paint precisely where a roller cannot easily reach: along ceilings, beside trim, inside corners and across narrow surfaces. Trying to do everything with one tool usually makes the job slower.
Before choosing either one, look at the size and shape of the surface. Open wall space favors a roller. Thin edges, profiles and obstacles favor a brush. The paint and surface texture matter too: a smooth door casing needs a different approach from a lightly textured wall. Check the paint label for any tool or application guidance, especially if you are using a specialty finish.
Use a roller for open walls
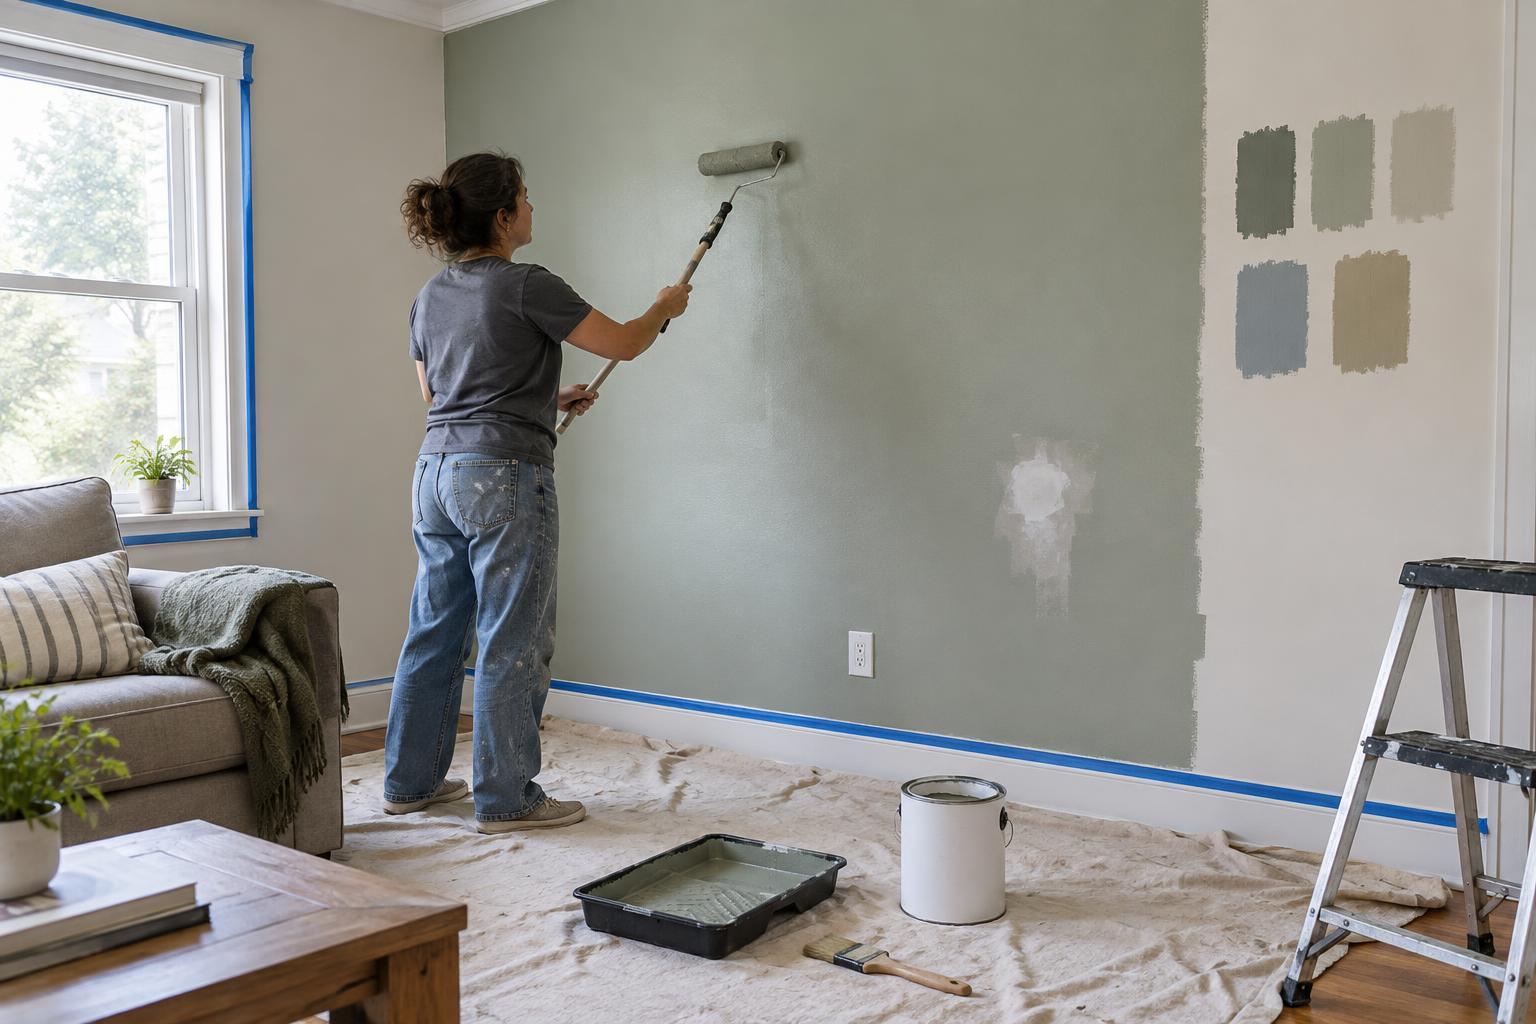
For the main area of a wall, a standard roller is the practical choice. Its wide sleeve spreads paint faster than a brush and, with steady pressure, can leave a more uniform texture. Roller covers come in different pile lengths, often called nap. A shorter nap generally suits smooth walls, while a longer nap can reach into more textured surfaces. An overly thick cover on a smooth wall may leave more texture than you want.
Load the roller evenly, then roll off excess paint on the tray or grid so it does not drip. Work in manageable sections, spreading the paint before it begins to dry. Finish each section with light passes in a consistent direction, overlapping the neighboring section slightly. Avoid pressing hard to squeeze out the last paint; that can create uneven coverage and roller marks. If the finish looks patchy after drying, another coat is usually more effective than repeatedly working over paint that has started to set.
A smaller roller can also be useful on broad, flat parts of a door or other surfaces too narrow for a standard roller. Test it in an inconspicuous spot if the final texture is important: a roller may leave a subtle stipple that looks different from a brushed finish.
Choose a brush for trim and detail
Brushes offer control on baseboards, door frames, window trim and other narrow areas. An angled sash brush is especially handy where one painted surface meets another. Its slanted tip can follow an edge while the fuller part of the bristles carries enough paint to keep a stroke moving. A straight-edged brush can work well on wider, uncomplicated trim.
Match the brush to the paint as well as the task. Synthetic-bristle brushes are commonly used with water-based paints; for other finishes, follow the product guidance. Dip only part of the bristles into the paint and tap off excess rather than letting paint collect near the metal band. Apply thin, controlled coats and brush along the length of the trim. Heavy loading may seem faster, but it makes drips and visible brush marks more likely.
For trim with grooves or decorative profiles, brush paint into the recessed areas first, then smooth the flatter faces with longer strokes. Watch for paint gathering at the bottom of a profile or along an edge, and level it while it is still wet.
Handle corners and edges with a brush
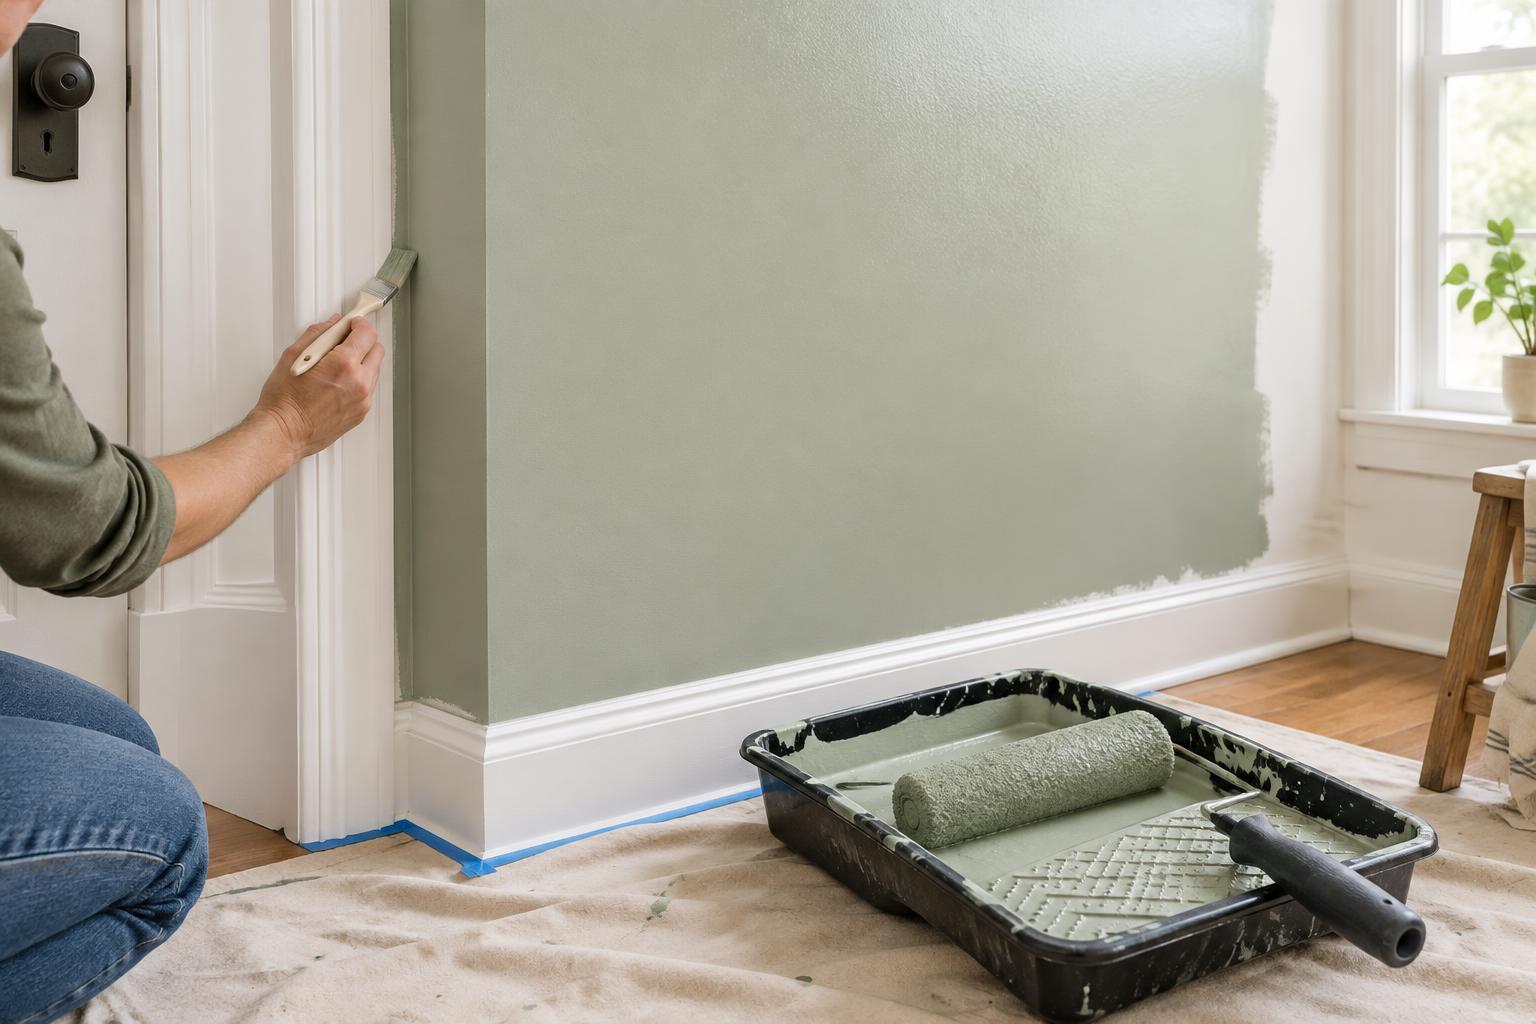
A roller cannot reach all the way into an inside corner or neatly meet a ceiling line. Use a brush to paint a narrow band along these areas before rolling the open wall. Painters often call this “cutting in.” Keep the band wide enough for the roller to overlap without bumping the ceiling or adjacent trim.
For the cleanest-looking transition, roll the nearby wall while the brushed band is still wet when practical. This helps the two areas blend instead of drying with noticeably different textures. If you need to pause, finish a complete wall section rather than stopping halfway along a highly visible edge.
Painter’s tape can help protect a neighboring surface, but it does not replace careful application. Press its edge down, avoid flooding it with paint and remove it according to the tape maker’s directions. If you are painting two surfaces different colors, let the first one dry as directed before masking it.
Put the tools to work in a simple sequence
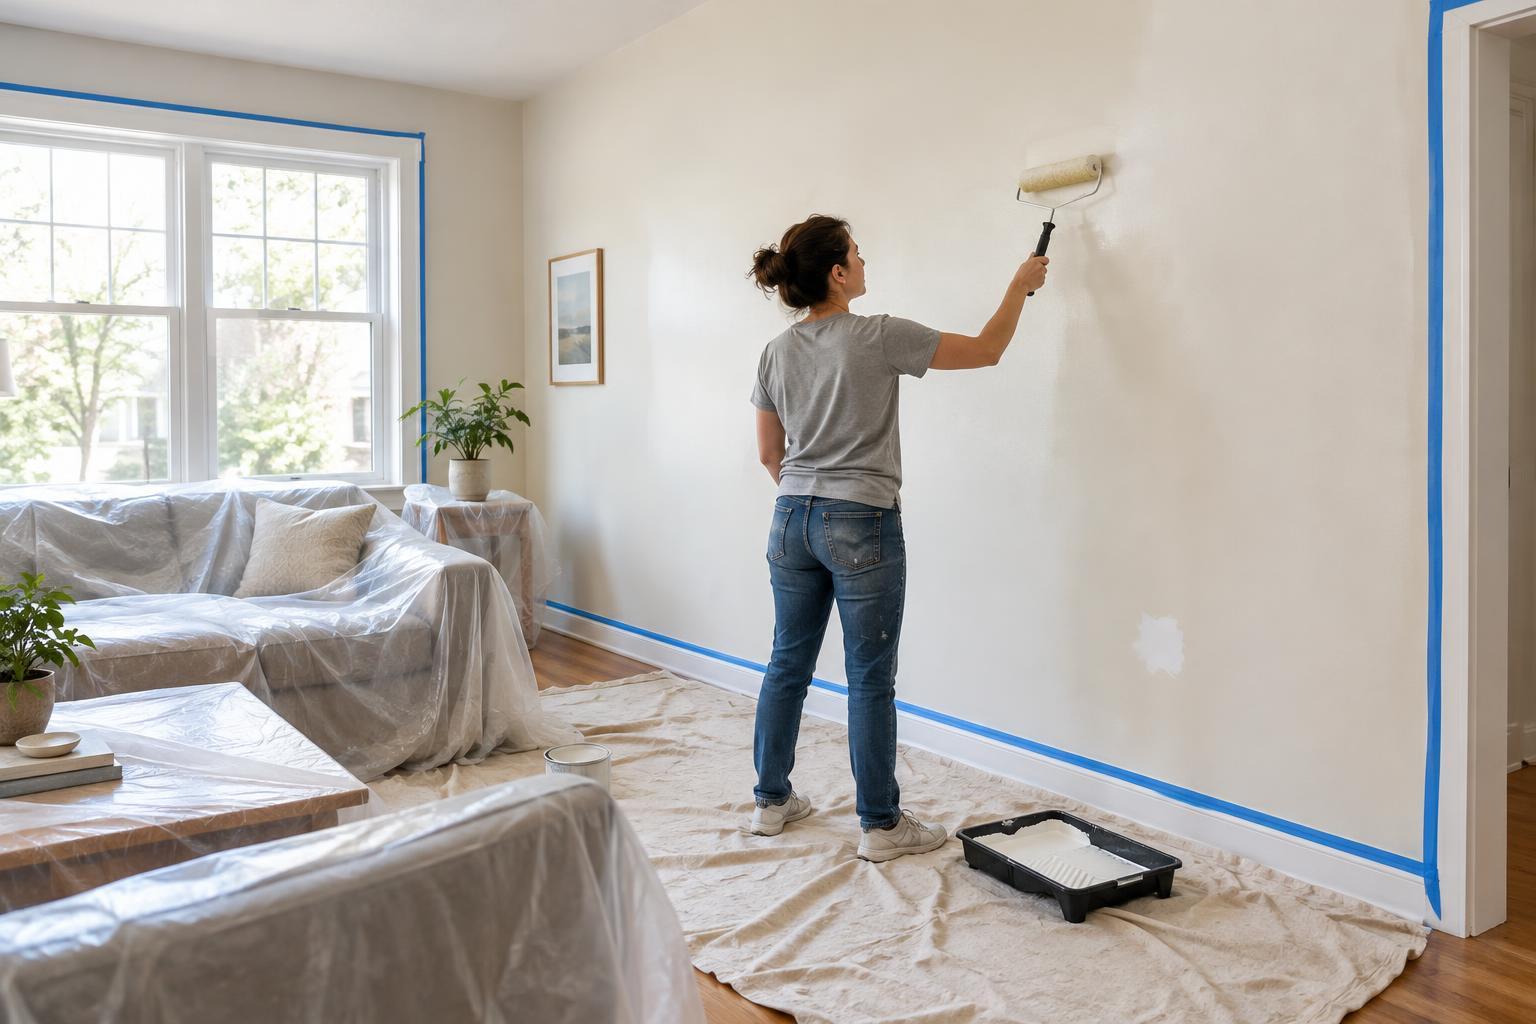
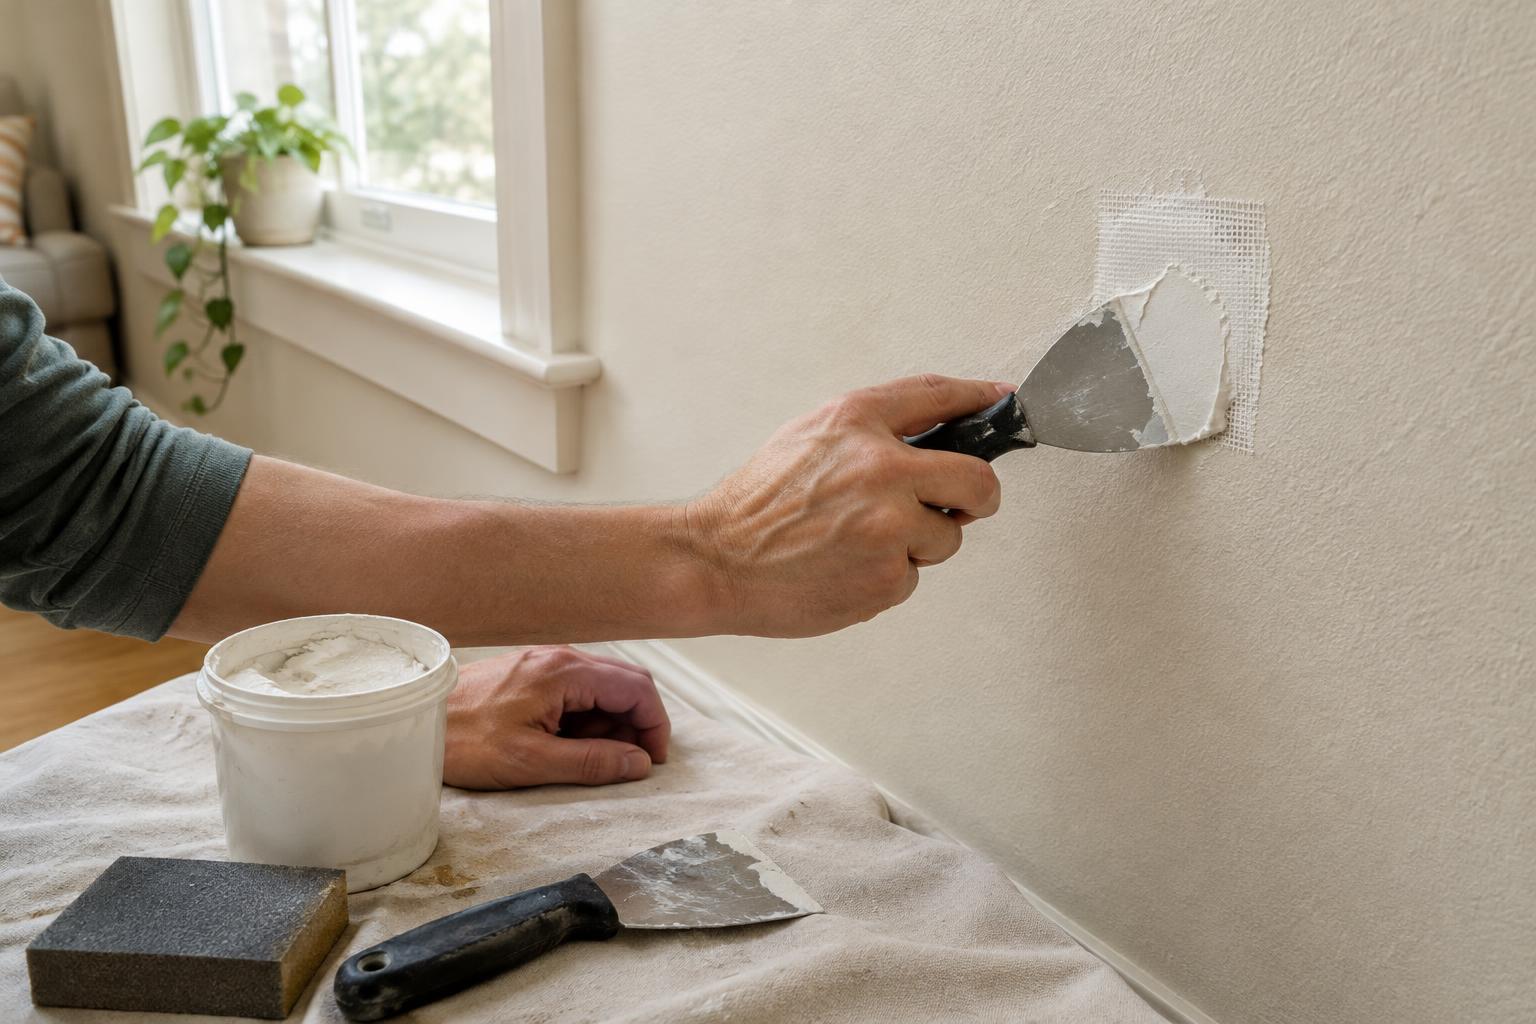
Protect floors and furniture, clean the surfaces and repair obvious holes or loose paint before opening the can. Once the surface is ready, use a brush for corners, edges and tight spaces, then roll the broad areas. Paint trim separately with a brush, taking care not to drag wall paint onto it. The exact order of walls and trim can vary by project; what matters most is allowing one surface to dry sufficiently before taping or painting closely against it.
Keep a damp cloth nearby for small fresh mistakes, and pause occasionally to check the wall from different angles. Good lighting makes missed spots and drips easier to see. When you are done, clean reusable brushes and roller covers according to the paint and tool instructions. Choosing the right tool for each part of the room—and keeping both tools lightly, evenly loaded—does more for the finished result than trying to paint faster.