Gather supplies and make room to work
Painting one wall is a manageable home project when you treat preparation as part of the job, not a delay before the fun part. Start with interior wall paint in your chosen finish, a roller frame and cover suited to the wall’s texture, a paint tray, and an angled brush for edges. You may also need a scraper, filler, sandpaper, primer, painter’s tape, drop cloths, and a damp cloth. Check the paint label for coverage, drying guidance, and any instructions specific to the product.
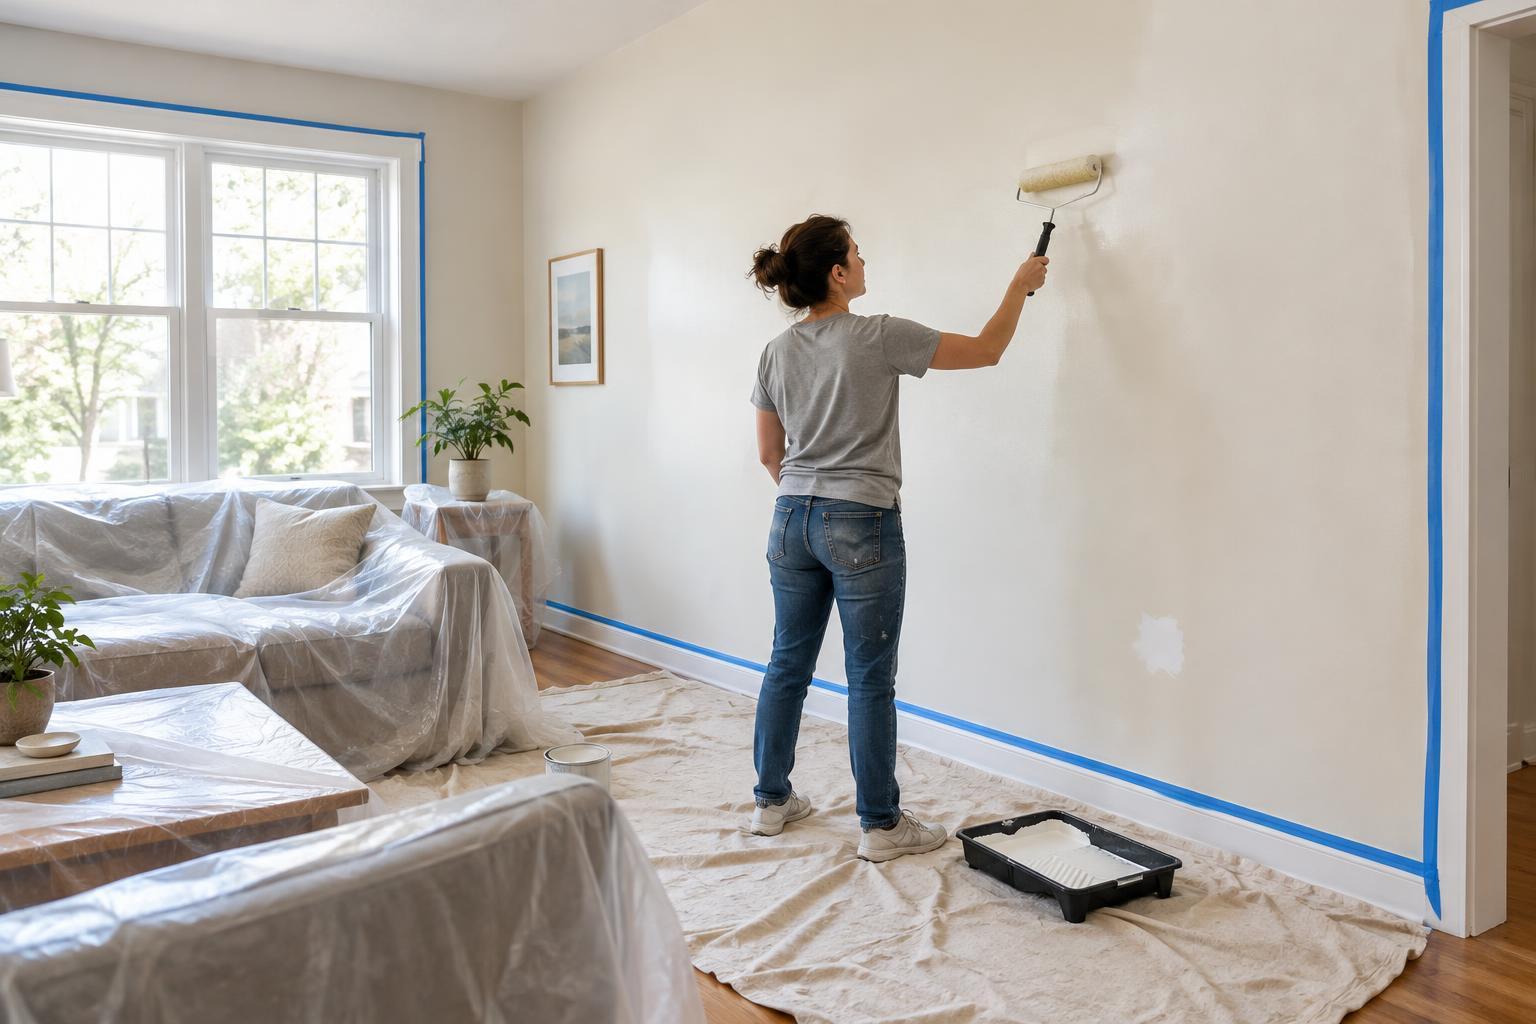
Move furniture away from the wall and cover anything that must stay nearby. Lay drop cloths across the floor, including the area where you will set down the tray. Remove pictures and wall-mounted hardware where practical. Take off outlet and switch plates rather than painting around them; keep screws together in a small container. Keep paint and wash water out of electrical fittings. Open a window or use ventilation as appropriate for the product, and place a step stool or ladder on a stable surface rather than stretching to reach a corner.
Inspect, repair, and clean the surface
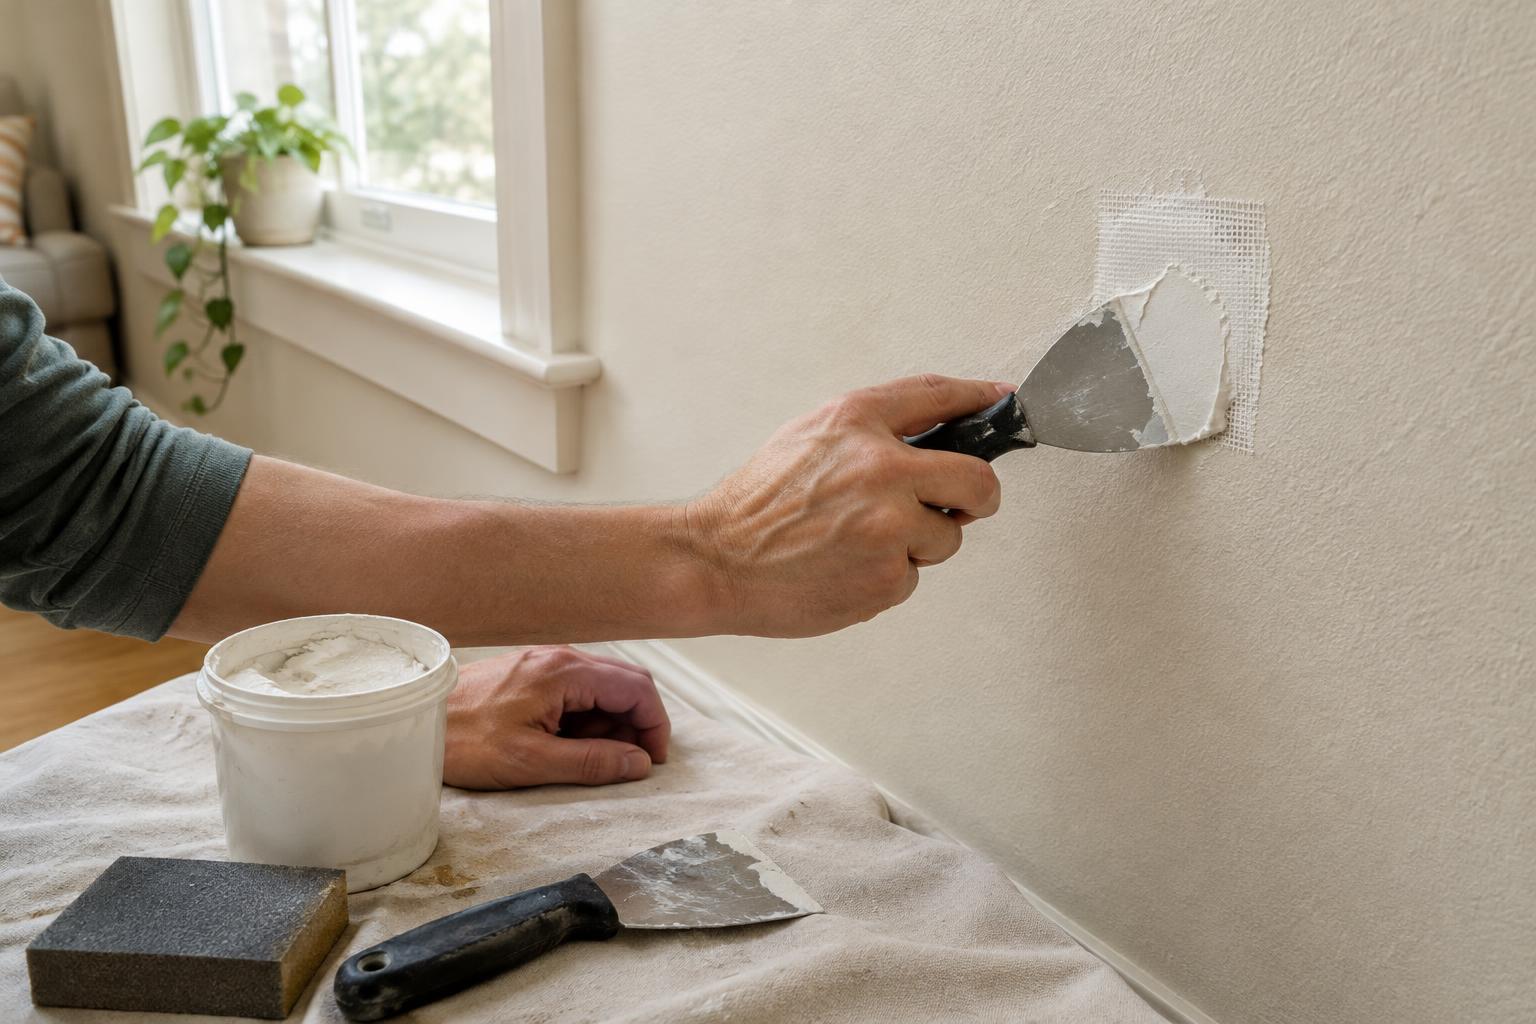
Look at the wall in good light. Small nail holes and shallow dents can usually be filled with a suitable wall filler. Follow its instructions, let it dry, then sand the patch until it feels level with the surrounding surface. Scrape away paint that is already loose, but do not keep sanding or scraping a coating if you are unsure what it is. In an older home, disturbing old paint may require extra precautions; seek appropriate local guidance before proceeding if that is a possibility.
Wipe dust from the wall, especially around patched areas, baseboards, and corners. Remove greasy marks with a cleaner suitable for the surface, then follow the cleaner’s directions about rinsing and drying. Paint adheres more reliably to a sound, clean, dry wall than to dust or residue. If the wall has persistent moisture, peeling, or a recurring stain, address the underlying problem before painting over it.
Decide whether to prime and protect the edges
Primer is useful when you have bare drywall, several filler patches, a strong color change, or stains that need a compatible stain-blocking product. It can help create a more even surface for the finish coats. A previously painted wall in good condition may not need a separate primer, depending on the new paint and the surface. When in doubt, read the paint and primer labels for compatibility and recommended preparation.
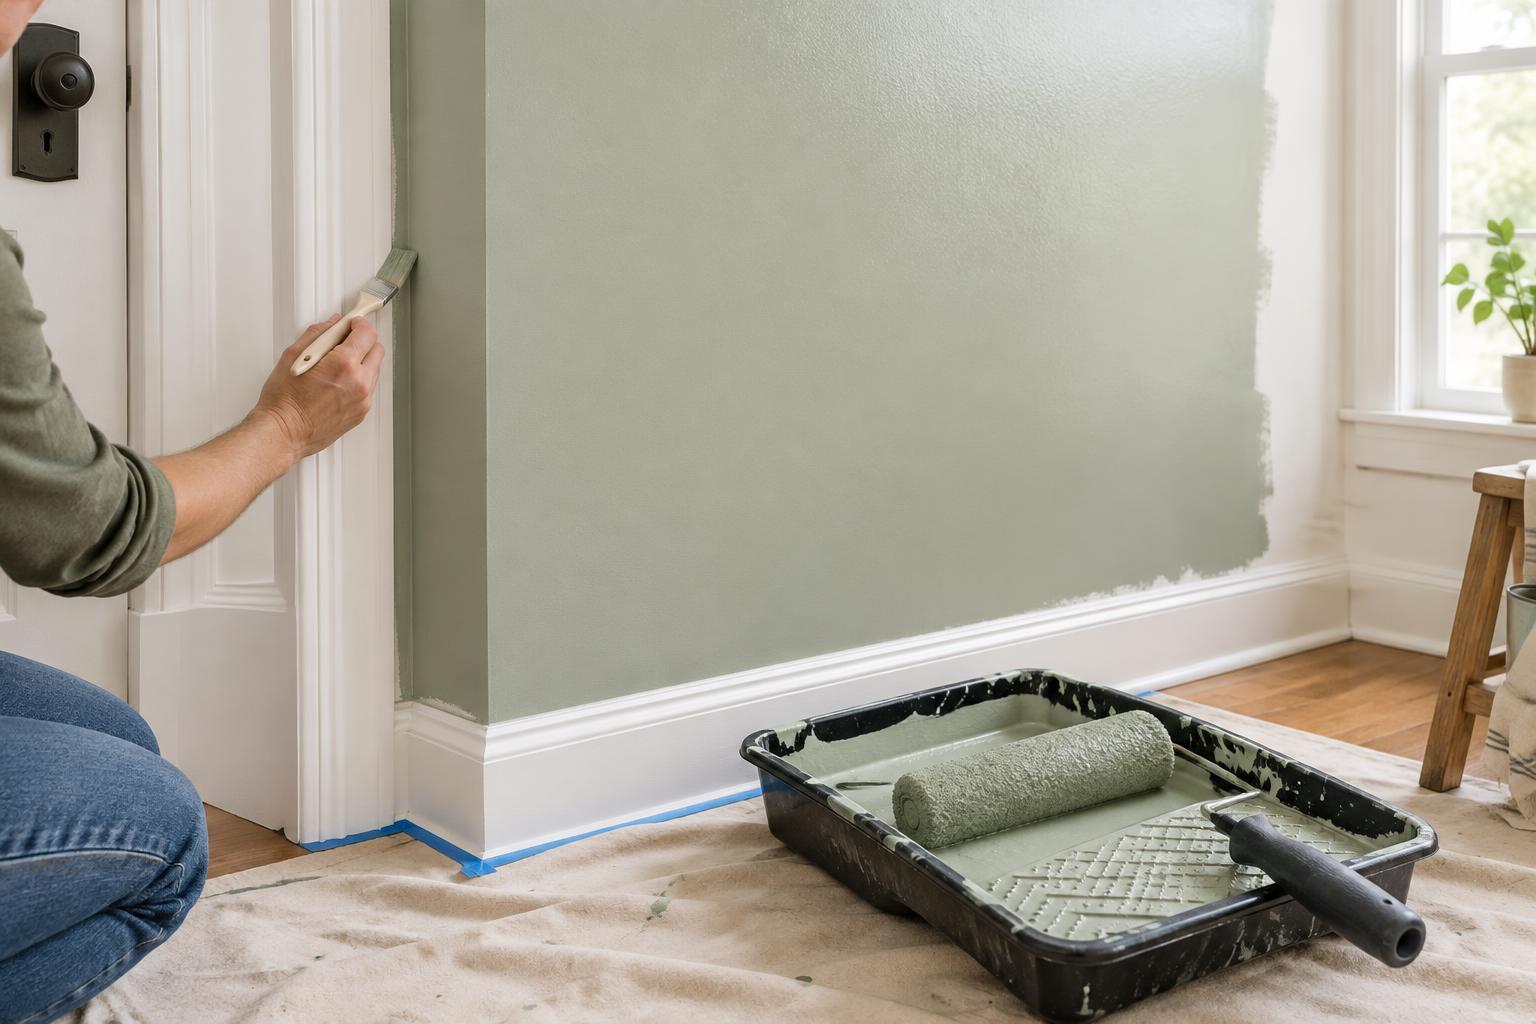
Once repairs and cleaning are complete, protect areas you do not intend to paint. Press painter’s tape firmly along trim, the ceiling line, or adjoining walls where it will help you maintain a clean edge. Tape is not a substitute for careful brushwork: too much paint against its edge can seep underneath. If you prefer to work without tape, use a steady hand and a lightly loaded angled brush. Either way, give yourself enough light to see where the new paint meets the old surface.
Brush the edges, then roll the open wall
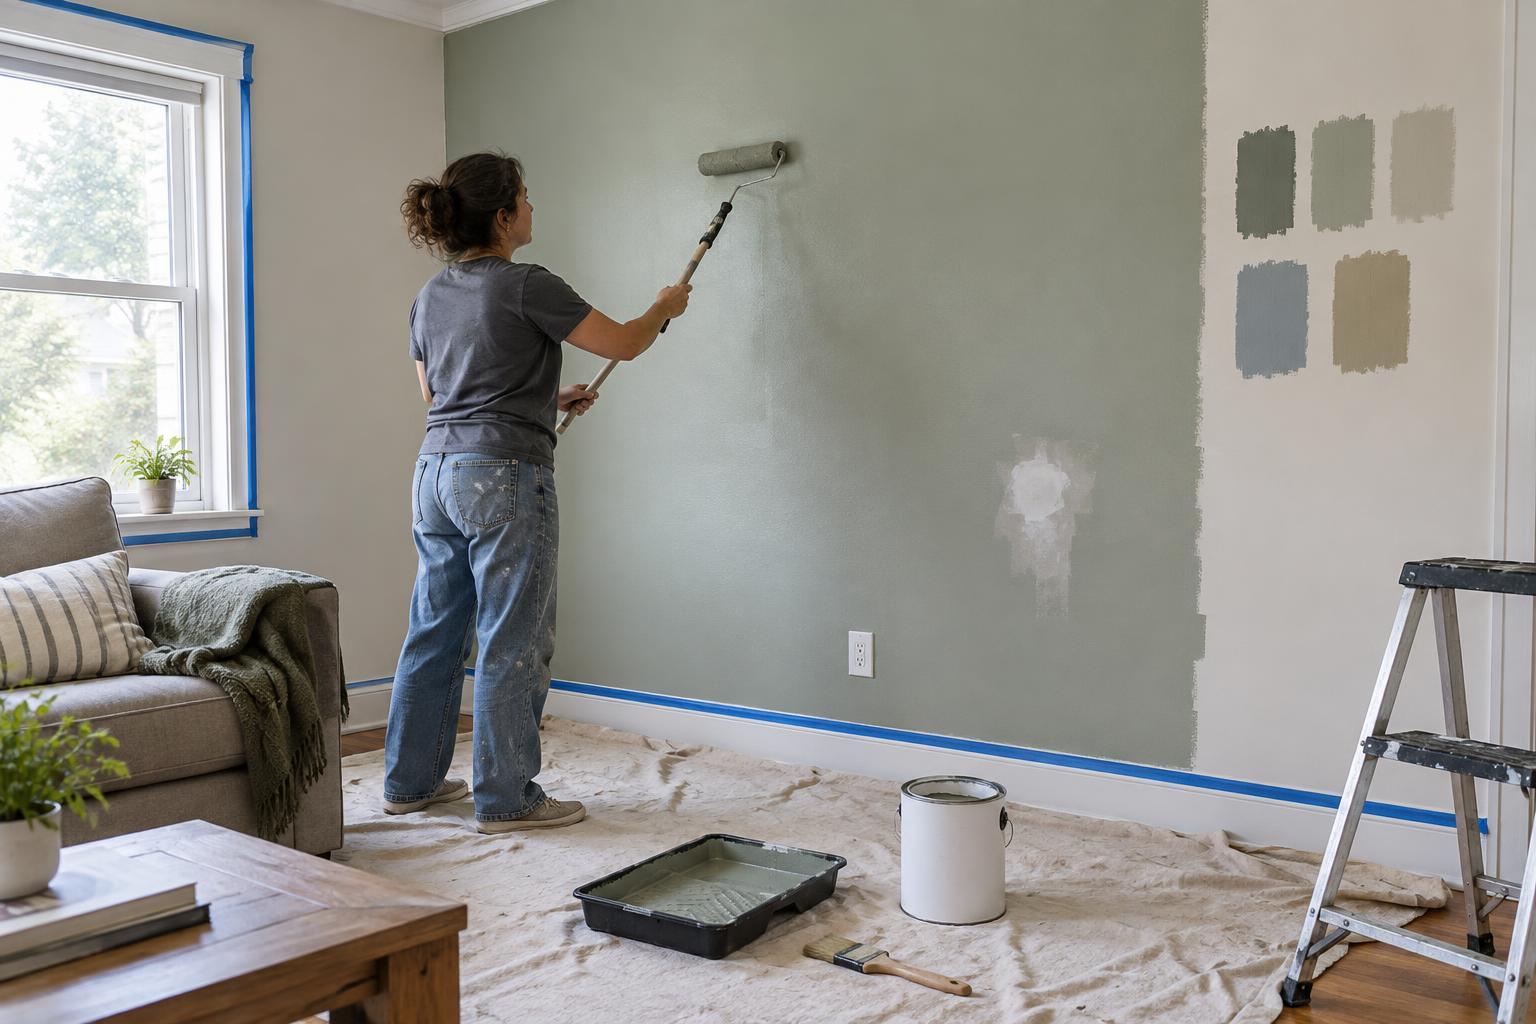
Stir the paint as directed. Begin by brushing a narrow band around the ceiling, corners, trim, and any fixtures you could not remove. This is often called cutting in. Work on one section at a time, then roll the nearby open area while the brushed paint is still workable. Keeping those edges close in timing helps avoid a visible difference between brush and roller marks.
Load the roller evenly and roll off excess paint in the tray. Apply paint with overlapping passes, spreading it rather than pressing hard on the wall. Work from the top down in sections you can comfortably reach, and finish each section with light passes in a consistent direction. Avoid repeatedly rolling over paint as it begins to dry; that can disturb the finish. Check for drips along edges and near outlets while they are easy to smooth with a brush.
Let it dry, assess coverage, and tidy up
Let the first coat dry for the time specified on the paint label before deciding whether it needs another. A color change or an absorbent patch may look uneven until a second coat is applied. Use the same brushing and rolling sequence for any additional coat. Inspect the wall under ordinary room lighting as well as brighter light; a wet surface can make it hard to judge coverage.
Follow the tape maker’s guidance on when to remove tape, and pull it back slowly rather than yanking it away from the wall. Clean reusable tools according to the paint label and local disposal guidance; do not pour leftover paint where it does not belong. Reattach switch and outlet plates once the surface is dry enough to handle. Then move furniture back carefully, leaving the newly painted wall time to finish curing before scrubbing it or leaning objects against it.