Prepare the space and identify every part
Clear enough floor space to lay out the largest panel and turn it without hitting a wall. Put down a blanket or the packaging cardboard to protect finished surfaces. Good lighting helps you spot small differences between similar-looking pieces. Keep the instructions nearby, and check the parts and hardware against the list before you begin. If something is missing, pause rather than substituting a screw that merely looks close.
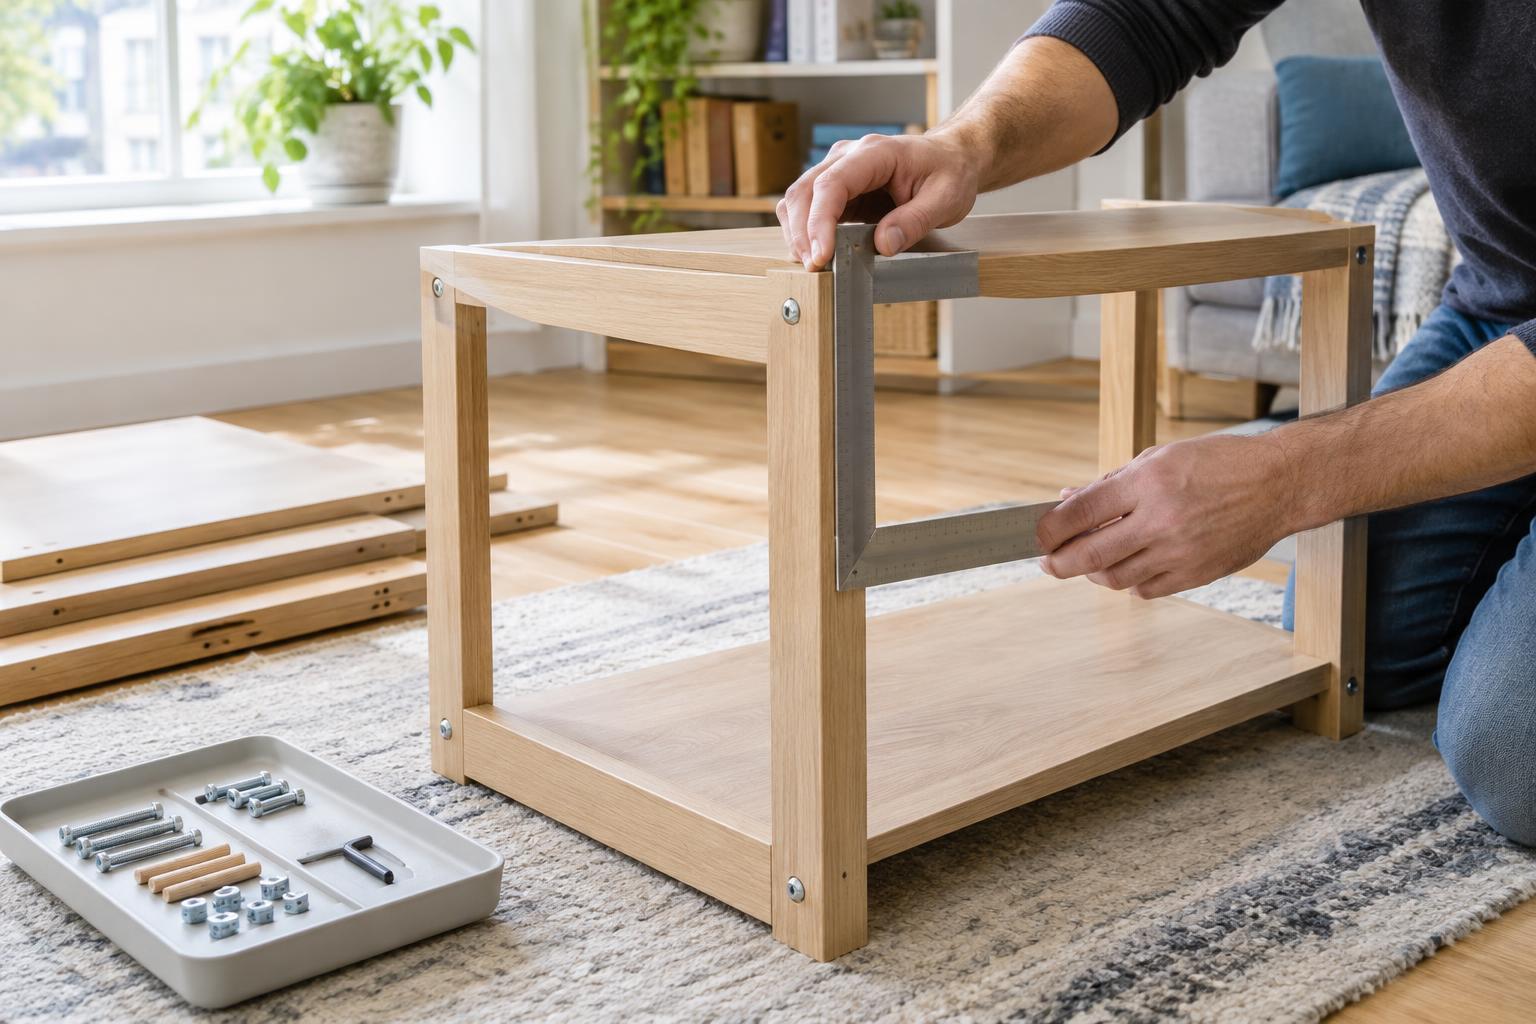
Group the hardware by type in shallow containers so pieces cannot roll away. Look closely at panels before joining them: holes, grooves, unfinished edges, and the position of the laminate often reveal which face goes where. Follow the diagram’s orientation, even when two panels appear interchangeable. A panel installed backward can leave the frame slightly out of line or make a later connection impossible.
Start connections loosely and keep panels supported
Flat-pack furniture often relies on several fittings working together, rather than one screw holding each corner rigid. Insert dowels straight and seat cam bolts or other fittings as the instructions show. If a fitting resists, check its alignment instead of forcing it. A cam lock, for example, needs to catch the head of its matching bolt; turning it harder will not correct a missed connection.
When joining large panels, support both pieces so their weight does not pull against a half-finished joint. A second person can be especially helpful with tall or wide units. Start all fasteners for one stage before fully tightening any of them, unless the instructions say otherwise. This gives the panels a little room to settle into position. Use a screwdriver or hand tool with a good fit, and stop when a connection is snug: overtightening can damage the panel material or strip a hole.
Square the frame before locking it in
A cabinet can look straight from the front while its frame leans slightly to one side. Before securing a back panel or making the final tightening pass, set the unit on a flat surface and check that its corners meet cleanly. If the instructions call for a back panel, fit it into its grooves or align it with the edges as directed. An unevenly attached back can hold the frame out of square.
For a rectangular frame, you can compare the distance between opposite corners in each direction. The measurements should be close when the frame is square, though the design and your measuring point matter. If one diagonal is noticeably longer, gently shift the frame while the fasteners are still loose. Then tighten connections gradually, moving between corners rather than finishing one corner completely before the others. Recheck the alignment as you go.
Find the source of a wobble
Once the unit is upright, give it a gentle test rather than a hard shake. Watch where movement begins. If a joint opens or one panel moves independently of another, check that its fittings are engaged and tightened as specified. If the whole unit rocks between feet, the floor may be uneven even if the furniture is assembled correctly. Move it a short distance to test another spot before taking anything apart.
Use built-in adjustable feet if the furniture has them. Otherwise, a stable furniture shim under the foot that does not reach the floor may help; avoid stacking loose scraps that could slip out. Check again after adding shelves or other intended components, since their weight can change how the piece sits. If a part is cracked, a fastener will not hold, or the frame remains badly misaligned, stop using the unit until the problem is resolved.
Finish with stability and safety in mind
Install doors, drawers, and shelves in the order given by the instructions. Adjust hinges or drawer fittings only after the main frame is stable; an uneven door gap is not always a hinge problem if the cabinet itself is out of square. Avoid loading shelves while you are still checking connections, and keep heavier items low when the furniture is in use.
Finally, follow any wall-attachment instructions supplied with the unit, particularly for tall furniture that could tip. Use fixings appropriate to the wall and the manufacturer’s directions; if you are unsure what the wall can support, get qualified help. Keep the instructions and spare hardware for future adjustments. A quick check of accessible fittings after the furniture has been used for a while can catch a loosening connection before it becomes a persistent wobble.