Find out where the draft is coming from
Weatherstripping seals the small gaps between a closed door and its frame. Over time, it can flatten, tear, peel away or become stiff. Before buying a replacement, close the door and look along its top, sides and bottom. Check for visible light, loose material or spots where the seal no longer touches the door.
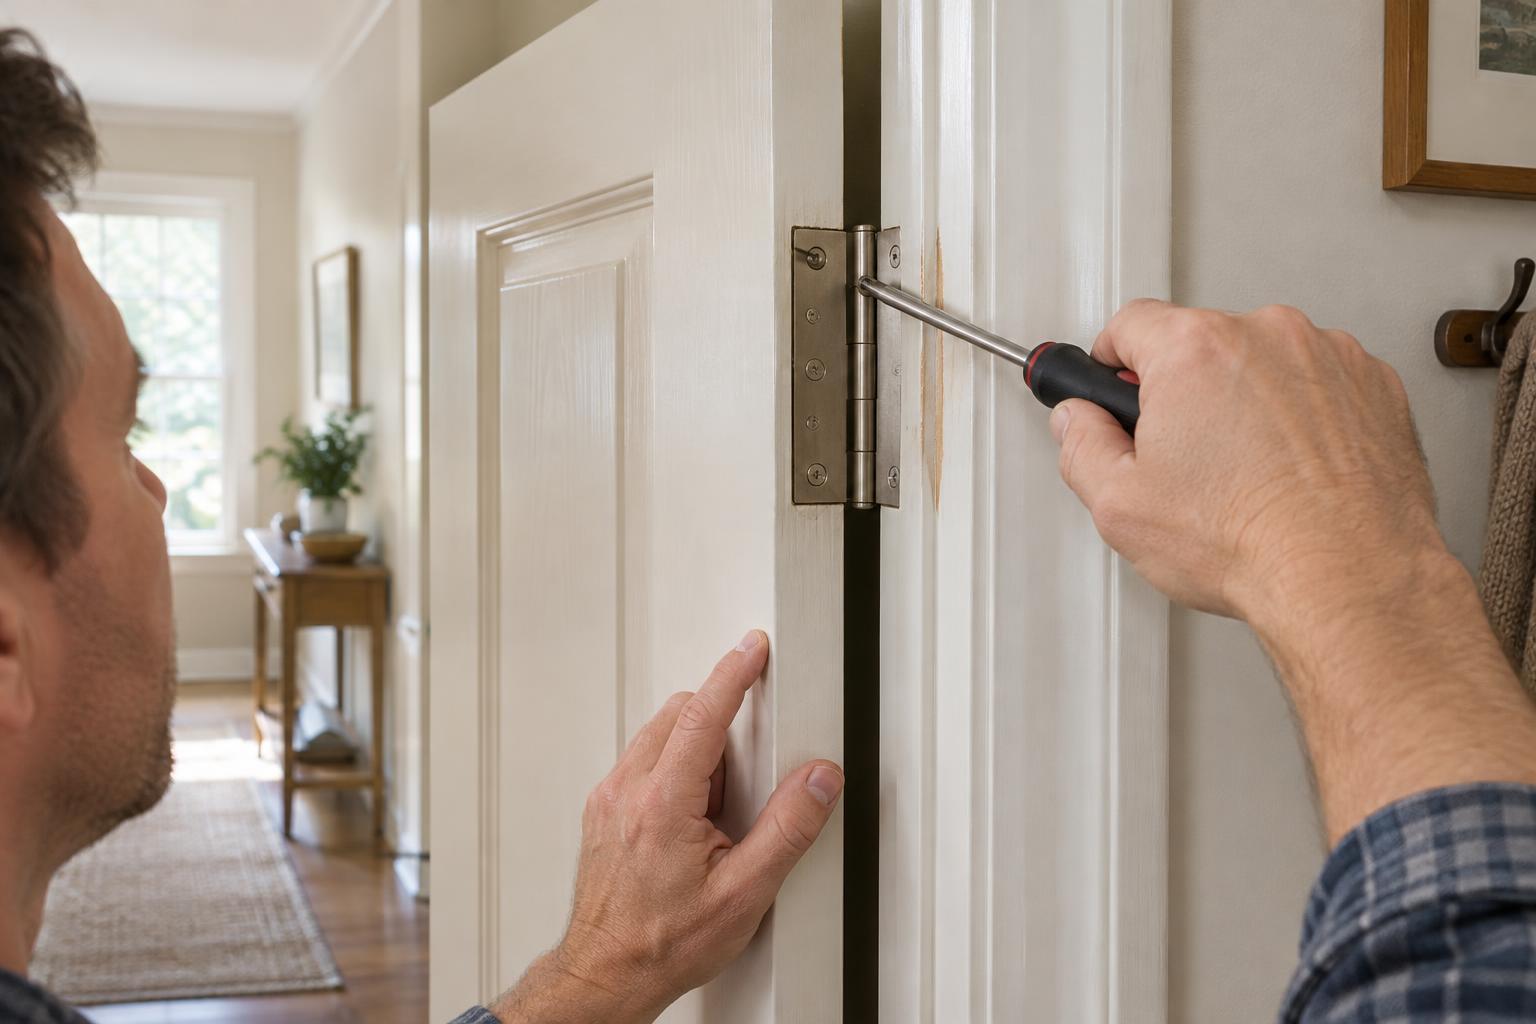
A simple paper test can help locate uneven contact. Close the door on a strip of paper at several points around the frame, then gently pull it out. If it slides freely in one spot but meets resistance elsewhere, that area may need attention. Also check whether the door latches normally. A door that has dropped or no longer sits squarely in its frame may need a hinge or alignment adjustment; thicker weatherstripping alone may not solve the gap.
Choose a seal that fits the door
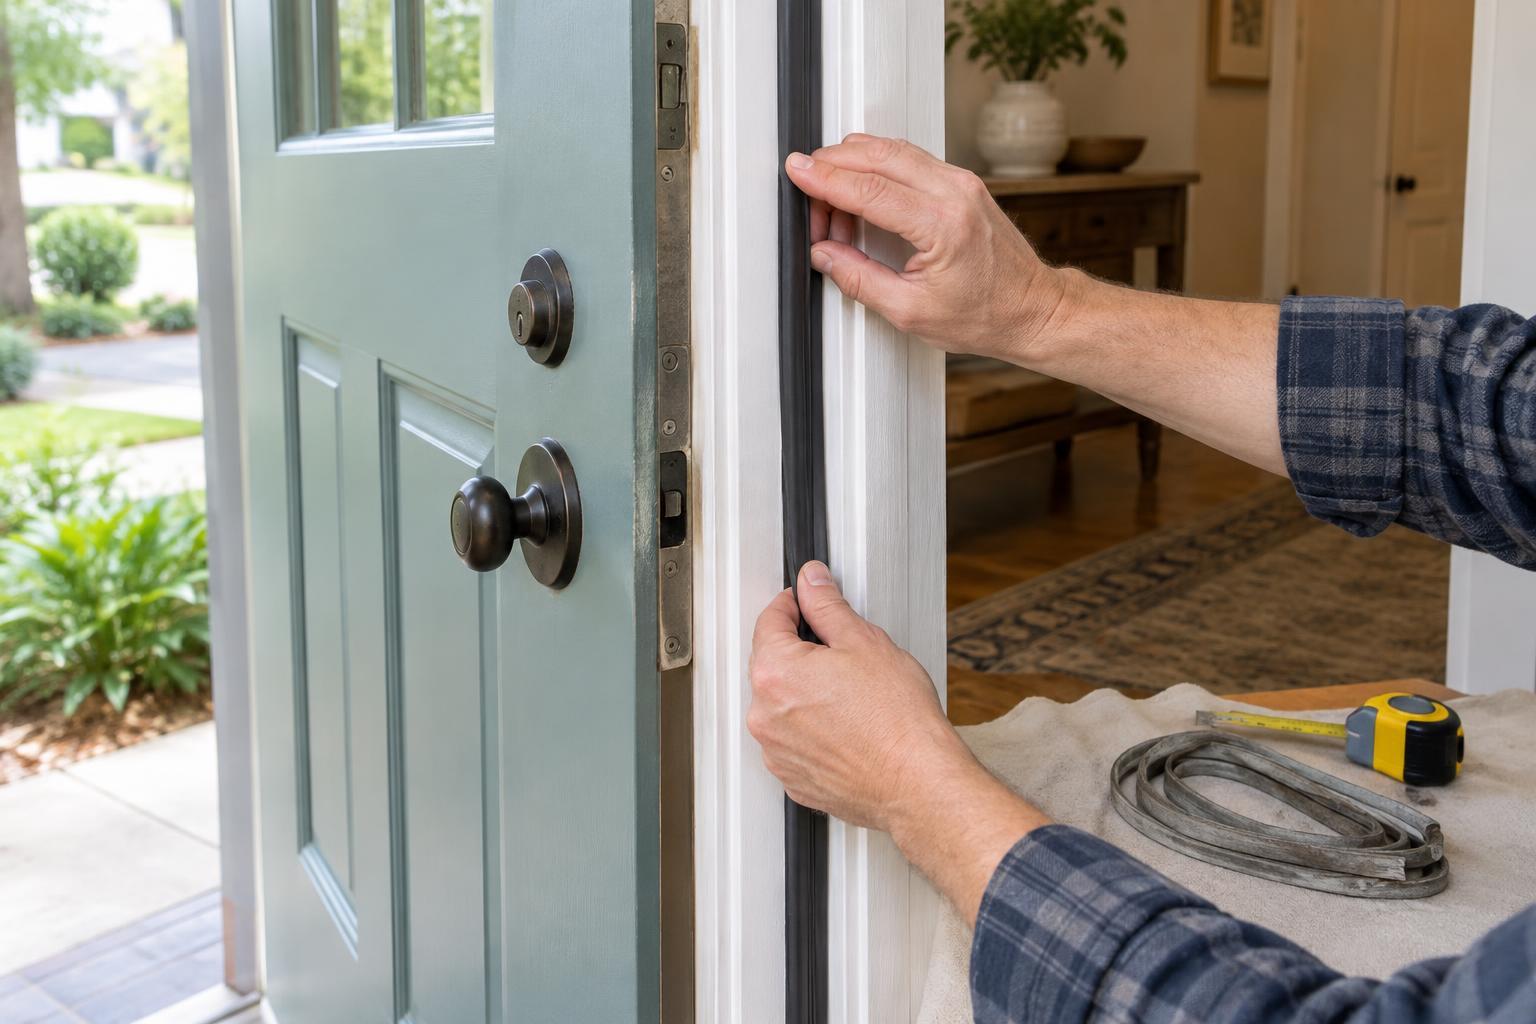
Look at how the existing seal is attached before removing it. Some doors have a narrow groove in the frame that holds a press-in gasket. Others use adhesive-backed foam or a strip fastened to the door stop. A matching replacement is usually the easiest option. If you cannot match it, measure the length of each edge and estimate the size of the gap when the door is closed. Choose a product intended to seal that gap without needing to be crushed flat.
Foam tape is easy to apply to a clean, flat surface, but it may wear faster in a busy doorway. A flexible V-shaped strip can work well along a door stop when fitted in the direction specified on its package. Groove-mounted gaskets are useful where the frame is designed for them. At the bottom, a door sweep attaches to the door and brushes or presses against the threshold; a threshold seal is a different piece fitted at floor level.
For an exterior door, choose materials labeled for that use. If the door is fire-rated or is part of a required fire separation, do not remove or alter its seals without checking the door’s requirements. Keep vents and drainage openings clear.
Remove the old material and prepare the surface
Gather a tape measure, pencil, scissors or a utility knife, a cleaning cloth and the fasteners or adhesive needed for your chosen product. Wear gloves if you are handling sharp metal strips, and protect the floor while you work. Measure each section separately rather than assuming both sides are the same length.
Pull out a groove-mounted gasket gently, starting at one end. For an adhesive strip, peel it away slowly and remove remaining adhesive with a cleaner suitable for the frame’s finish. Unscrew or carefully pry off fastened strips, watching for sharp edges and old staples. Wipe the mounting area clean and let it dry fully. New adhesive is less likely to hold on dust, grease or a damp surface.
While the seal is off, look for soft wood, loose screws or damaged trim. Weatherstripping can cover a small gap, but it cannot repair a deteriorating frame. Address those problems before installing a new seal.
Fit the top, sides and bottom
Start at the top of the frame, then work down the sides. Cut each piece to length with neat ends that meet at the corners. Press a groove-mounted gasket firmly into its channel without stretching it; stretching can cause it to pull back later. For adhesive-backed material, test its position with the door closed, then apply it to the clean, dry surface in short sections. Avoid pulling it tight as you go. If the product uses screws or nails, follow its placement guidance and keep fasteners clear of the closing edge.
Replace a worn door sweep only after checking the gap beneath the closed door. Position the new sweep so it makes light, continuous contact with the threshold without dragging heavily. Mark any screw holes, check that they will not interfere with door hardware, and fasten the sweep as directed. If the threshold is adjustable, small adjustments may help it meet the sweep evenly. Do not block a threshold’s drainage paths.
Check the seal without forcing the door
Close and latch the door several times. It should shut with its usual motion, and the latch should engage without a hard push. Repeat the paper test around the frame and look for light at the bottom. If the door binds, inspect where the new material is bunching or being compressed too much. Repositioning a strip or choosing a thinner profile is better than forcing the latch.
Check the repair again after the door has been used for a few days. Press down any lifting adhesive edges or tighten a loose fastener. A good seal makes consistent contact while letting the door open, close and latch easily. If drafts remain despite an even seal, look beyond the weatherstripping for frame alignment or other gaps around the doorway.