Choose hardware that fits the cabinet
Before buying knobs or pulls, decide whether you will use the holes already in your cabinet. A knob usually needs one hole; a pull usually needs two. If you are replacing pulls, measure the distance from the center of one existing hole to the center of the other. This center-to-center measurement matters more than the pull’s overall length. Choosing a matching size lets you reuse the holes and avoid filling or covering them.
Think about how the hardware will feel as well as how it looks. A pull should leave enough room for your fingers, and hardware near a cabinet edge should not strike a wall, appliance or neighboring door. Check the thickness of your doors and drawer fronts, then compare it with the screws supplied with the hardware. Some drawers have a decorative front attached to a second panel, so they may need longer screws.
Gather tools and plan the placement
You will need a ruler or tape measure, pencil, painter’s tape, drill, suitable drill bit and screwdriver. A cabinet-hardware template is useful when several doors or drawers need matching holes. If you are drilling new holes, keep a scrap of wood and a clamp nearby to support the surface as the bit exits. Protect the surrounding counter or floor before you begin.
Decide on a consistent position for each type of cabinet. Knobs and pulls on doors commonly sit near the corner opposite the hinges, while drawer hardware is often centered across the drawer front. These are starting points, not fixed rules: raised panels, narrow rails and nearby trim may call for a different position. Hold one piece of hardware against the cabinet and open the door or drawer to check its clearance before marking everything.
For repeated placements, make a simple guide from stiff cardboard or thin scrap wood. Mark the hole positions and the edges that will line up with the cabinet. Label the guide so you do not accidentally flip it when moving from a left-hand door to a right-hand door.
Mark and drill carefully
If you can reuse existing holes, test-fit one knob or pull before removing all the old hardware. For new holes, place painter’s tape over the area to be marked, then use your measurements or template to mark each hole center. Measure twice, especially on pulls: even a small spacing error can keep both screws from lining up. Step back and compare the marks across the cabinets before drilling.
Choose a bit that makes a clearance hole for the hardware screw, rather than a tight hole that requires forcing the screw through. If possible, test the bit and screw on scrap material first. On a door or removable drawer front, clamp scrap wood firmly against the back where the bit will emerge. Drill straight and steadily from the visible face toward the backing wood. This helps reduce chipping on the back and gives the bit support as it breaks through.
Drill one door or drawer first, install its hardware and check the result. It is much easier to adjust a template or measurement after one piece than after a full row of cabinets. Clear away dust before fitting the remaining pieces.
Attach the knobs and pulls
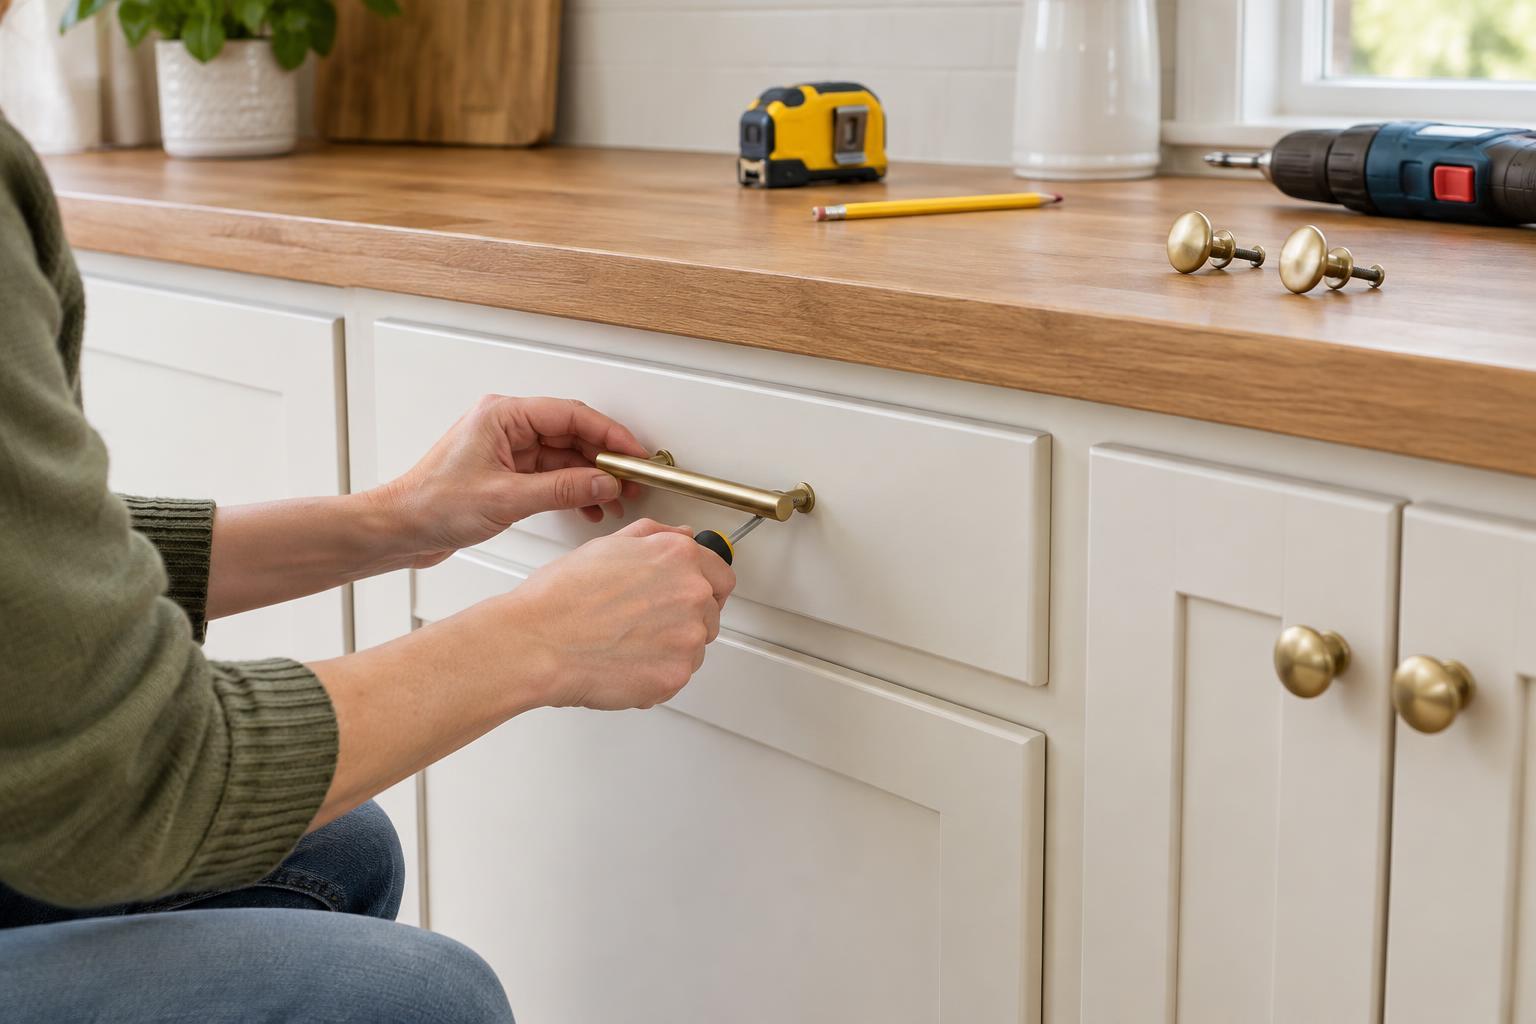
Insert each screw from the inside of the door or drawer and thread it into the hardware by hand. Starting by hand helps you feel whether the threads are aligned. Hold the knob or pull in its intended position and tighten the screw with a screwdriver until the hardware sits firmly. Avoid overtightening, which can damage the cabinet surface or the hardware.
If a screw seems too long, do not try to make the hardware stable by tightening it harder. Check whether the hardware includes shorter screws or washers, or obtain screws of the correct thread and length. If the screw is too short to engage securely, measure the full thickness it must pass through before choosing a replacement. Pay particular attention to drawers with two layers at the front.
Check the finished job
Open and close every door and drawer, checking that the new hardware is comfortable to grasp and does not catch on nearby surfaces. Sight along rows of pulls to spot any that need a slight adjustment. Wipe away pencil marks and drilling dust, and keep any spare screws with the hardware packaging for future repairs.
If you are replacing hardware and an old hole remains visible, pause before drilling another. A different pull size, a backplate or a careful hole repair may give a cleaner result. The simplest installation is usually the one planned around the cabinet’s existing holes and the way you use it every day.