Start with the outing you want
A beginner-friendly hike is one that suits your available time, energy and comfort with unfamiliar places. It does not have to be the shortest trail nearby. A gentle, well-marked route with a pleasant place to pause may make a better first outing than a shorter route with steep climbs or confusing junctions.
Decide what would make the trip worthwhile: a quiet walk, a view, a chance to notice plants and birds, or simply an hour outdoors. Then set a modest time budget that includes travel, breaks and the walk itself. If you are going with someone else, plan around the person who wants the easiest pace. Finishing with energy to spare can make it more appealing to go again.
Read beyond the distance
Distance is useful, but it does not tell the whole story. Look for a route description that mentions elevation change, surface and difficulty. A short trail with a sustained climb can feel harder than a longer, mostly level path. Uneven stones, exposed roots, sand and muddy stretches may also slow you down, even when the route is described as easy.
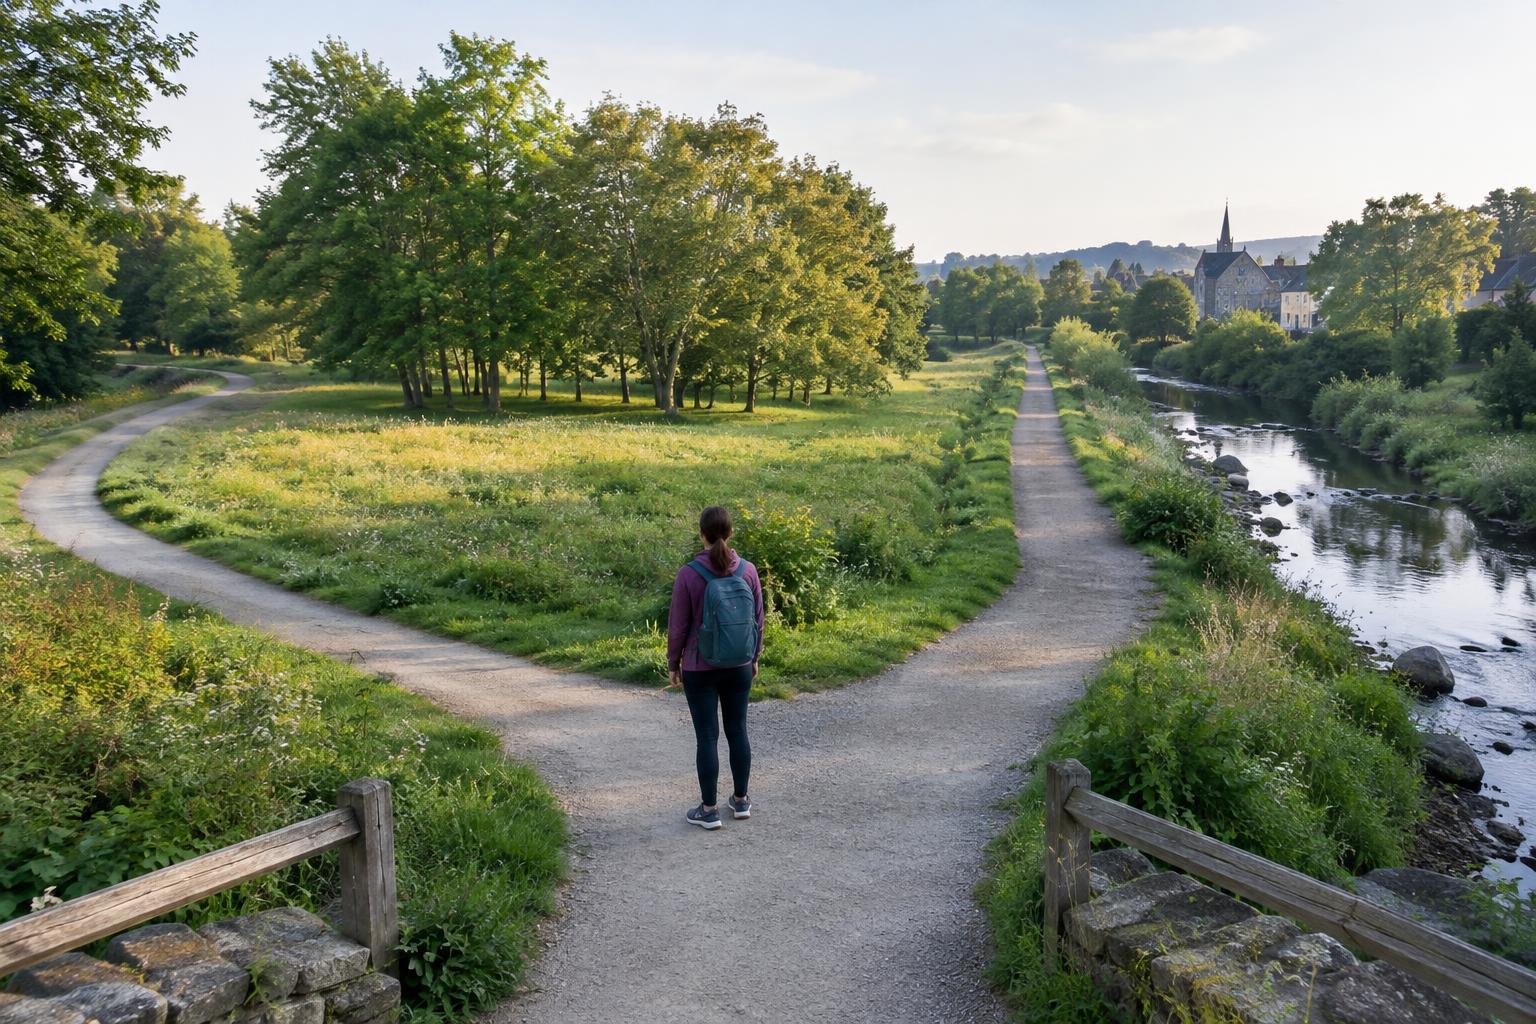
Pay attention to the route shape. A loop brings you back without retracing your steps; an out-and-back lets you turn around whenever you choose. For a first hike, either can work well if the path is clear. Check whether the listed distance covers the full walk rather than just the distance to a viewpoint or destination.
Trail ratings can be subjective, so use them as a starting point rather than a promise. A description of wide paths, modest climbs and clear signs is often more helpful than an “easy” label on its own. If you cannot find enough detail to picture the walk, save that route for another day and choose one with clearer information.
Check the conditions you may encounter
The same trail can feel different after rain, during hot weather or when daylight is limited. Before leaving, check the forecast and any available notices from the park or trail manager. Notices may tell you about closures, damaged sections or seasonal access rules. If conditions look uncomfortable or uncertain, choosing a paved park path or postponing the hike is a reasonable decision.
Think about exposure as well as temperature. An open route may offer little shade, while a wooded route can be damp and slippery. Water crossings and steep drop-offs deserve particular attention if you are unsure how you would handle them. For an early hike, it is fine to favor predictable footing and a route that does not depend on crossing water.
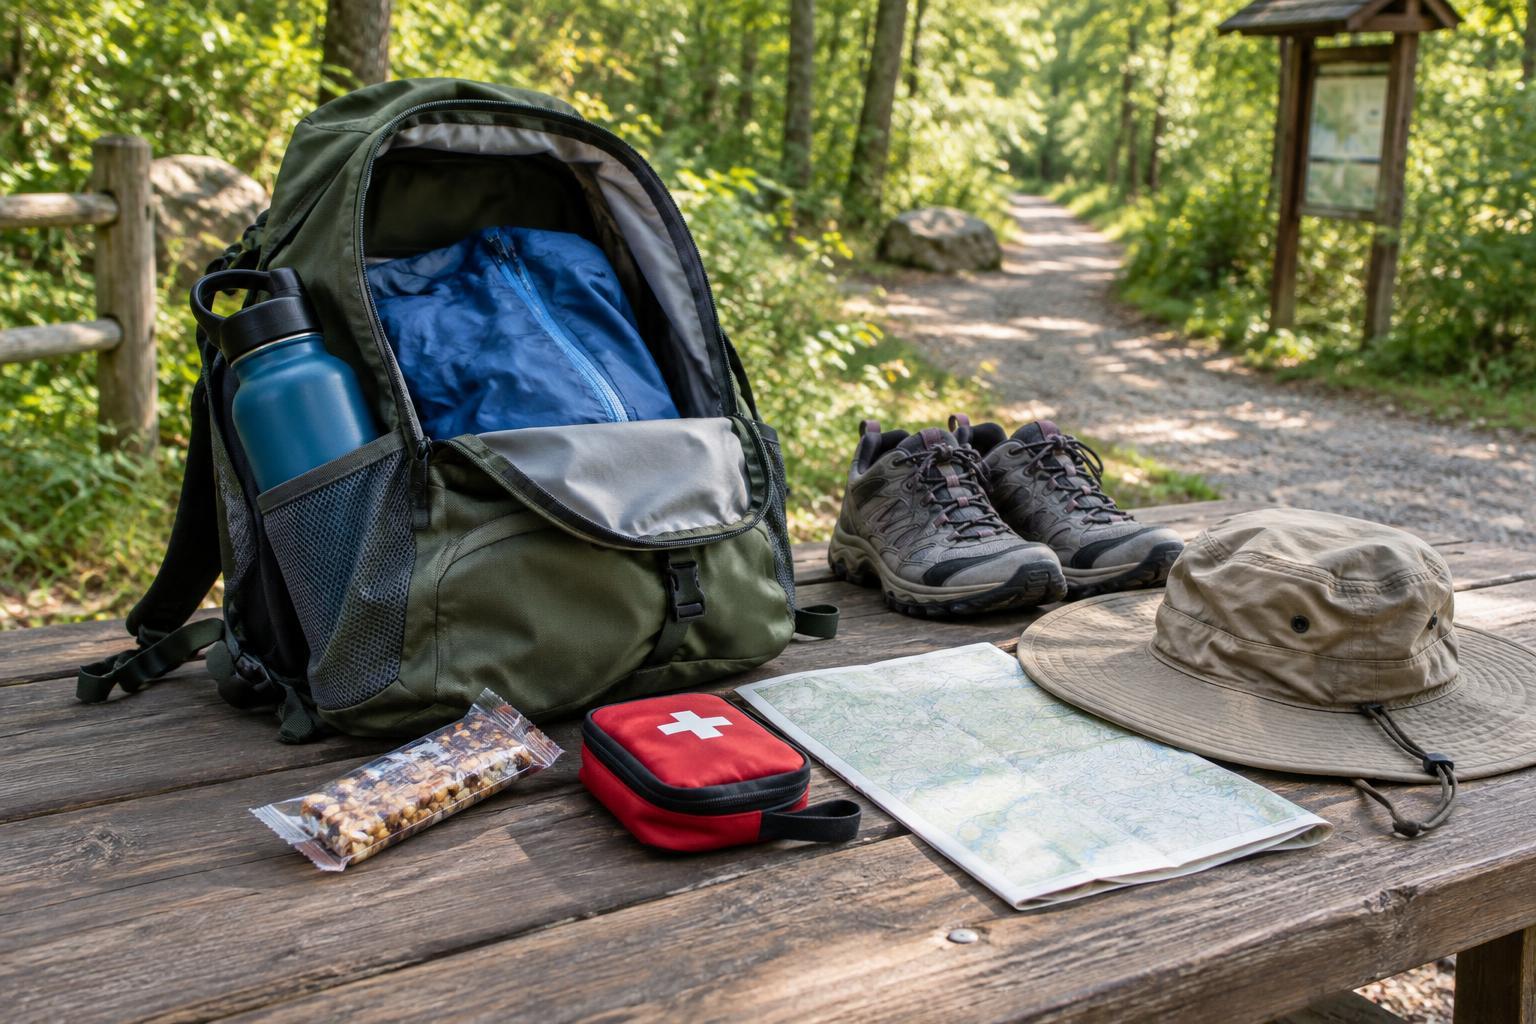
Clothing and footwear should match the path and forecast. Comfortable shoes with dependable grip are more useful than specialized gear you have not tried before. Carry drinking water and a light layer if conditions might change; a small snack can make an unhurried break more pleasant.
Make the start and finish simple
A promising trail is less inviting if reaching it is stressful. Find the trailhead before you set off, and check where you can park or which transit stop is nearby. Note any posted hours, fees or access restrictions. If there are several entrances, confirm that your directions lead to the one shown in the route description.
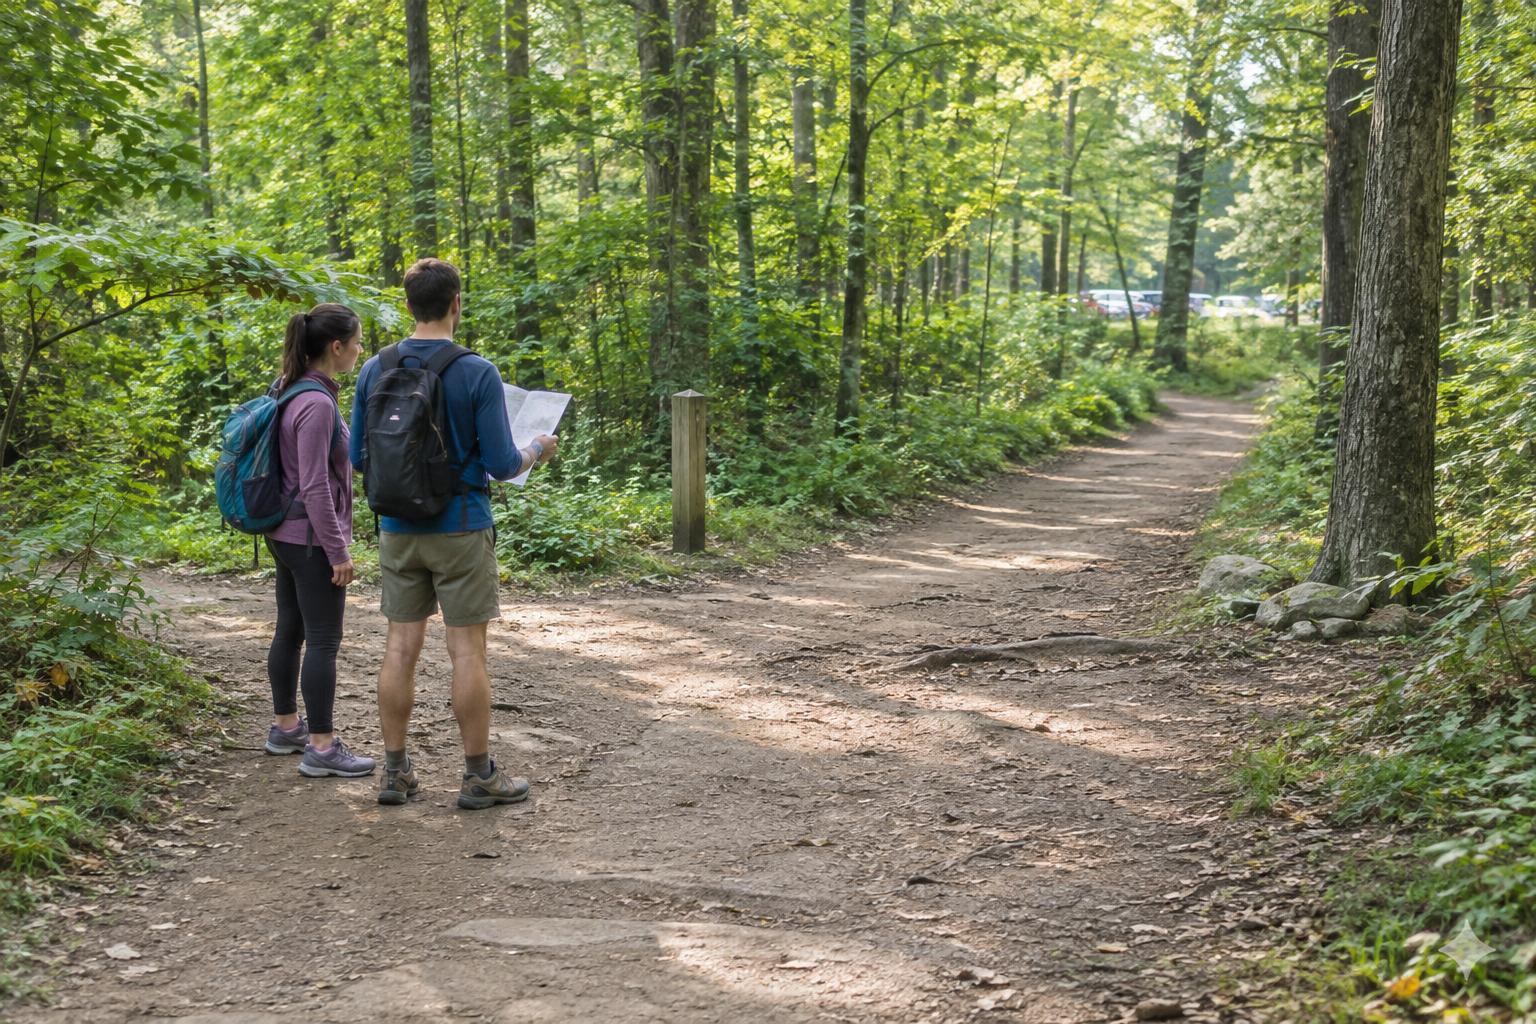
Look at the map before you arrive. Identify the main turns, your planned turnaround point if the route is out-and-back, and a simple way to recognize the end. Downloading or saving a map for offline use can help where mobile reception is unreliable, but it is still worth reading signs on site. Let someone know where you plan to walk and roughly when you expect to return, especially if you are going alone.
For a relaxed first attempt, leave enough daylight to finish without rushing. Build in time to find the trailhead and take breaks. If the route is busier than expected, that may be reassuring for a beginner, though it can also mean limited parking or less quiet.
Treat the first hike as a useful test
Once you are walking, you can revise the plan. Turn around if the trail becomes harder to follow, the footing feels uncomfortable or you are using more energy than expected. Reaching a particular viewpoint is optional; getting back comfortably is part of a successful outing.
Afterward, note what you liked and what you would change. Perhaps the distance was right but you wanted more shade, or the climb felt fine but the rocky surface did not. Those observations will help you choose your next trail more accurately than a difficulty label alone. Start with a route that welcomes curiosity, and let each outing teach you what “beginner-friendly” means for you.