Why finding a stud matters
A wall stud is a vertical framing member behind the finished wall. Fastening a shelf bracket into one usually gives it a more dependable connection than fastening into drywall alone. That matters because a shelf must support not only its own weight but also whatever you place on it. A short picture ledge and a deep shelf full of books put very different demands on their mounts.
Before looking for studs, decide where the shelf should go and check the mounting instructions for its brackets. Note the spacing between mounting holes and whether it lets you adjust bracket positions. Gather a pencil, level, tape measure and an appropriate stud finder or small magnet. Keeping your marks light makes it easier to change your plan as you learn what is behind the wall.
Start with clues, then use a stud finder
In many framed walls, studs follow a regular spacing pattern, often around 16 or 24 inches from center to center. Treat that as a clue, not a measurement you can rely on. Corners, windows, doors and past remodeling work can interrupt the pattern. An outlet or switch box may be attached beside a stud, but it does not tell you which side without further checking.
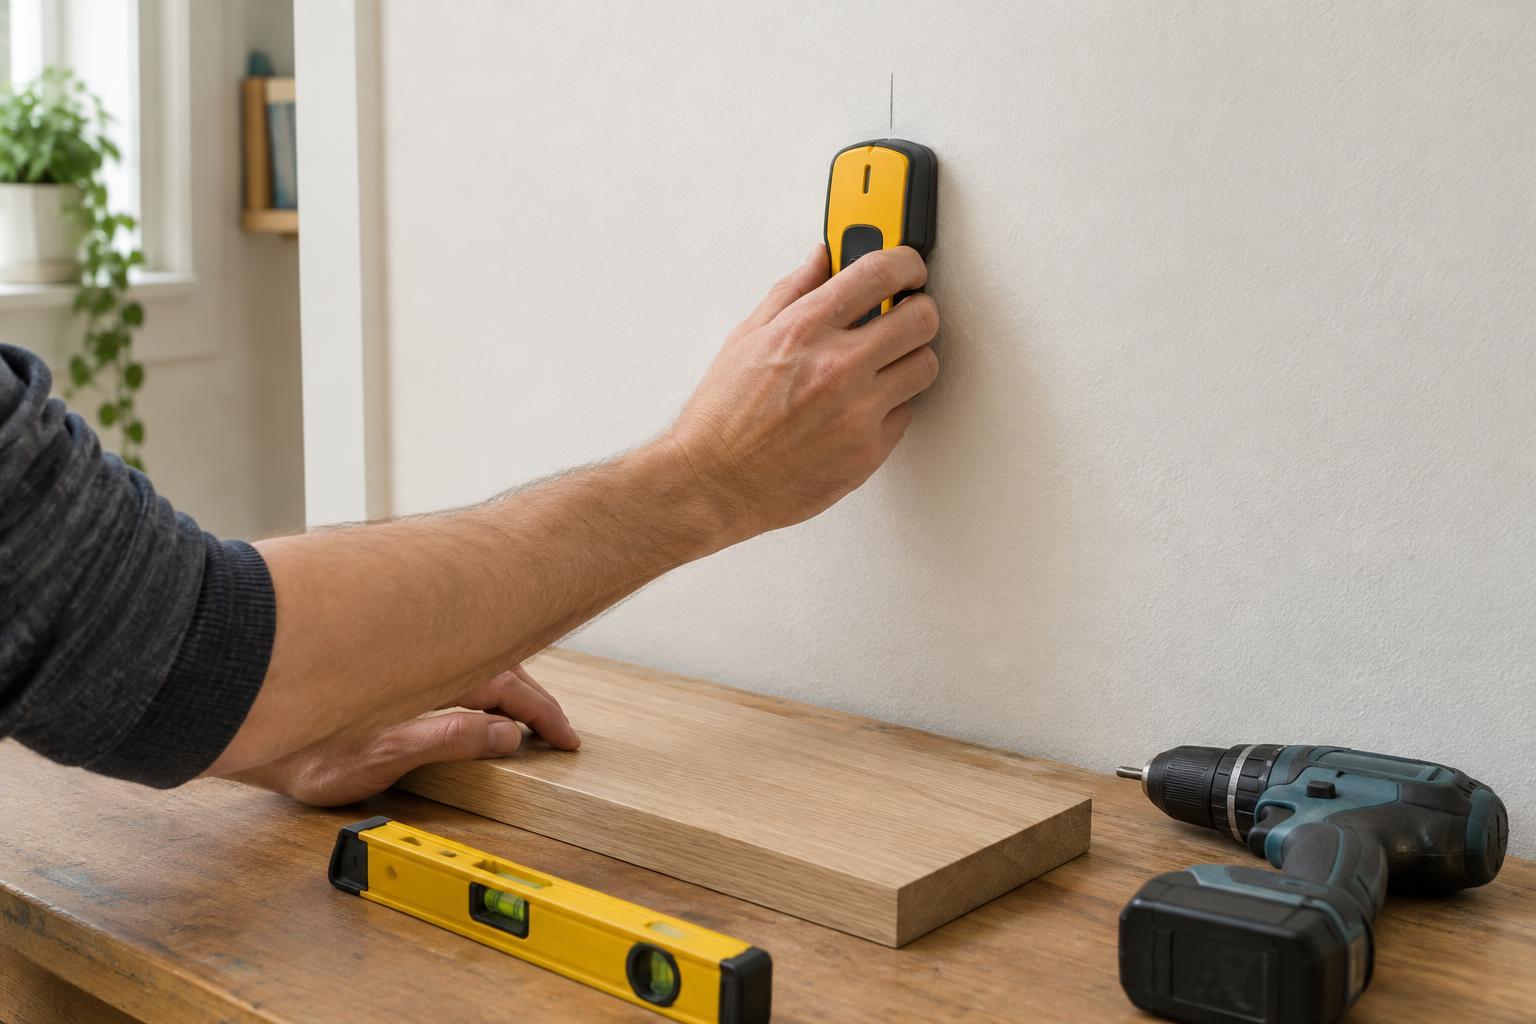
If you have an electronic stud finder, follow its instructions for calibration and wall type. Move it slowly across the wall at the height where you expect to mount the shelf. Mark where it first indicates an edge, continue until it indicates the opposite edge, then mark the midpoint between them. Repeat from the other direction. Scan again several inches above and below: marks that line up vertically are more convincing than a single reading.
Textured surfaces, thick plaster and uneven wall materials can make readings less consistent. Press the tool flat against the wall and make several passes rather than accepting the first signal. Some stud finders can indicate possible electrical hazards, but that feature is not a guarantee that an area is safe to drill.
Cross-check with a magnet or a small test hole
A small, strong magnet can help locate screws or nails that hold drywall to a wood stud. Slide it slowly across the wall, or let it hang from a string close to the surface. When it catches, make a light mark. Find another catch above or below it; a vertical line of fasteners is a useful clue. The magnet may also stick to metal framing or other metal behind the wall, so use it to support—not replace—your other checks.
Once you have a likely stud center, you can make a small pilot hole at a spot the bracket will cover. Use a bit sized for the fastener you plan to install, and drill gently. Consistent resistance beyond the wall surface may indicate wood; a bit that suddenly passes through an empty space suggests you missed. Stop if the feel is unexpected. Patch an unsuccessful test hole before moving on if it will remain visible.
Do not drill simply because a stud finder gives a promising signal. Avoid locations directly above or below outlets, switches and plumbing fixtures, where wiring or pipes may run. Hidden services can take other routes too. If you have reason to suspect a pipe or cable at the mounting point, choose another location or get qualified help rather than probing deeper.
Check the shelf layout before fastening
Mark the centers of the studs you have confirmed, then hold the shelf or its mounting template against the wall. Use a level to check its position. Ideally, the bracket holes will line up with studs. If they do not, see whether the brackets can be repositioned or whether a different shelf would suit the location better. Do not move a mark to make it fit the hardware unless you have confirmed there is framing there.
Use fasteners suited to the bracket, wall and expected load, and follow the shelf maker’s instructions. Drywall anchors may be appropriate for some lighter installations, but their ratings depend on the wall material and correct installation. Heavy or frequently handled shelves deserve particular care. If you cannot make a secure plan for the load, do not mount the shelf yet.
Know when the wall calls for another method
The usual stud-finding approach assumes drywall over wood framing. Plaster over lath, metal studs, masonry and walls with added layers can behave differently. A magnet may help identify metal studs, for example, but fastening into them calls for hardware appropriate to that construction. Masonry walls do not have wood studs to find. When the wall type is unclear, a small amount of investigation before drilling is better than forcing a familiar method onto an unfamiliar surface.
After installation, check that each bracket sits firmly against the wall and that the shelf is level. Add items gradually and watch for shifting, gaps or loosening. Finding studs is not just a way to make neat marks: it is part of matching the shelf, fasteners and wall so the finished project stays dependable.