Choose the position before picking up a hammer
Start by holding the picture against the wall and stepping back. Look at it from the places where you normally enter or use the room, not just from directly in front of it. For a picture on an open wall, placing its center near standing eye level is a useful starting point; roughly 57 to 60 inches from the floor works in many rooms. It is a guide, not a rule. A room where people mostly sit, a tall ceiling, or a group of pictures may call for a different position.
Above a sofa, console, or headboard, treat the picture and furniture as a pair. Start with the bottom of the frame about 6 to 10 inches above the furniture, then adjust by eye. A picture that is technically at eye level but floats far above a sofa can feel disconnected. Use painter’s tape to mark the frame’s outline on the wall if you want to compare positions without holding it up repeatedly.
Check the frame, wall, and hardware
Turn the frame over to see how it hangs. A wire, one sawtooth hanger, and two D-rings each place the wall hook differently. Check that the attachment is secure and suitable for the frame’s weight. Choose a picture hook or wall anchor rated for both the load and the wall material, following its package directions. Drywall, plaster, brick, and concrete do not all take the same fasteners.
Before drilling or driving a fastener, consider what may be behind the wall, especially near outlets, switches, and plumbing fixtures. If you cannot identify a safe location or the piece is large or heavy, get help rather than guessing. An adhesive strip may suit some lightweight frames on compatible, sound surfaces, but it should not be treated as a substitute for a properly chosen anchor when the load or surface is uncertain.
Measure where the hook actually goes
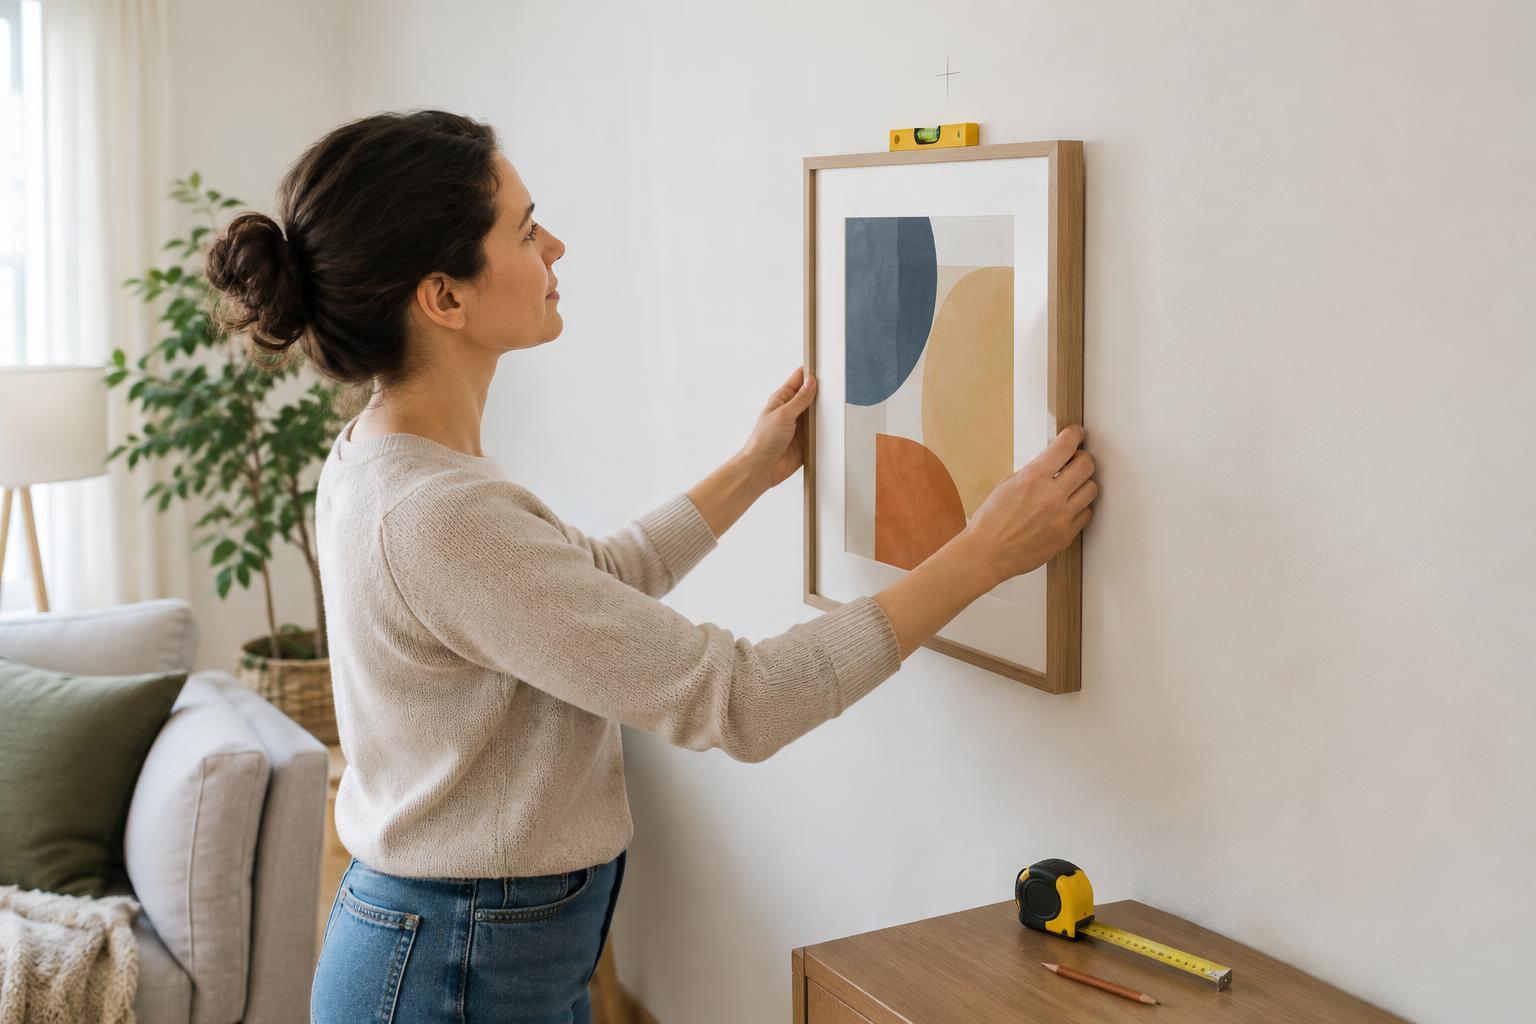
Decide where the top of the frame should sit and mark that height lightly with painter’s tape. Next, measure down from the frame’s top edge to its hanging point. For a sawtooth hanger, measure to the notch that will rest on the fastener. For two D-rings, measure to the points where the hooks will support the rings. That distance tells you how far below your top-of-frame mark the support points belong.
A wire needs one extra step because it rises when the picture hangs. Pull the wire upward at its center as a hook would, without stretching it beyond its normal tension. Measure from the top of the frame to that point. Transfer the distance to the wall, marking directly below the intended center of the picture. If your hook’s nail hole sits above or below the place where the wire rests, account for that offset using the hook itself as a guide. Measuring to the nail hole without checking the hook is a common reason a frame ends up too high or low.
Make the marks level
For a single hook, mark the horizontal center of the intended picture position. You can find it by measuring the available wall space or by using your painter’s-tape outline. Set the hook at the measured height, install it according to its directions, and hang the frame. Rest a small level on a straight part of the frame to check it; then step back to judge how it looks in the room.
For two D-rings, measure the distance between their support points and mark two wall positions that far apart. Check both marks with a level before making holes. A strip of painter’s tape can help transfer the spacing from the back of the frame to the wall, but still measure its height and check that it is level. Two supports can keep a frame steadier, provided they are placed accurately.
Fine-tune without starting over
If a frame tilts, first check that its wire or rings are seated properly on the hardware. Then use the level to see whether the hooks are even. Small adhesive bumpers on the lower back corners can help a frame rest evenly against the wall and reduce minor movement. They cannot correct significantly uneven hook placement.
Finally, step back for a last look. Check the picture’s relationship to nearby furniture, doors, and other artwork as well as its level. If the height feels wrong, move it deliberately using fresh measurements rather than adding holes by trial and error. Patch unused holes when you are satisfied, and keep a note of the frame’s measurements if you expect to rearrange the room later.