Start with the project, not the tape measure
Before measuring, decide exactly what the project will cover. A flooring job needs floor area; painting needs the area of the walls or ceiling being painted; new baseboard needs the length of the wall where it will run. Measuring everything without a purpose can leave you with plenty of numbers but no clear estimate.
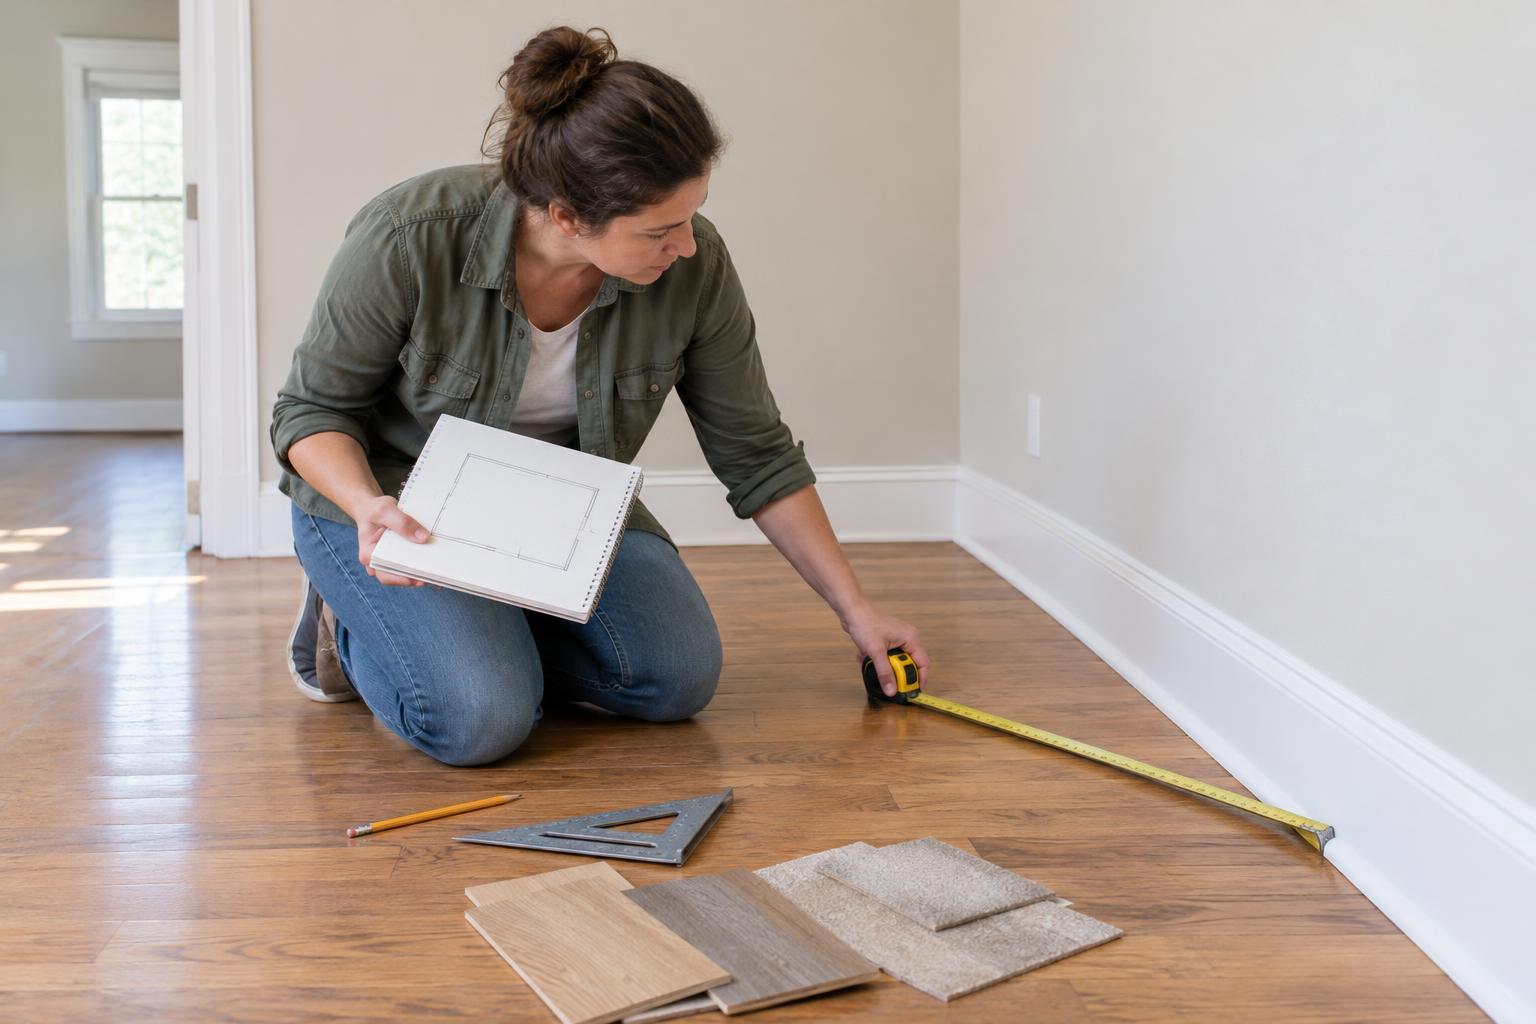
Gather a tape measure, pencil, paper and calculator. Make a rough sketch of the room from above, marking doors, windows, alcoves and fixed features that matter to your project. It does not need to be to scale. Its job is to give every measurement a place, so you can tell later whether a number describes a wall, an opening or a floor section.
Measure and record each dimension clearly
For a simple rectangular room, measure the length and width along the floor. Measure both sides if the room looks uneven, and note any difference rather than assuming the walls are perfectly parallel. For wall projects, measure from floor to ceiling in a few places and record the dimensions of each wall. If you are measuring for trim, note where it starts and stops, including doorways where no baseboard will be installed.
Write down units with every number. If your tape shows feet and inches, convert inches to a fraction of a foot before multiplying for square feet: six inches is half a foot, for example. Alternatively, keep all measurements in inches, calculate square inches and divide by 144. Pick one method and use it consistently. Label each figure on your sketch as you go; an unlabeled “8” is surprisingly hard to interpret later.
Turn measurements into area or length
Floor area for a rectangle is length multiplied by width. A room measuring 12 feet by 10 feet has 120 square feet of floor area. For an L-shaped room, split the floor into two rectangles on your sketch, find each area and add them together. This is often easier and more dependable than trying to treat an irregular space as one large rectangle.
To estimate wall area, multiply each wall’s length by its height, then add the results. In a 12-by-10-foot room with eight-foot walls, the perimeter is 44 feet, giving a starting wall area of 352 square feet. You can measure doors and windows and subtract their areas if useful, but check the product directions first. For a small paint job, leaving those openings in the estimate may help account for touch-ups or uneven coverage; for another wall covering, precise deductions may matter more.
Trim is usually estimated by length rather than area. Add the lengths of the walls that will receive it, then subtract stretches such as doorways. Keep this linear-foot total separate from your square-foot figures. The numbers may come from the same sketch, but they answer different questions.
Translate the estimate into a shopping list
The measured area or length is your starting quantity, not necessarily the amount to buy. Flooring may need extra material for cuts and pattern alignment. Trim needs allowance for corner cuts and joins. Paint quantity depends on the surface, the number of coats and the coverage stated on the container. Read the chosen product’s packaging or installation instructions, then calculate from its stated coverage, board length or box contents.
For products sold by the box or in fixed lengths, round up to a whole package after accounting for cuts and any allowance you choose to make. For example, if a flooring box covers 20 square feet, a measured 120-square-foot floor would require at least six boxes before allowing for cuts. The right allowance varies with room shape, layout and product; do not assume one percentage works for every job. If a patterned material must line up, check its repeat and layout guidance before ordering.
Check your numbers before you buy
Measure key dimensions a second time, especially any unusually long wall or awkward recess. Compare the sketch with the room to catch a missed alcove or doorway. Then check that every calculation uses the same units and that you have not added square feet to linear feet. Keep the measurements, arithmetic and final purchase quantities as separate notes so you can see how each decision was made.
Finally, confirm the dimensions and coverage of the specific product you intend to use. A careful room measurement cannot tell you how many pieces are in a box or how a particular material should be laid. With a labeled sketch and a transparent estimate, you can adjust the shopping list when plans change—and spend less time guessing in the store.