Check the joint before you start
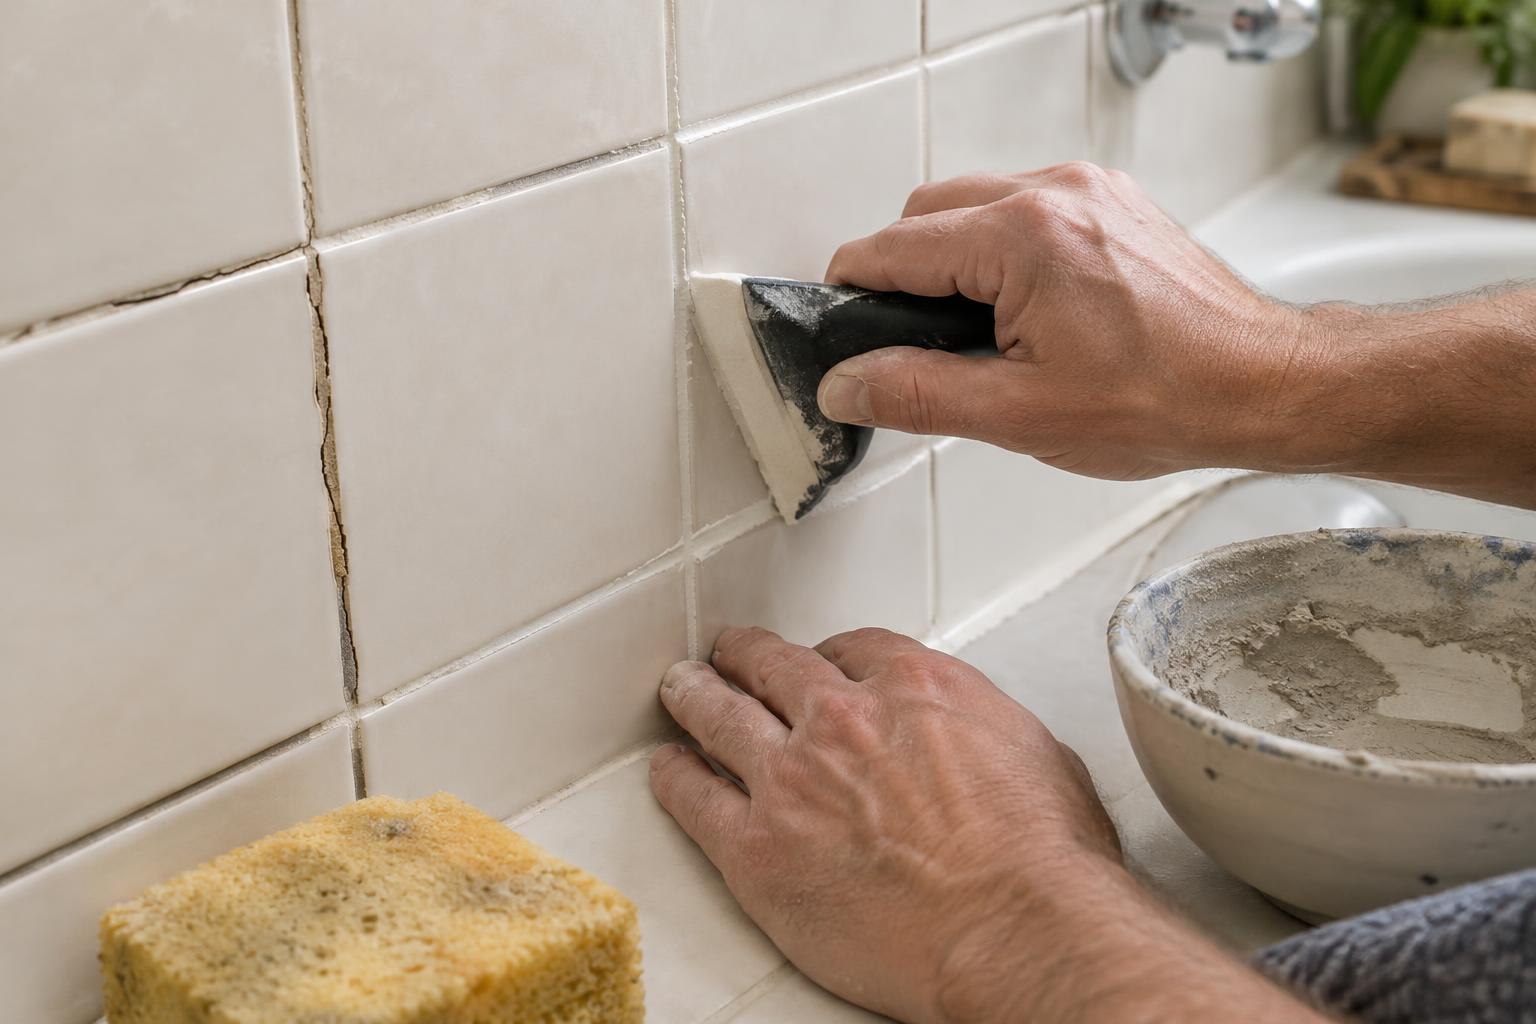
A narrow crack or a few crumbling patches may be a manageable home project. First, look closely at the surrounding tiles. Press gently on each one and listen for movement or a hollow sound. Check whether the grout is failing in just one spot or across a wider area. If tiles are loose, water keeps appearing, or the surface beneath them feels soft, new grout alone is unlikely to solve the problem.
Notice where the crack sits. Grout belongs between tiles on the same flat surface. Where a wall meets a floor, two walls meet, or tile meets a tub or counter, the surfaces can move slightly in different directions. Those joints generally need an appropriate flexible sealant rather than rigid grout. Repeated cracking in the same place may also point to movement beneath the tile.
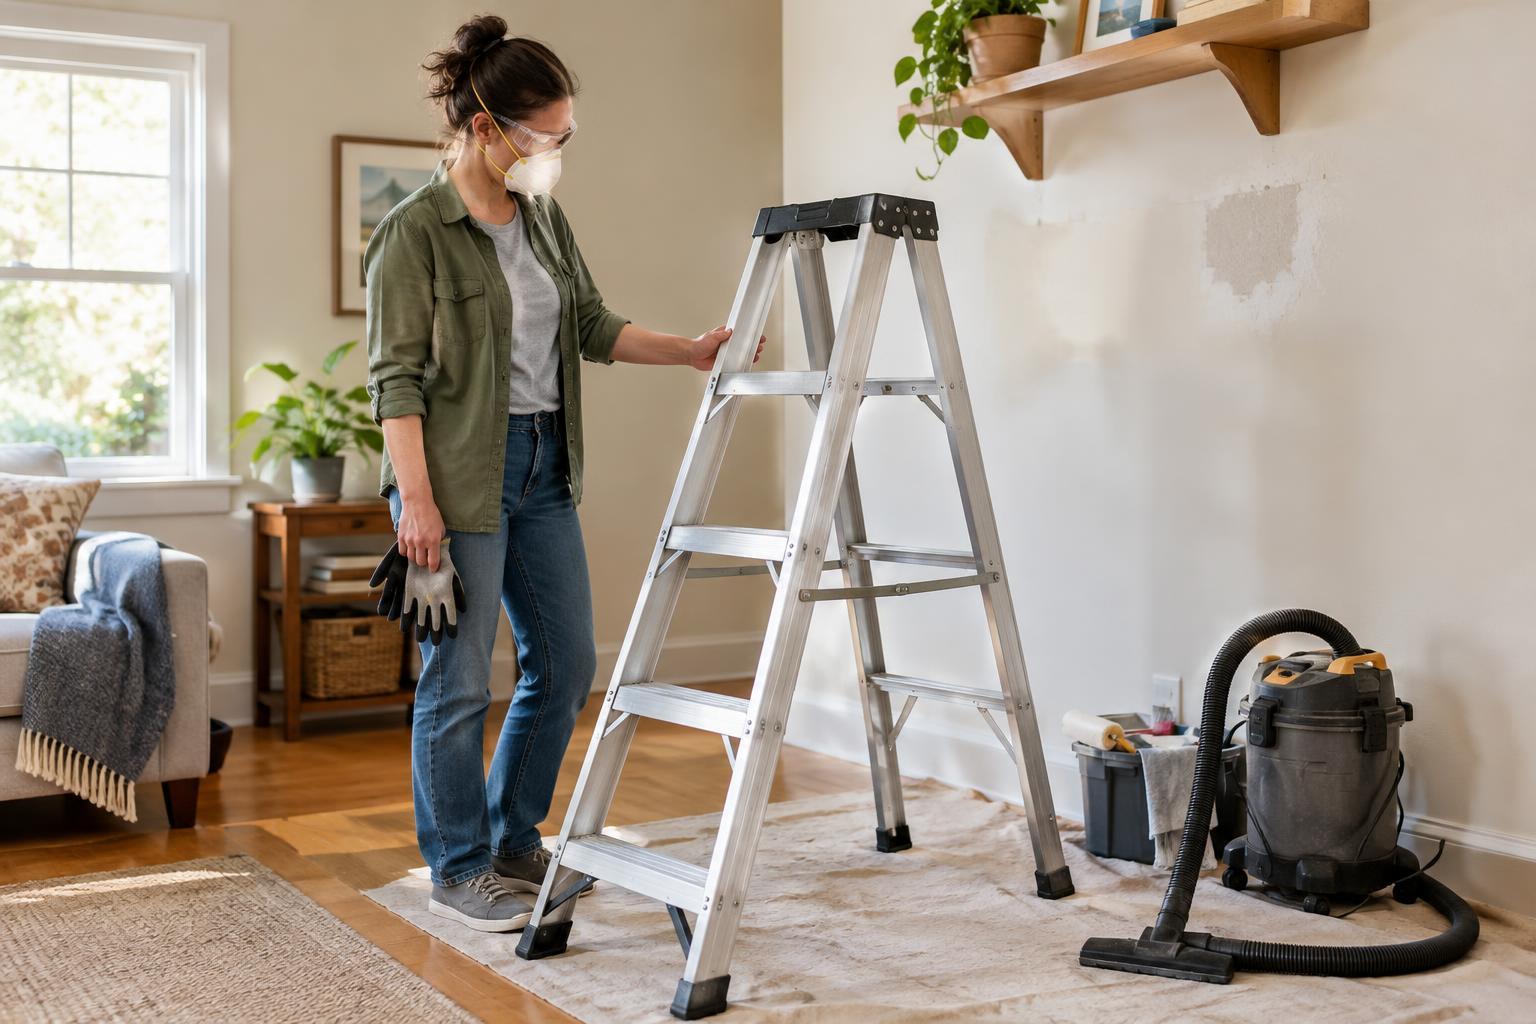
For a small repair, gather matching grout, a grout saw or other hand removal tool suited to the joint width, a vacuum, a sponge, a grout float, clean water and soft cloths. Wear eye protection and a dust mask while removing old grout. Check the grout package for its intended joint width, mixing directions and curing instructions; products are not all interchangeable.
Remove damaged grout without harming the tile
Start with a dry joint. Work a grout saw slowly along the damaged line, keeping the blade centered so it does not scrape the tile edges. Remove loose and cracked material until you reach grout that is firm and well bonded. The replacement needs enough space to grip, so simply spreading a thin layer over old, crumbling grout is not a lasting repair. Take particular care around glazed edges and corners, which can chip if the tool slips.
Vacuum out dust and fragments, then wipe the joint with a barely damp sponge. Let it dry before applying new grout unless the product instructions say otherwise. If you find a persistent damp patch, a musty smell, or a tile that shifts as you work, pause. Those signs call for investigating the underlying problem rather than sealing it beneath fresh grout.
Apply and shape the replacement
If you are using powdered grout, mix a small batch according to the package directions. Adding extra water can make it easier to spread but may weaken the finished joint or affect its color. Pre-mixed grout saves this step, though it still needs to be used as directed. Test the color in an inconspicuous spot if a close match matters; even the same named shade can look different beside grout that has aged.
Push grout firmly into the open joint with a grout float, moving diagonally across the tile lines to help fill gaps. Scrape excess from the tile surface with the float held at an angle. After the grout has begun to firm up, as directed on the package, wipe the tiles with a damp—not dripping—sponge. Rinse the sponge often and pass it diagonally over the joints so you do not pull out the new grout. Aim for a joint that is filled and evenly shaped, not hollowed out.
Once the surface is ready for final cleaning, buff away any remaining haze with a soft, dry cloth. Avoid aggressive scrubbing while the grout is young. If the repair is next to a change of plane, keep grout out of the joint that needs flexible sealant.
Give the repair time, then watch it
Keep the repaired area dry and free from heavy use for the period specified by the grout maker. A shower or frequently washed floor may need more time before it is exposed to water than a dry wall. If the product calls for sealing, wait until the grout is ready and follow the sealer instructions. Sealer can help some grout resist stains, but it does not make a damaged tile installation waterproof.
Over the next few weeks, check whether the new grout stays solid. A small patch that holds is a useful repair; a crack that returns quickly is a clue, not a reason to keep adding layers. Movement, loose tiles or moisture behind the surface may need a more involved repair. Addressing that cause protects the work you have done and makes the next fix more likely to last.