First, find out where the water is coming from
A faucet aerator is the small fitting at the end of the spout. It mixes air into the stream and may contain a screen that catches debris. When water escapes from the seam between the aerator and the spout while the faucet is running, the aerator may be loose, its washer may be worn, or its threads may be damaged. An uneven spray or reduced flow can also point to a clogged aerator.
Dry the spout with a towel, turn on the faucet, and watch where water first appears. If it seeps from the seam at the tip, an aerator repair is a reasonable place to start. If the faucet continues to drip from its outlet long after you turn the handle off, the aerator is usually not the cause; water is still getting through the faucet’s internal valve. A few drops immediately after shutoff, however, may simply be water draining from the spout.
Remove the old aerator carefully
Turn off the faucet. You normally do not need to shut off the water supply to remove an aerator, but do so if you cannot confidently keep the faucet off while working. Place a towel in the sink and close or cover the drain so small parts cannot fall in. Have another towel ready to protect the faucet’s finish.
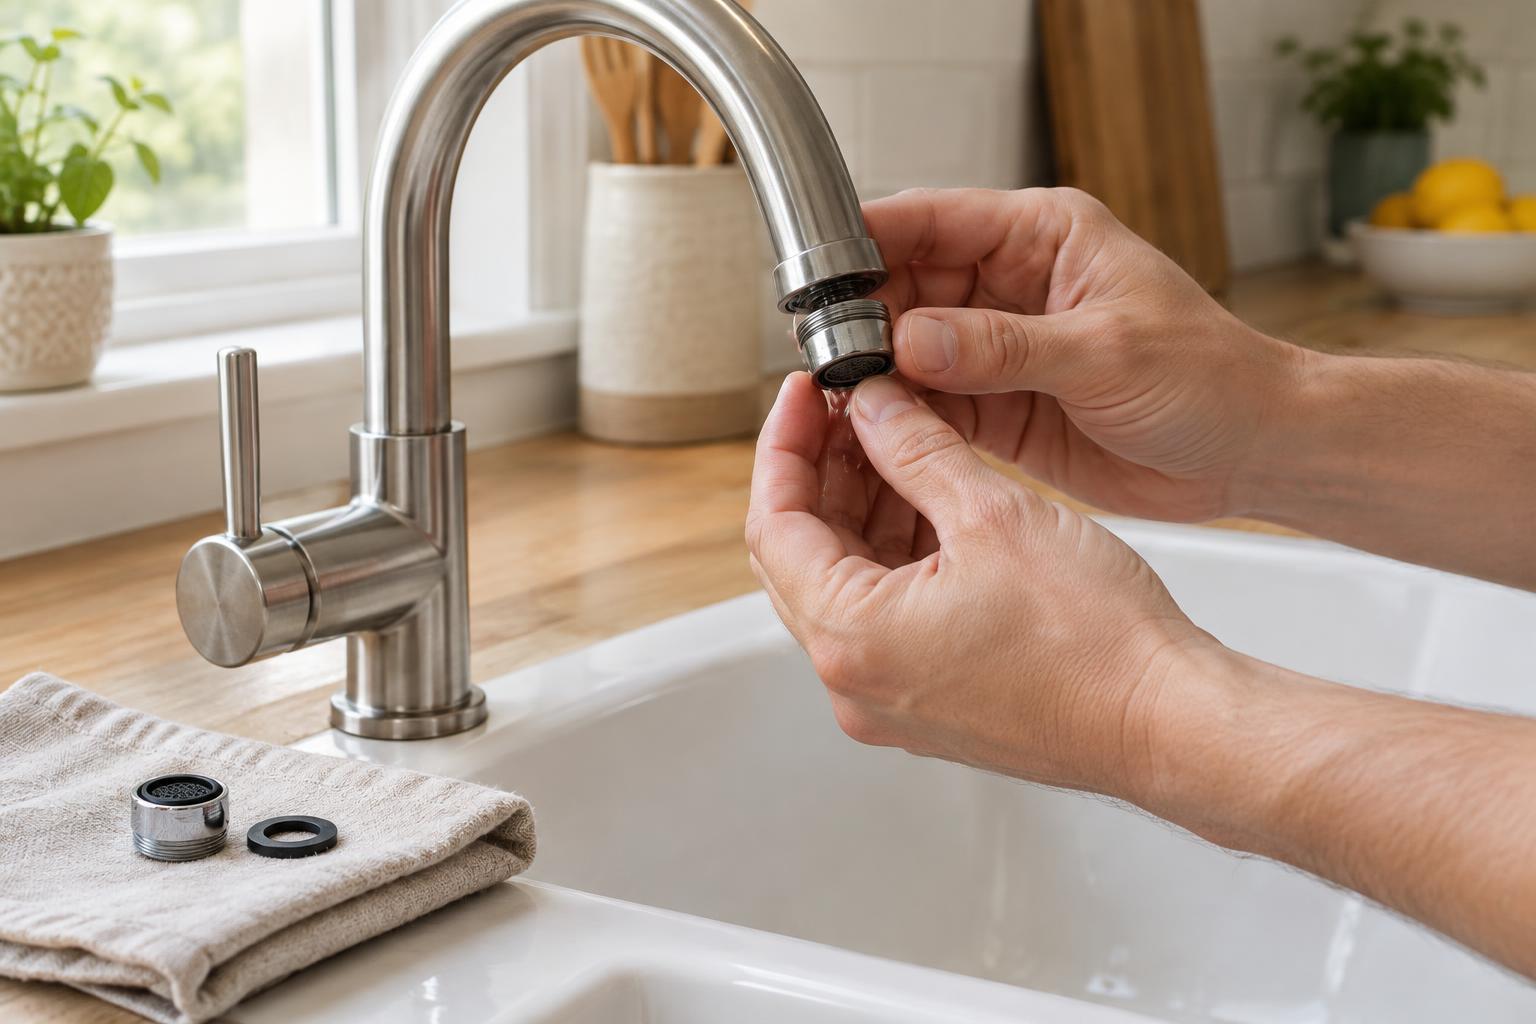
Many aerators have a visible metal or plastic ring that unscrews from the end of the spout. Grip the ring and turn it counterclockwise while looking directly at the outlet. Hold the spout steady with your other hand. If the ring will not move by hand, wrap it in a cloth and try gently with adjustable pliers. Avoid squeezing hard or twisting the spout. Some faucets instead have a recessed aerator, often called a cache aerator, that needs a matching removal key. Do not pry at it with a screwdriver.
Once the aerator is off, note how its parts fit together, especially the position of the rubber washer. Check the spout threads and the old aerator for grit, mineral buildup, cracks or flattened rubber. Wipe the threads with a damp cloth. A soft brush and warm water can help loosen deposits; keep harsh cleaners away from finishes and delicate plastic parts.
Choose a replacement that fits
Aerators are not all interchangeable. Some screw over threads on the outside of the spout, while others screw into threads inside it. Recessed styles need a matching diameter and thread pattern. Bring the old aerator to a hardware store if possible, or compare it closely with a replacement before opening the package. If your faucet has an unusual shape or an integrated tip, consult its product information for a compatible part.
For a leak at the seam, you may need only a new washer if the aerator itself is sound and you can find one of the same size. Replacing the whole aerator is often simpler when the screen is clogged, the housing is cracked or the threads are worn. Check that the new washer sits flat inside the aerator. Thread-sealing tape is generally unnecessary for an aerator that seals with a washer, and it can make a properly sized fitting harder to seat.
Install it and check the seal
Start the new aerator by hand, turning it slowly to make sure the threads engage smoothly. If it catches or sits crooked, back it off and try again rather than forcing it. Tighten it until the washer seats and the fitting feels snug. If water later escapes at the seam, a small additional turn with cloth-protected pliers may help; overtightening can damage the washer or threads.
Run the faucet at a moderate flow and look closely around the seam. Then try a stronger flow and check again. If it still leaks, turn off the water, remove the aerator and inspect whether the washer has shifted or debris is trapped against it. A persistent leak despite a correctly fitted, undamaged aerator may mean the spout’s threads or sealing surface are damaged. If water is coming from elsewhere on the faucet, or the spout keeps dripping after shutoff, investigate that problem separately rather than repeatedly tightening the aerator.