Choose a finish and set up your workspace
Before sanding, decide what you want the shelf to look like. A clear finish shows the wood’s natural color and grain; a stain changes its color but usually needs a protective topcoat. For a first project, a clear, water-based finish labeled for interior wood is a straightforward choice. Check the product label for compatible wood, application directions, drying times and ventilation requirements.
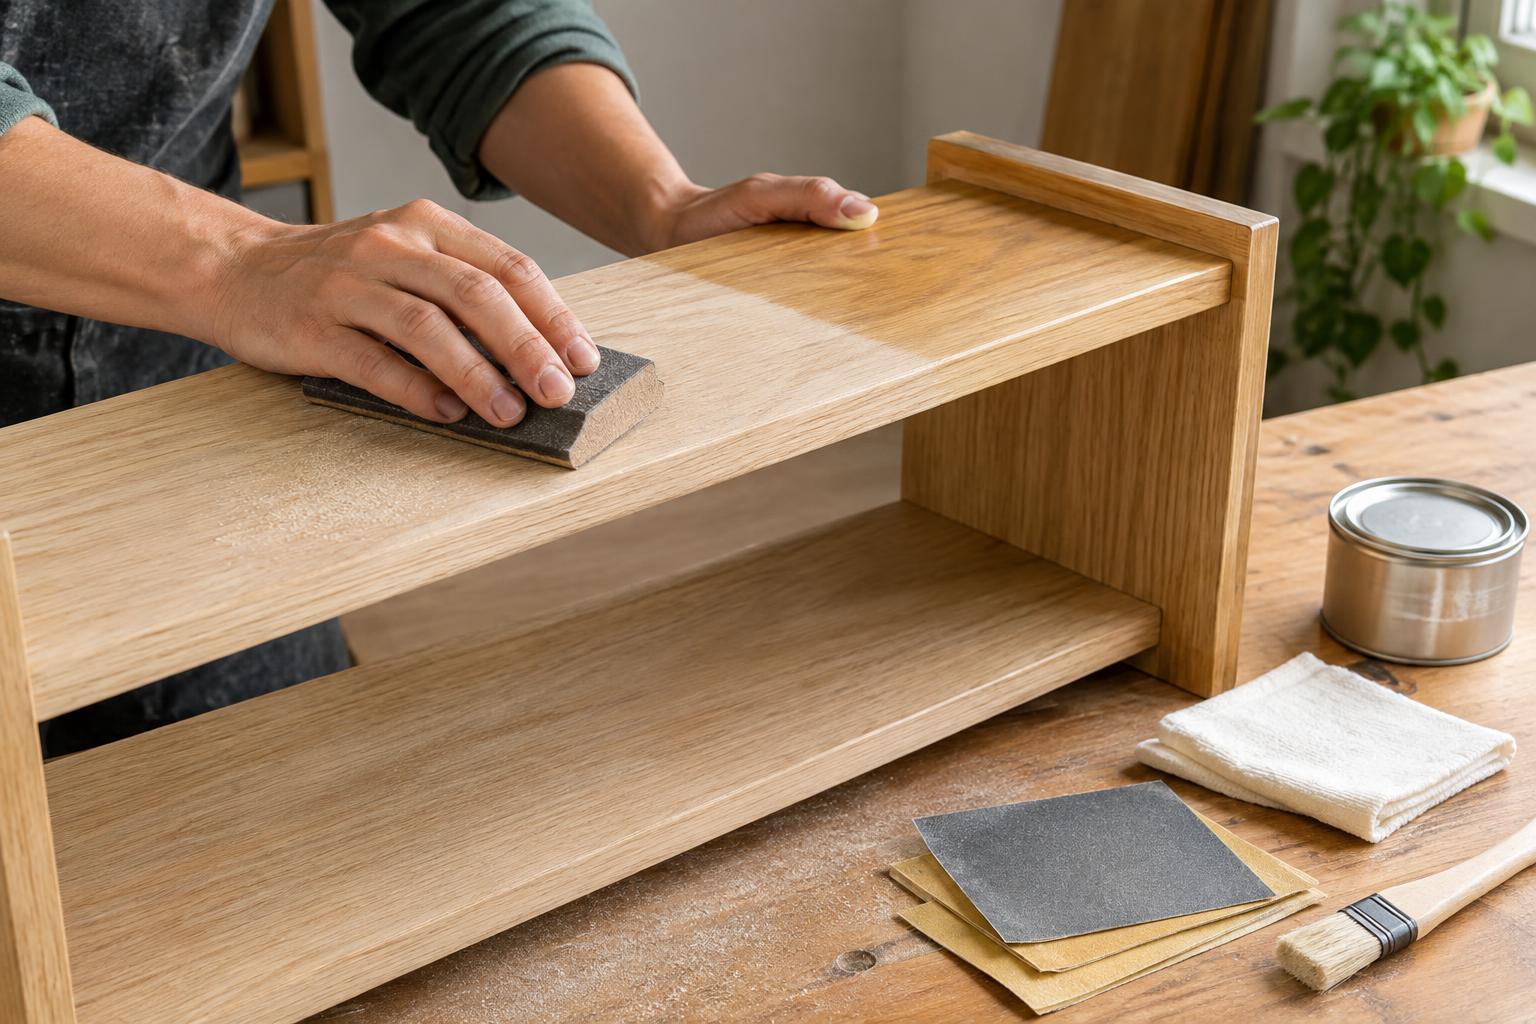
Work on a stable surface with enough room to reach every edge. Put down a drop cloth and raise the shelf on small blocks so it does not sit in dust or a wet finish. Gather sandpaper in a few grits, a sanding block, a vacuum or soft brush, clean lint-free cloths and the applicator recommended for your finish. Wear eye protection while sanding, use suitable dust protection and keep fresh air moving through the workspace. Follow the finish label’s safety instructions.
Inspect the shelf before you sand
Look over the top, underside and edges in good light. Check for splinters, glue residue, pencil marks and dents. Dried glue deserves attention: it can block stain or finish and leave a pale patch. Carefully scrape off raised glue before sanding rather than trying to grind it away with sandpaper. If the shelf has hardware, remove it when practical so you can finish the wood evenly.
Decide whether the edges need softening. A sharp edge can feel uncomfortable and may be easier to wear down in use. A few light passes with a sanding block will ease it without noticeably rounding the shelf. If you are finishing a preassembled shelf, pay particular attention to corners where dust collects, but avoid aggressive sanding that could change how the pieces fit.
Sand from coarse to fine
Start with the least aggressive grit that will do the job. For wood that is already fairly smooth, 120-grit paper is a reasonable starting point, followed by 180-grit. If the surface has rough saw marks, start coarser and work through the intermediate grits rather than jumping straight to fine paper. The goal of each pass is to remove the scratches left by the previous one. Check the finish label before sanding beyond 180 or 220 grit; very fine sanding may affect how some stains or finishes take to the wood.
Wrap the paper around a sanding block for broad, flat areas. Sand in the direction of the grain with even, moderate pressure, overlapping your strokes. Use a folded piece of paper for narrow edges and corners. Be especially gentle on plywood with a thin decorative face, since sanding through that top layer cannot be undone. After each grit, clear away the dust and look across the surface under angled light. Any visible scratch now is likely to remain visible under a clear finish.
When the shelf feels uniformly smooth, vacuum or brush away the dust, including along the edges and in any holes. Wipe it with a clean cloth as directed by your finish product, then let the wood dry fully if the cloth was damp. Dust left behind can make an otherwise careful finish feel gritty.
Apply thin, even coats
Stir the finish if its directions call for it; do not shake it unless the label says to. Test it on a scrap of the same wood or an inconspicuous area if you want to preview the color. Apply a thin coat following the grain, working from one end of the shelf to the other. Watch for drips along the underside and edges, and smooth them while the finish is still workable. More product is not necessarily better: heavy coats can dry unevenly or leave runs.
Let the coat dry for the time specified on the label. Some finishes call for light sanding between coats. If yours does, use the recommended grit and a light touch, then remove the dust before recoating. Sanding at this stage is meant to smooth small raised fibers or imperfections, not strip off the coat you just applied. Add further coats according to the product directions, giving the top and front edge particular care because they are likely to be touched most often.
Let it cure before putting it to work
A finish can feel dry before it has fully hardened. Follow the label’s guidance before mounting the shelf or placing objects on it, and avoid sliding heavy items across a newly finished surface. If you finished the underside too, check that it is no longer tacky before setting the shelf down.
Once the finish has cured, reinstall any hardware and mount the shelf using fasteners suited to the wall and the load you expect it to hold. For routine care, dust with a soft cloth and clean spills promptly. The result does not have to look factory-made: careful sanding, a clean surface and patient, thin coats go a long way toward making a small shelf pleasant to use.