Start with the screw and the right bit
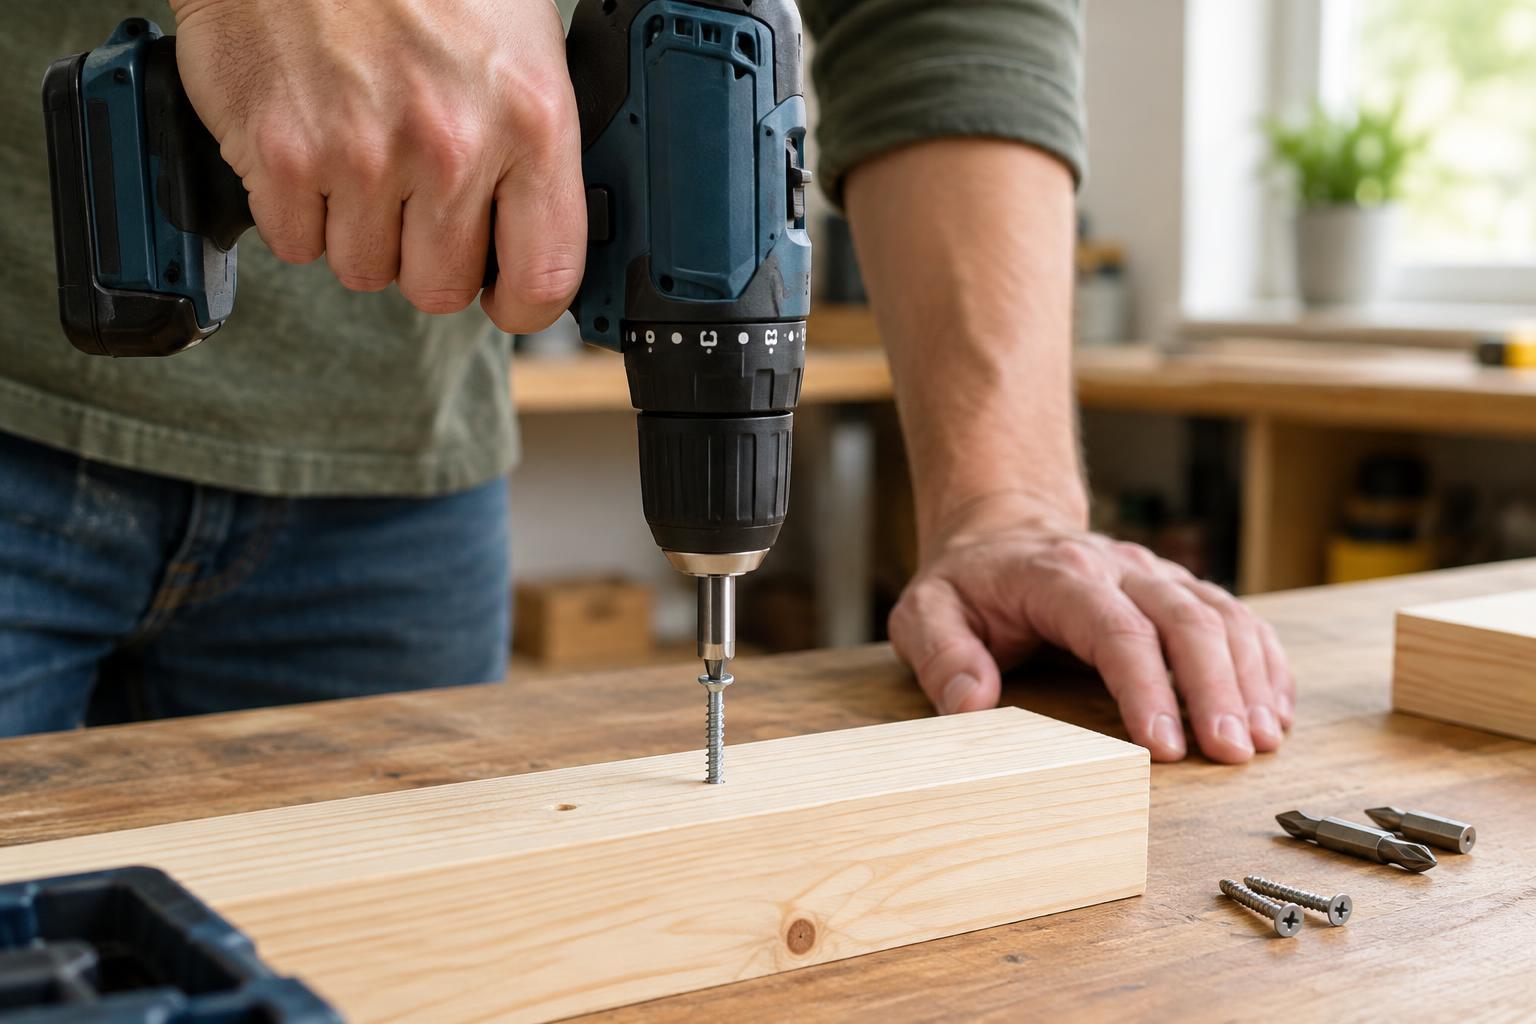
A cordless drill can drive screws quickly, but speed is not the goal. A stripped screw usually starts with a bit that slips in the head, too much turning force, or a screw that meets more resistance than expected. Before you touch the trigger, look at the screw head and choose a bit that fits its recess closely.
Screw heads that look similar are not always interchangeable. Try the bit by hand: it should sit fully in the recess with little side-to-side movement. If it wobbles, rides high, or has a worn or rounded tip, try another bit. Clear paint or debris from the screw head so the bit can seat properly. For a deep or awkward location, a bit holder can improve reach, but it should still hold the bit straight and securely.
Set up the drill for control
Most cordless drills have a direction switch, a speed selector and an adjustable clutch. Set the direction to forward for driving. Choose the lower speed range if your drill has one; it gives you better control as the screw begins to bite and as its head approaches the surface. Squeeze the trigger gently rather than starting at full speed.
The clutch is the numbered ring behind the chuck on many drills. It limits how much turning force reaches the screw before the drill begins to click or slip. Start with a low or middle setting and test on scrap material if you can. If the clutch releases before the screw is seated, increase it one step at a time. If the screw sinks too far or the bit chews the head, reduce the setting. A drill-only setting generally bypasses the clutch, so it is rarely the best starting point for driving screws.
Give the screw a clear path
A pilot hole can make a noticeable difference when a screw is hard to drive, especially near the edge of wood or in dense material. The hole gives the screw a path and reduces the force needed to turn it. Choose a drill bit roughly the diameter of the screw’s solid center, not its outer threads. The threads still need material to grip. In softer wood, some screws may drive without a pilot hole, but a small test hole is worthwhile when splitting or stripping would spoil the work.
If the screw is fastening one piece of wood to another, a clearance hole through the top piece can help the two pieces pull together. Countersink the opening when the screw head needs to sit flush and the material does not already provide a recess. Clamp loose work before drilling or driving, and check what is behind the surface before making a hole. Wear eye protection, and keep your free hand away from the bit and the screw’s path.
Drive straight and finish slowly
Place the screw tip where you want it and hold the drill in line with the screw. An angled bit contacts only part of the recess, making it easier to slip. Apply steady pressure toward the screw head while you start the trigger slowly. Once the screw is turning cleanly, you can increase speed a little, but slow down again before the head reaches the surface.
Let the clutch stop the turn, or release the trigger as soon as the head is seated. Continuing to spin can damage the screw head, loosen its grip in the material, or bury it too deeply. If the screw begins to tilt, stop and back it out rather than forcing it straight under power. Reset its position, check the pilot hole if needed, and try again.
Know when to stop and troubleshoot
A clicking clutch, a bit that jumps out, or a screw that stops advancing is a signal to pause. Check that the bit still fits and that the drill is aligned. If the clutch is set too low, raise it slightly. If the screw is meeting strong resistance, back it out and consider a suitable pilot hole rather than simply applying more force. Make sure the screw type and length suit the material and the job.
If the screw head is already damaged, continuing with the same bit may make it harder to remove. Stop early and try a fresh, correctly fitting bit at low speed with firm, straight pressure. For a screw that is already seated but difficult to control, a hand screwdriver can offer a gentler final turn. The habit that prevents most stripped heads is simple: fit the bit carefully, start slowly and ease off as the screw reaches its final position.