Plan a notebook you will actually use
A handmade notebook is a manageable first bookbinding project because you can finish one in a sitting and adjust the next one based on what you learn. It might hold quick sketches, recipes to try, notes from walks or ideas for another hobby. Deciding on its purpose first helps you choose the right paper: plain sheets suit drawing and lists, while lined paper makes longer notes easier to keep tidy.
For a pocket-sized notebook, start with four to eight sheets of ordinary paper and one piece of slightly heavier paper or thin card for the cover. Each sheet will be folded in half, creating four writing pages. Fewer sheets make the first notebook easier to fold and stitch neatly. Before cutting anything, fold a sample sheet and check whether the finished size fits the pocket or bag where you plan to carry it.
Gather materials and fold the pages
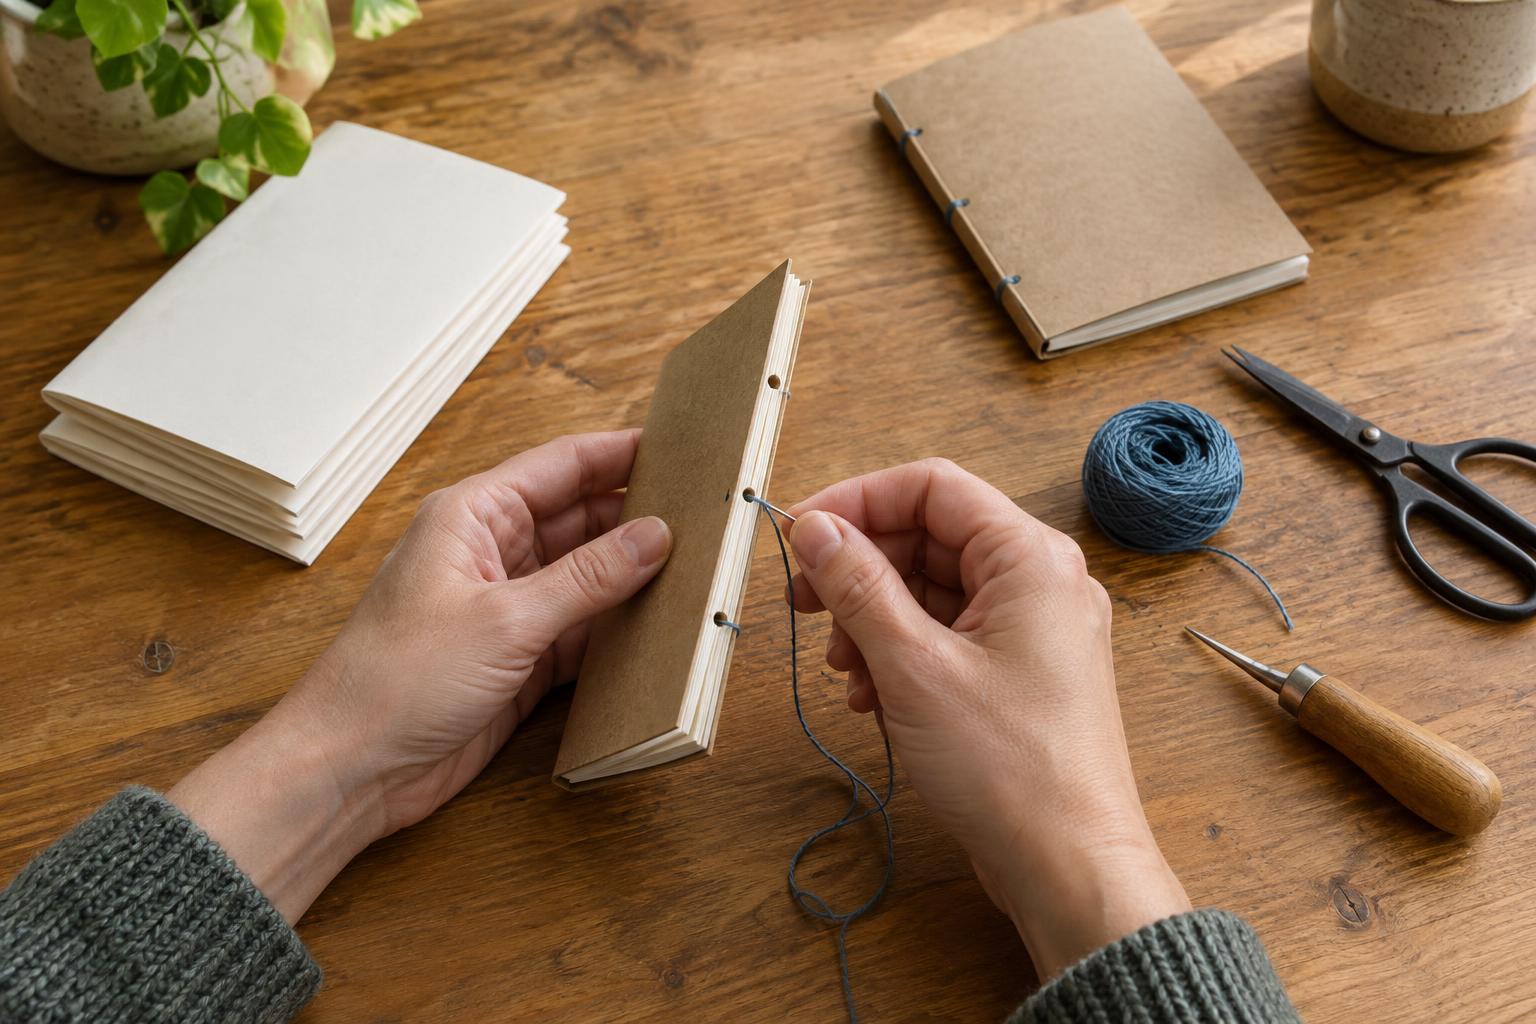
You will need paper, a cover, scissors, a ruler, a pencil, a needle and sturdy thread. Sewing thread can work for a light notebook, though a doubled length is easier to handle than a single fine strand. A small binder clip can keep the pages aligned. To make the stitching holes, use an awl if you have one, or carefully use the needle on a few sheets at a time. Put scrap cardboard underneath to protect your work surface.
Fold each sheet individually, matching the corners before pressing the crease with a fingertip or the back of a spoon. Fold the cover the same way. Nest the pages inside the cover, then tap the folded edges together so they sit snugly. If some page edges extend beyond the cover, that is normal: nested sheets shift outward. You can leave them as they are for a casual notebook or trim them carefully after binding. Clip the stack near the open edge so it stays put while you mark the spine.
Mark three holes and stitch the spine
Open the clipped notebook to its middle. Along the fold, mark one hole at the center and two more at roughly equal distances toward the top and bottom. Leave enough space between the outer holes and the ends of the spine so the paper is unlikely to tear. Pierce through the fold at each mark, keeping your fingers clear of the point. If the stack resists, remove a few sheets and pierce them separately, then realign the holes.
Cut a length of thread several times the height of the notebook and thread the needle. Begin inside the notebook at the center hole, leaving a short tail. Pass the needle to the outside, then through the top hole to the inside. Carry the thread down the inside of the fold and pass through the bottom hole to the outside. Finally, return through the center hole to the inside. The two thread ends should be on opposite sides of the long stitch running along the inside fold. Pull gently until the thread is snug, then tie the ends around that long stitch. A firm knot is enough; pulling hard can cut into the paper.
Finish it and make the next one better
Remove the clip and turn the pages. If a sheet feels loose, check that its holes caught the thread; if the cover will not close comfortably, the stack may be too thick for its crease. You can round the cover corners with scissors or add a small label, but neither is necessary. Start using the notebook before decorating it heavily. Its first few pages will tell you more about what you need than a perfect-looking cover will.
Once you have made one, change just one feature at a time. Try fewer sheets for a slimmer notebook, firmer card for a cover that holds its shape, or different paper for a particular pen. Keep the three-hole pattern until you can stitch it without having to retrace the route. The goal is not a flawless miniature book; it is a useful object you can make again whenever you need a fresh place for ideas.