Start with a small project
Paper weaving is a satisfying way to explore color and pattern without needing special equipment. One sheet becomes a slotted base, and narrow strips of another sheet pass over and under it. A small mat is a good first project: it gives you enough room to see a pattern develop without asking you to manage dozens of loose strips.
Gather two or three sheets of paper in contrasting colors, a pencil, a ruler, scissors and a little glue or tape. Magazine pages, used gift wrap and other clean paper scraps can work, though very thin paper may tear when pulled through the slots. For your first attempt, choose paper with a little stiffness, such as construction paper or a lightweight folder. You can experiment with softer scraps once the motion feels familiar.
Cut the base and weaving strips
Cut one sheet into a rectangle roughly the size of your hand. Fold it in half, bringing the two shorter edges together. With the fold closest to you, draw several evenly spaced lines from the folded edge toward the open edge. Stop each line about a finger’s width before the open edge; that uncut border will hold the base together. Cut along the lines, then unfold the sheet. You should have a row of attached paper bands with slots between them.
Cut the second color into strips a little longer than the width of the base. Aim for strips slightly narrower than the slots you made. Exact measurements are less important than consistency: strips that vary a little will still work, but strips that are much wider than the slots tend to buckle. Keep one uncut piece of paper nearby as a tray for the strips so they do not scatter while you work.
Weave an over-under pattern
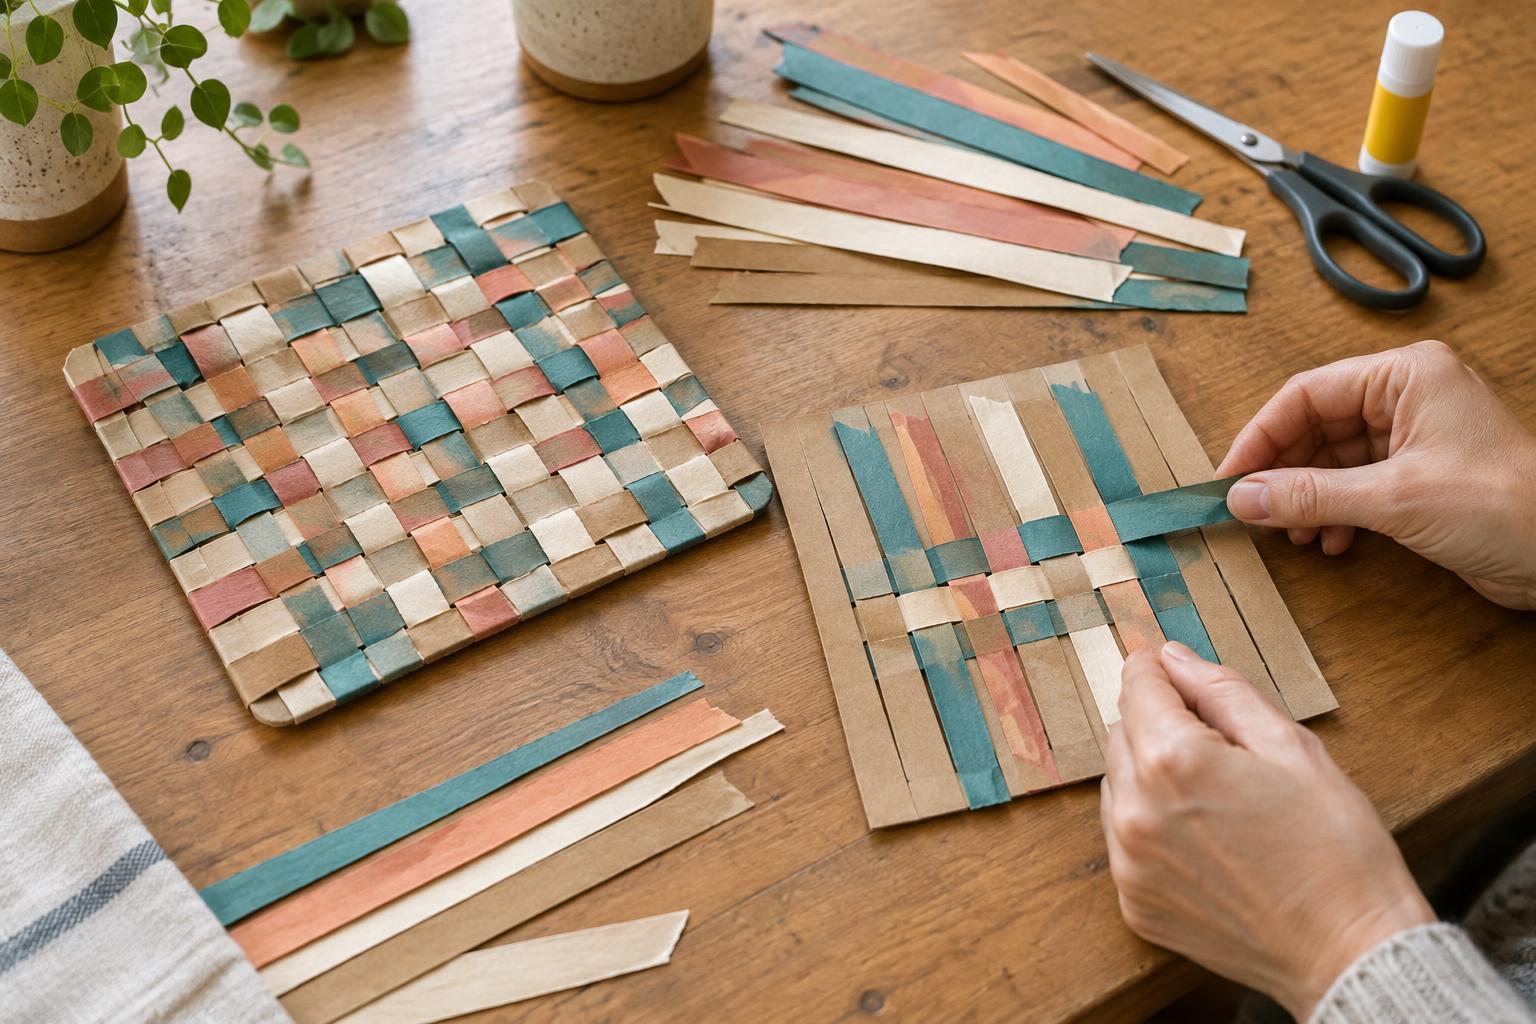
Take one strip and feed it across the base, passing it over the first attached band, under the next, then over the next. Continue until the strip reaches the other side. Ease it toward one end of the base, leaving its ends sticking out by a small amount. Avoid pulling hard; the goal is to seat the strip, not stretch the paper.
For the next row, reverse the sequence. If the first strip went over the first band, the second should go under it. This alternating start creates the familiar checkerboard effect and helps hold the rows in place. Add strips one at a time, gently nudging each new row against the previous one. If a strip catches, lift the nearby band and guide the strip through rather than forcing it.
You can change the look without changing the method. Alternate two strip colors, use printed paper for a few rows, or make a mat with wide stripes by grouping similar colors together. Try one change at a time so you can see what it does. The over-under structure stays the same, which makes it easy to compare results.
Tidy the edges and handle common snags
Once the base is filled, check that the rows sit close together and the paper bands lie reasonably flat. Put a small dab of glue beneath each loose strip end, or secure the ends on the back with short pieces of tape. After the adhesive has set, trim any ends that extend farther than you want. Leave the uncut border intact; cutting it away could release the weave.
If the base curls, the strips may be packed too tightly. Slide a few rows apart slightly and see whether the sheet relaxes. If the pattern seems to disappear halfway across, check whether two neighboring strips started over the same band; rethreading one usually restores the checkerboard. A torn band can often be repaired on the back with a small piece of tape. These fixes are part of learning the material, not a reason to start over.
Use the finished piece as a starting point
A first mat can become a card front, a bookmark-sized panel or a decorative piece for a notebook cover. If you plan to attach it to something, glue the woven piece onto a backing sheet so the rows stay put when handled. It is best treated as decoration rather than as a surface for food or hot objects.
For a second project, try changing the width of the base bands or using strips cut from a page with a repeating print. Notice how the same simple weave produces a different rhythm when the colors or proportions change. Save a few offcuts from each attempt: they can help you test a combination before you commit to another full mat.